Creamy Dairy Free Ube Ice Cream — Filipino Purple Yam Recipe with Coconut Milk

If you have ever spotted that gorgeous violet scoop at a Filipino bakery and thought you could never recreate it at home, this recipe is about to change everything. This dairy free ube ice cream captures the earthy, nutty, subtly floral flavour of Filipino purple yam in a genuinely wholesome frozen dessert. Unlike traditional recipes that lean heavily on condensed milk, loads of added sugar, and full-fat dairy cream, this version uses a coconut milk base, a modest amount of pure maple syrup, and real ube halaya to deliver that iconic colour and flavour without the calorie overload. It suits anyone following a vegan, dairy free, or plant-based lifestyle, and it is equally wonderful for curious home bakers who simply want to explore Filipino flavours in a lighter, more nutritious way.
The star of the show is ube halaya, the sweetened purple yam jam widely used across Filipino desserts. It provides concentrated ube flavour, a naturally deep violet hue, and a thick body that helps the ice cream churn beautifully. Full-fat coconut milk forms the creamy base, bringing richness without a single drop of dairy. A small amount of coconut cream is added for extra body, keeping each scoop smooth and scoopable straight from the freezer. Pure maple syrup does the sweetening work here, replacing refined white sugar with a lower-glycaemic option that adds a gentle caramel warmth in the background. A teaspoon of pure vanilla extract rounds everything out, complementing the slightly floral notes that ube naturally carries. Finally, a tablespoon of tapioca starch acts as a stabiliser, a trick borrowed from classic Filipino ice cream making that prevents large ice crystals from forming and keeps the texture silky rather than icy.
The finished ice cream scoops like a dream. The texture is dense and creamy, somewhere between gelato and classic American-style ice cream, with a colour so vivid it looks almost too pretty to eat. The flavour is mild and distinctive: think sweet potato crossed with vanilla, with a faint nuttiness and just a whisper of floral sweetness that makes it completely unique. You can serve it in a cone, in a bowl with toasted coconut flakes on top, or sandwiched between two oat-based biscuits for a Filipino-inspired ice cream sandwich. For a nod to halo-halo, the beloved Filipino shaved ice dessert, try spooning a scoop over crushed ice with a handful of coconut jelly and a drizzle of extra coconut milk. It works brilliantly as a dinner party dessert because the colour alone creates an instant talking point.
From a nutritional standpoint, this recipe comes in noticeably lighter than its traditional counterpart. Each serving delivers around 180 calories compared to the 280 to 350 calories you would typically find in a full-sugar, dairy-based ube ice cream. The maple syrup keeps refined sugar content low, and coconut milk provides medium-chain triglycerides, a type of fat that the body processes differently from long-chain saturated fats found in dairy cream. Ube itself is a fibre-rich root vegetable packed with antioxidants, particularly anthocyanins, the same plant compounds responsible for the purple pigment in blueberries and red cabbage. These antioxidants are associated with reduced inflammation and improved heart health. The recipe is entirely vegan, completely dairy free, gluten free, egg free, and free from refined sugar, making it one of those rare frozen treats that genuinely earns its place on a healthy dessert list without sacrificing an ounce of the joy that ice cream is supposed to bring.
Ingredients
- 1 can (400ml) full-fat coconut milk (chilled overnight in the fridge)
- 1 cup (120ml) coconut cream (also chilled)
- 3 cup (200g) ube halaya (purple yam jam) (store-bought from an Asian grocery or online)
- 3 tablespoons pure maple syrup (adjust to taste)
- 1 teaspoon pure vanilla extract
- 1 tablespoon tapioca starch (dissolved in 1 tablespoon cold water)
- 1 teaspoon fine sea salt
- 1 teaspoon ube extract (optional, deepens the colour and intensifies the flavour)
Instructions
- 1
The night before, place your ice cream machine bowl in the freezer to chill fully. Also refrigerate the cans of coconut milk and coconut cream so the fat solidifies and the mixture churns more effectively.
Skipping this step is the most common reason homemade dairy free ice cream turns out icy rather than creamy. Give it the full overnight chill.
- 2
In a small saucepan over low heat, combine the ube halaya and maple syrup. Stir gently for 2 to 3 minutes until the jam loosens and becomes smooth. Remove from the heat and let it cool for 5 minutes.
Do not let it bubble aggressively. You just want it warm enough to blend smoothly into the coconut base.
- 3
In a medium mixing bowl, whisk together the chilled coconut milk, coconut cream, vanilla extract, sea salt, and the dissolved tapioca starch until fully combined.
Make sure the tapioca starch is completely dissolved in its tablespoon of cold water before adding it, otherwise it can clump.
- 4
Add the warm ube halaya mixture to the coconut milk base along with the ube extract if using. Whisk vigorously until the mixture is smooth and uniformly purple. Taste it and add a little extra maple syrup if you prefer it sweeter.
The raw mixture will taste slightly less sweet than the finished ice cream, so do not over-sweeten at this stage.
- 5
Transfer the mixture to the refrigerator and chill for at least 30 minutes until it is very cold. This helps the ice cream machine work more efficiently and produces a smoother result.
- 6
Pour the chilled mixture into your ice cream machine and churn according to the manufacturer's instructions, usually 25 to 30 minutes. The ice cream is ready when it reaches a soft-serve consistency and the colour looks vivid and uniform.
Resist lifting the lid too frequently during churning. Every time you open it, you let out the cold air and slow down the process.
- 7
Transfer the churned ice cream into a freezer-safe container. Smooth the top with a spatula and press a sheet of baking parchment directly onto the surface before sealing with a lid. Freeze for at least 3 to 4 hours until firm.
The parchment pressed directly on top prevents a layer of ice crystals from forming on the surface.
- 8
When ready to serve, remove the container from the freezer and let it sit at room temperature for 5 minutes. This makes scooping much easier. Serve in bowls or cones and top with toasted coconut flakes if desired.
Nutrition per serving
182kcal
Calories
2g
Protein
22g
Carbs
10g
Fat
2g
Fibre
13g
Sugar
85mg
Sodium
Pro Tips
- ✓
Always use full-fat coconut milk, not the light version. The higher fat content is what gives dairy free ice cream its creamy, scoopable texture.
- ✓
Ube halaya varies in sweetness between brands. Taste yours before adding maple syrup and adjust accordingly so you are in control of the final sugar level.
- ✓
If your finished ice cream freezes rock solid, it likely needs more fat or a little more sweetener. Both help lower the freezing point and keep scoops softer.
- ✓
For a no-churn version without an ice cream machine, freeze the mixture in a shallow tray and blend it twice during freezing, about every 90 minutes, using a food processor.
- ✓
Ube extract is optional but recommended if you want that deep, jewel-toned purple colour that makes ube ice cream so visually striking.
Frequently Asked Questions
Variations
- •
Ube Coconut Swirl
Churn the base as directed, then layer it in the container with spoonfuls of toasted coconut flakes and a ripple of extra ube halaya. Use a skewer to create a swirl effect before freezing. The extra jam ribbons add bursts of intense ube flavour throughout.
- •
Ube and Mango Ripple
Blend 1 ripe mango with a squeeze of lime juice to make a smooth coulis. Once the ube ice cream is in the container, drizzle the mango coulis over the top and swirl it in gently with a skewer before freezing. The tropical combination is a nod to classic Filipino fruit flavours.
- •
High Protein Ube Ice Cream
Whisk 2 tablespoons of unflavoured or vanilla plant-based protein powder into the base before churning. This boosts the protein content of each serving to around 6 grams with minimal impact on flavour or texture.
- •
No-Churn Ube Nice Cream
Blend 3 frozen bananas with the ube halaya, a splash of coconut milk, and vanilla extract until completely smooth. Freeze for 2 hours for a banana-based nice cream that requires zero equipment and comes in around 120 calories per serving.
Substitutions
- •Ube halaya → Steamed and blended fresh ube with maple syrup (Use about 3/4 cup of mashed cooked ube with 2 to 3 tablespoons of maple syrup to replicate the sweetness and consistency of the jam.)
- •Maple syrup → Agave nectar or coconut sugar syrup (Agave is slightly sweeter so start with 2 tablespoons. Coconut sugar can be dissolved in a little warm water to make a syrup that adds a mild caramel depth.)
- •Full-fat coconut milk → Cashew cream (Soak 1 cup of raw cashews in water for 4 hours, then blend with 1 cup of water until completely smooth. This creates a very rich, neutral-tasting base that churns beautifully, though it will no longer be nut free.)
- •Tapioca starch → Arrowroot powder (Use in equal amounts. Both act as natural stabilisers that reduce ice crystal formation and improve the final texture.)
🧊 Storage
Store the ice cream in an airtight, freezer-safe container with baking parchment pressed directly onto the surface to prevent ice crystals. It keeps well in the freezer for up to 3 weeks. For the best texture and scoopability, let it sit at room temperature for 5 minutes before serving.
📅 Make Ahead
This ice cream is an excellent make-ahead dessert. You can prepare the base mixture up to 24 hours in advance and keep it refrigerated until you are ready to churn. Once churned and frozen, it is ready whenever you need it. Just remember to pull it from the freezer a few minutes before serving.
More Filipino Desserts Recipes
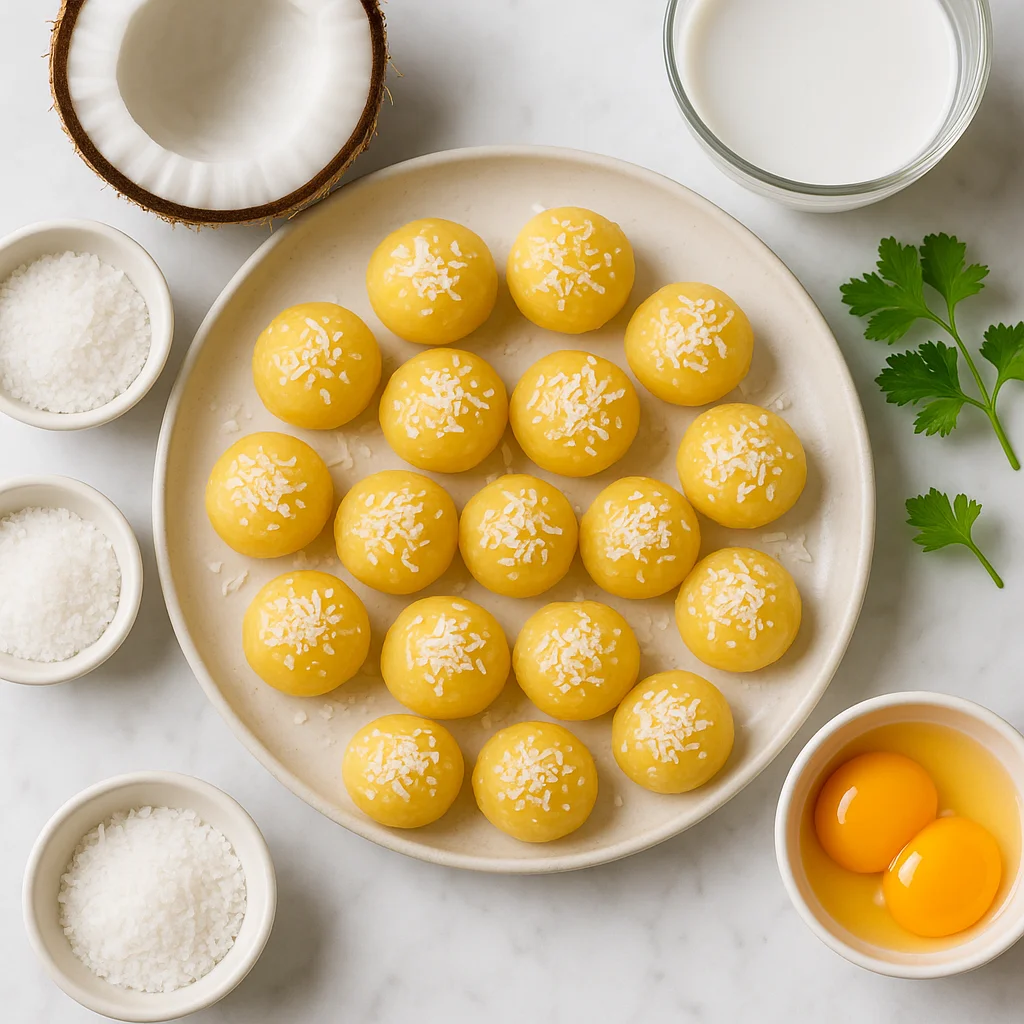
Low Sugar Filipino Yema Recipe: Creamy Egg Yolk Candy with Coconut Milk
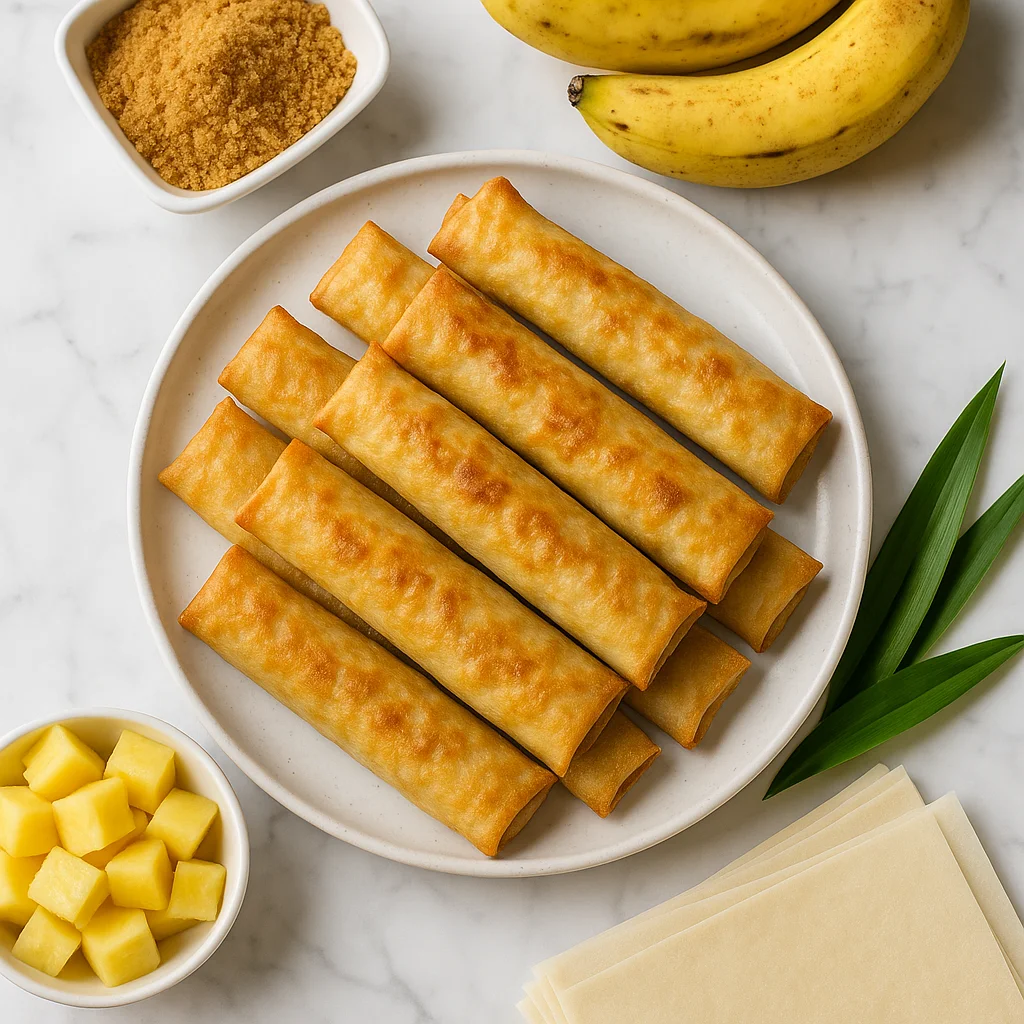
Baked Banana Lumpia Turon Recipe No Fry (Crispy and Guilt-Free)

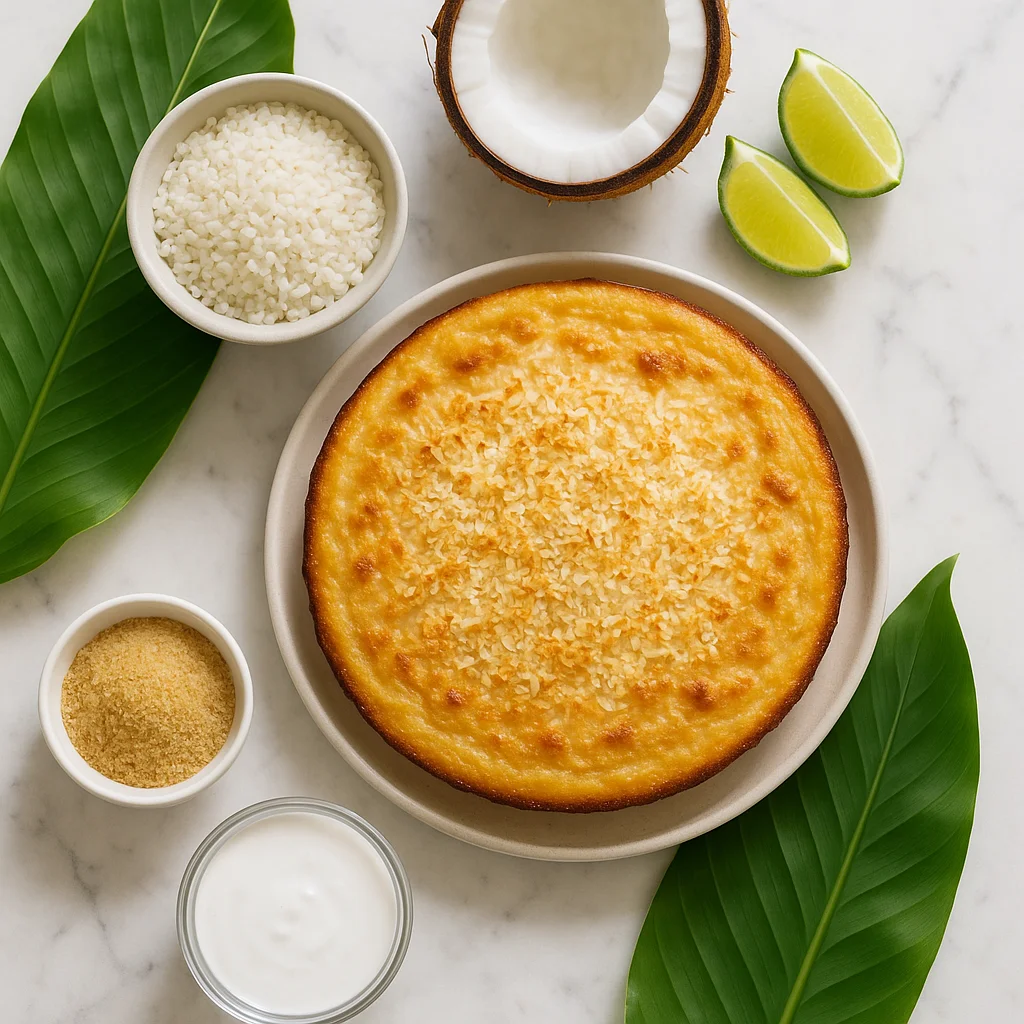
Low Sugar Biko Recipe: Filipino Sticky Rice Cake with Coconut Caramel