Witch Finger Cookies Healthy Gluten Free (Almond Flour Halloween Treats)
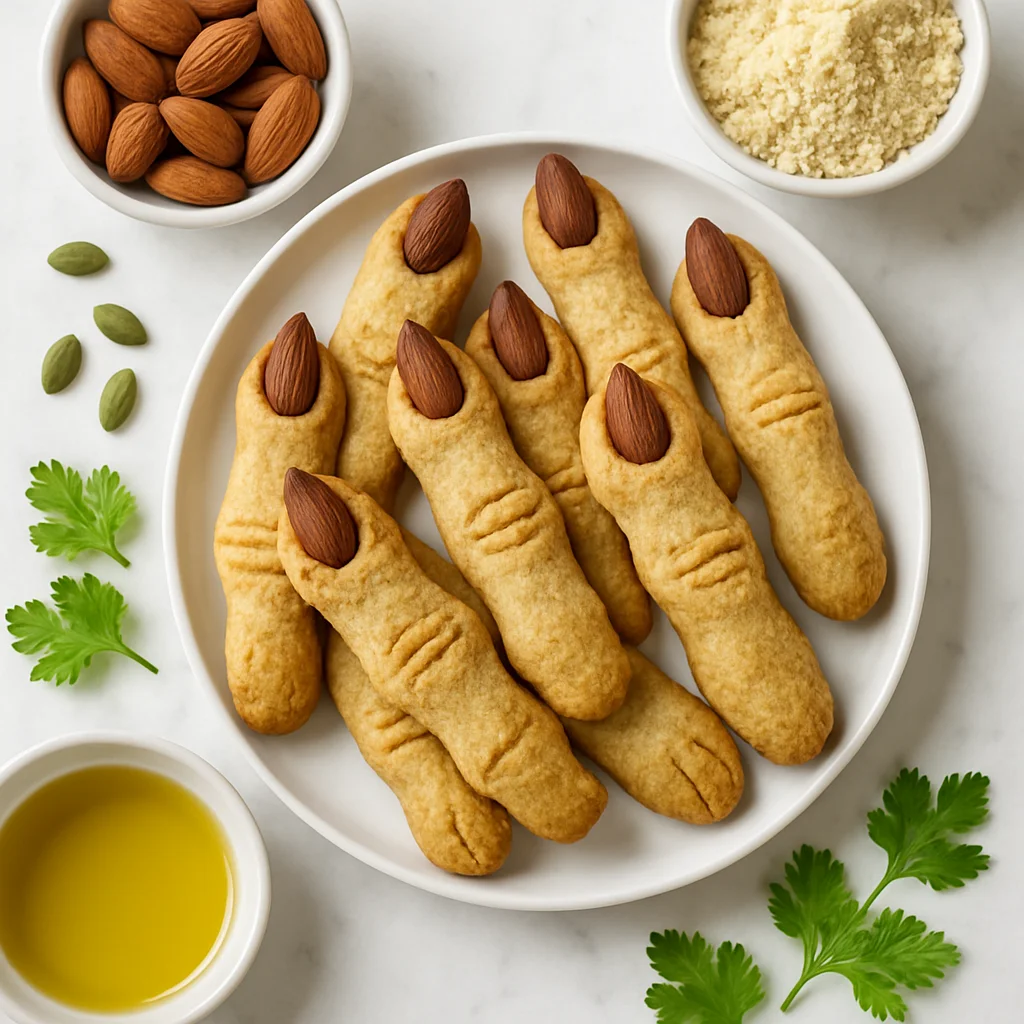
Halloween baking does not have to mean a sugar crash before the trick-or-treaters even knock on the door. These witch finger cookies are healthy, gluten free, and genuinely delicious in a way that goes far beyond just being a spooky novelty. Built on an almond flour base and sweetened with a modest amount of pure maple syrup, each gnarled little finger is crisp at the edges, slightly tender in the centre, and completely free from refined flour or processed sugar. They suit kids and adults equally well, and anyone following a gluten free diet can enjoy them without a single substitution needed.
Almond flour is the real hero here. It brings natural richness, a gentle nuttiness, and a good hit of fibre and healthy fats that ordinary plain flour simply cannot offer. Combined with a small amount of tapioca starch, which helps bind the dough and gives it that slightly chewy snap, the texture lands in a wonderful place between a shortbread and a classic sugar cookie. A touch of vanilla extract rounds out the flavour, and just a half teaspoon of almond extract deepens everything with a warmth that makes these cookies taste genuinely luxurious. For the fingernails, raw whole almonds are pressed on before baking, turning golden and toasty in the oven. A dab of no-added-sugar strawberry jam at the base of each nail adds a suitably gory blood-red effect without a drop of artificial food colouring anywhere in sight. A tiny pinch of beetroot powder mixed into the jam deepens the red colour dramatically if you want maximum drama on your Halloween table.
Fresh from the oven, these cookies smell incredible, buttery and warm with that toasted almond note drifting through the kitchen. Once cooled, they firm up into proper witch fingers, each one knobbly and crooked exactly as a witch finger should be. The jam sets to a sticky, slightly glossy finish that looks wonderfully gruesome without being overly sweet. Arrange them on a dark slate board or pile them into a cauldron-shaped bowl for the full spooky effect. They pair brilliantly with a mug of spiced apple cider or a warm herbal tea, and they hold their shape well enough to wrap individually in cellophane for Halloween party bags. Guests who have no idea they are eating a healthier cookie will simply think you have outdone yourself on the Halloween spread.
From a nutritional standpoint, each cookie delivers roughly 95 calories, a solid 2.5 grams of protein, and nearly 2 grams of fibre, which puts them well ahead of a typical shortbread finger cookie in terms of keeping you feeling satisfied. The total sugar per cookie sits at around 4 grams, compared to the 8 to 10 grams you would find in a conventional recipe. Because almond flour is naturally high in vitamin E and magnesium, you are genuinely getting some nutritional value alongside the fun. The recipe is certified gluten free as long as you use certified gluten free tapioca starch, and it is also naturally grain free and dairy free if you swap the small amount of butter for solid coconut oil. This is the kind of Halloween treat you can feel genuinely good about serving to children and eating yourself, without any of the usual post-party guilt.
Ingredients
- 2 cups blanched almond flour (packed and levelled, not almond meal)
- 3 tbsp tapioca starch (also called tapioca flour)
- 1 tsp fine sea salt
- 1 tsp baking powder (gluten free certified)
- 3 tbsp unsalted butter (softened, or solid coconut oil for dairy free)
- 3 tbsp pure maple syrup (grade A, at room temperature)
- 1 tsp vanilla extract
- 1 tsp almond extract (do not skip, this adds wonderful depth)
- 1 large egg (room temperature)
- 20 whole raw almonds (for the fingernails)
- 2 tbsp no-added-sugar strawberry jam (for the bloody nail effect)
- 1 tsp beetroot powder (optional, stirs into the jam to deepen the red colour)
Instructions
- 1
Whisk together the almond flour, tapioca starch, salt, and baking powder in a large mixing bowl until fully combined and no lumps remain.
Sift the almond flour if it feels clumpy. This gives the dough a smoother, more workable texture.
- 2
In a separate small bowl, beat the softened butter with the maple syrup, vanilla extract, and almond extract until smooth and creamy. Add the egg and beat again until everything is fully incorporated.
- 3
Pour the wet ingredients into the dry ingredients and stir with a spatula until a soft dough forms. It will feel slightly sticky at first. Bring it together into a ball, then flatten into a disc, wrap in cling film, and refrigerate for 30 minutes.
Chilling is not optional here. The cold dough is much easier to roll and shape, and the cookies hold their witch finger form far better during baking.
- 4
Preheat your oven to 170 degrees Celsius (340 degrees Fahrenheit) and line two baking trays with parchment paper.
- 5
Remove the dough from the fridge. Pinch off a piece about the size of a large grape, roughly 20 grams. Roll it between your palms into a thin log shape, about 9 to 10 centimetres long, tapering slightly at one end to mimic the shape of a finger.
Work quickly with slightly damp hands if the dough cracks. Almond flour dough can dry out fast in a warm kitchen.
- 6
Place each finger log onto the lined baking tray. Use a toothpick or the back of a small knife to score two or three shallow horizontal lines across the middle section of each cookie, creating knuckle creases. Gently press one raw almond, flat side down, onto the tapered end of each finger to form the fingernail.
Press the almond in firmly enough so it stays put, but do not flatten the dough around it completely.
- 7
Bake for 12 to 14 minutes until the cookies are just turning golden at the edges and feel set to a gentle touch. The centres may still look slightly soft. Remove from the oven and allow to cool on the tray for 10 minutes before transferring to a wire rack.
These cookies firm up as they cool. Pulling them out while they still look a little underdone is the secret to a tender, not dry, result.
- 8
While the cookies cool, stir the beetroot powder into the strawberry jam if using. Once the cookies are fully cooled, use a small spoon or toothpick to dab a little jam at the base of each almond nail and into the knuckle crevices for a suitably gory blood effect.
Serve within a few hours of adding the jam for the best appearance. The jam can make the surface slightly sticky if left for too long.
Nutrition per serving
95kcal
Calories
2.5g
Protein
7g
Carbs
6.5g
Fat
1.8g
Fibre
4g
Sugar
38mg
Sodium
Pro Tips
- ✓
Do not skip the chilling step. Warm almond flour dough spreads in the oven and you will lose the finger shape entirely.
- ✓
Use blanched almond flour, not ground almonds or almond meal. The finer texture makes all the difference to the finished cookie.
- ✓
Roll each finger slightly thinner than you think you need. They puff up a little during baking.
- ✓
Score the knuckle lines deeply enough to still be visible after baking. They tend to smooth out slightly as the cookies expand.
- ✓
If your kitchen is warm, chill the shaped cookies on the tray for 10 minutes before baking.
- ✓
For a greener witch-themed look, a tiny drop of natural spirulina powder mixed into the dough tints it a subtle earthy green without affecting the flavour.
Frequently Asked Questions
Variations
- •
Green Witch Fingers
Add half a teaspoon of spirulina powder or matcha powder to the dough before chilling. This gives the cookies a natural earthy green colour that is perfect for a witch theme, with zero artificial food colouring involved.
- •
Spiced Pumpkin Fingers
Add one teaspoon of pumpkin spice blend and two tablespoons of pumpkin puree to the wet ingredients. Reduce the maple syrup by half a tablespoon to account for the extra moisture. These have a warm, autumnal flavour that works beautifully alongside the spooky presentation.
- •
Dark Chocolate Dipped
Dip the base of each cooled, decorated finger into melted dark chocolate (70 percent cocoa or higher) and let it set on parchment. This adds a rich flavour contrast and makes the cookies look even more dramatic on a Halloween spread.
- •
Vegan Version
Replace the egg with one flax egg (one tablespoon of ground flaxseed mixed with three tablespoons of water, left to gel for 10 minutes) and use solid coconut oil in place of butter. The texture will be slightly denser but still holds together well.
Substitutions
- •Butter → Solid coconut oil (Use the same quantity. Make sure the coconut oil is firm and not liquid before creaming. Refined coconut oil avoids any coconut flavour if you prefer a neutral taste.)
- •Maple syrup → Raw honey (Use the same amount. Honey adds a slightly floral sweetness. The cookies may brown a fraction faster, so check them at 11 minutes.)
- •Tapioca starch → Arrowroot powder (A one-to-one swap. Both act as binders and give a similar texture. Cornstarch also works in a pinch but is not paleo friendly.)
- •Egg → Flax egg (Mix one tablespoon of ground flaxseed with three tablespoons of water. Leave for 10 minutes until gel forms. The cookies will be slightly denser but still hold their shape.)
- •Strawberry jam → Raspberry chia jam (Blend or mash a handful of raspberries with one teaspoon of chia seeds and leave to thicken for 15 minutes. This cuts the sugar even further and the deeper red colour is wonderfully gory.)
- •Raw almonds (nails) → Cashew halves (Cashews are slightly softer and give a more realistic skin-toned nail appearance. Press them in firmly before baking.)
🧊 Storage
Store cooled cookies in an airtight container at room temperature for up to 4 days. If you have already added the jam decoration, store them in a single layer to avoid sticking, and consume within 2 days for the best texture. You can also freeze undecorated baked cookies for up to 6 weeks. Thaw at room temperature for about 30 minutes before adding the jam and serving.
📅 Make Ahead
The dough can be made up to 48 hours in advance and stored wrapped in the fridge. Alternatively, shape the raw finger cookies and freeze them on a tray, then transfer to a freezer bag. Bake from frozen at 170 degrees Celsius for 15 to 16 minutes. Add the jam decoration on the day you plan to serve them.
More Halloween Desserts Recipes
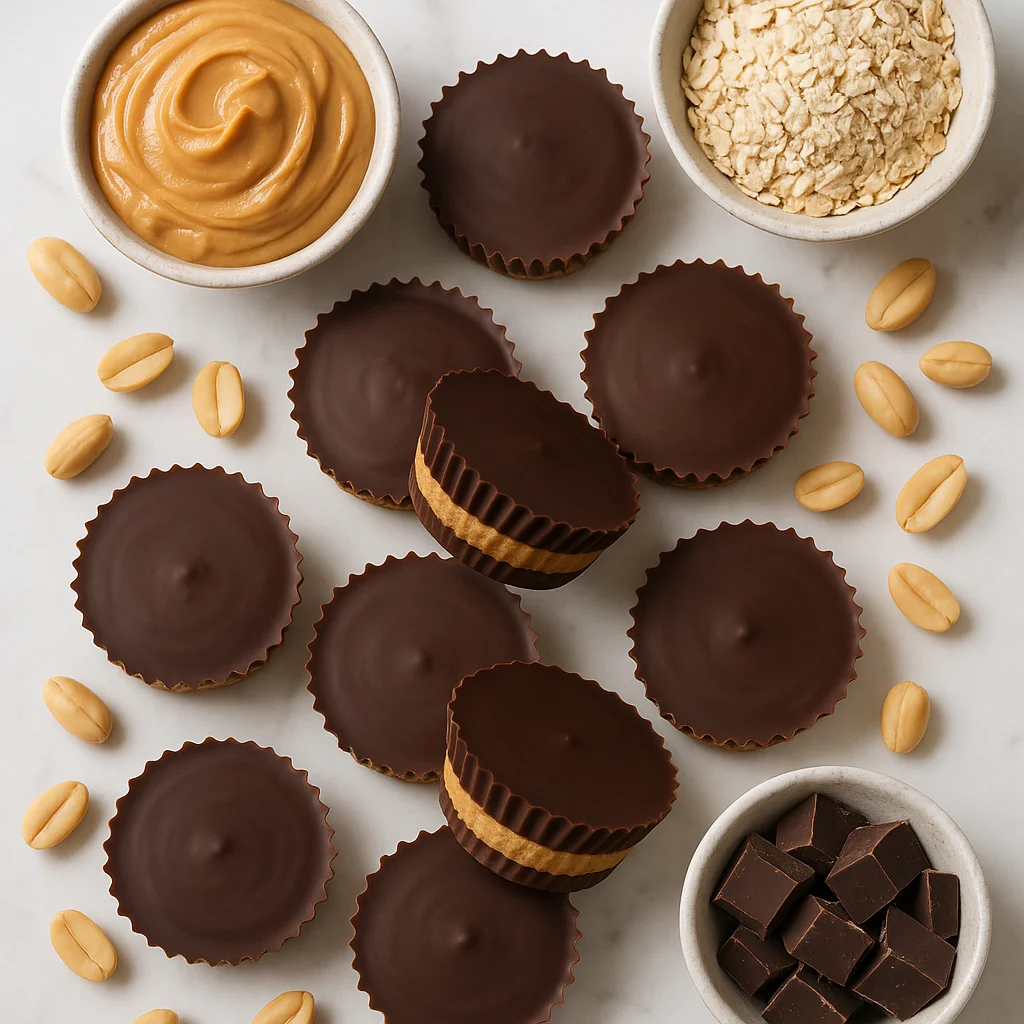
Healthy Peanut Butter Cups Homemade with Dark Chocolate and Oat Flour
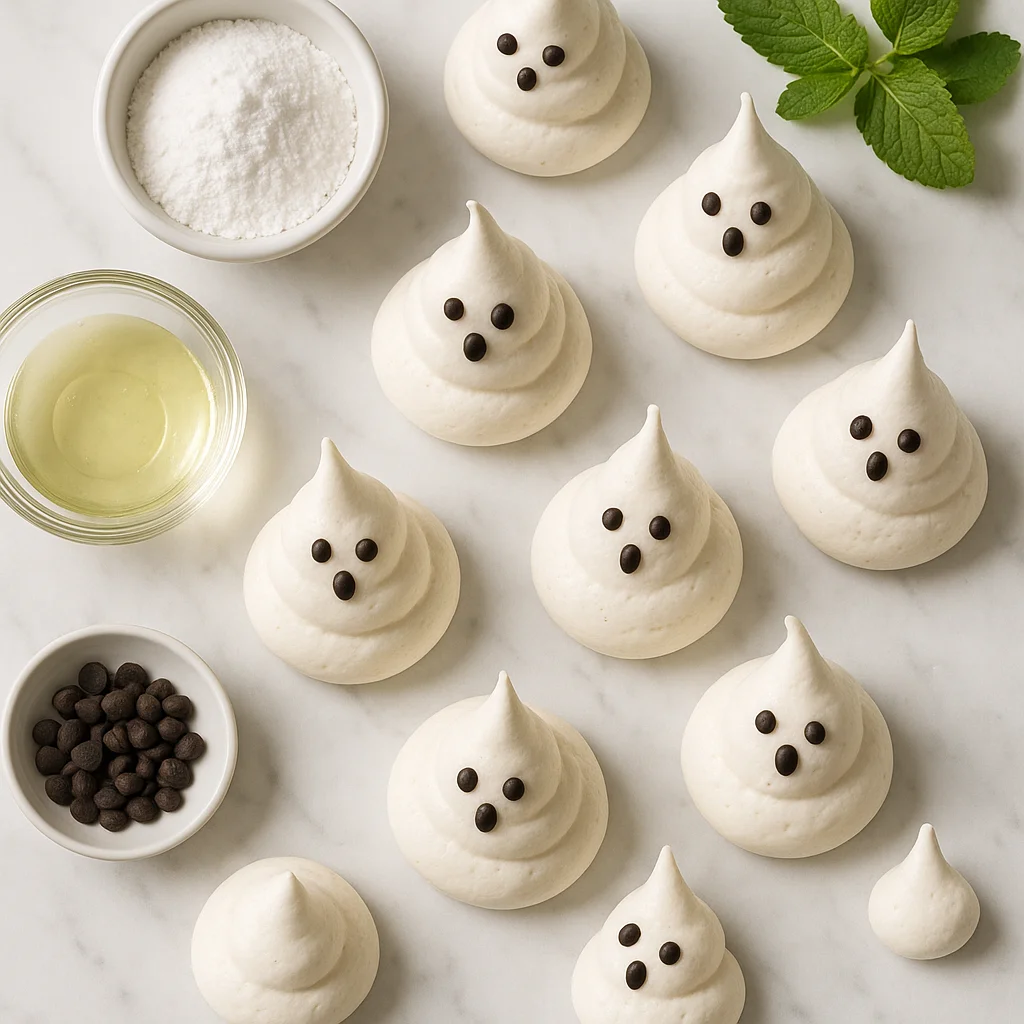
Halloween Ghost Meringue Cookies Sugar Free (Spooky & Light!)
Healthy Almond Joy Bars Homemade with Dark Chocolate and Toasted Coconut