Healthy Peanut Butter Cups Homemade with Dark Chocolate and Oat Flour
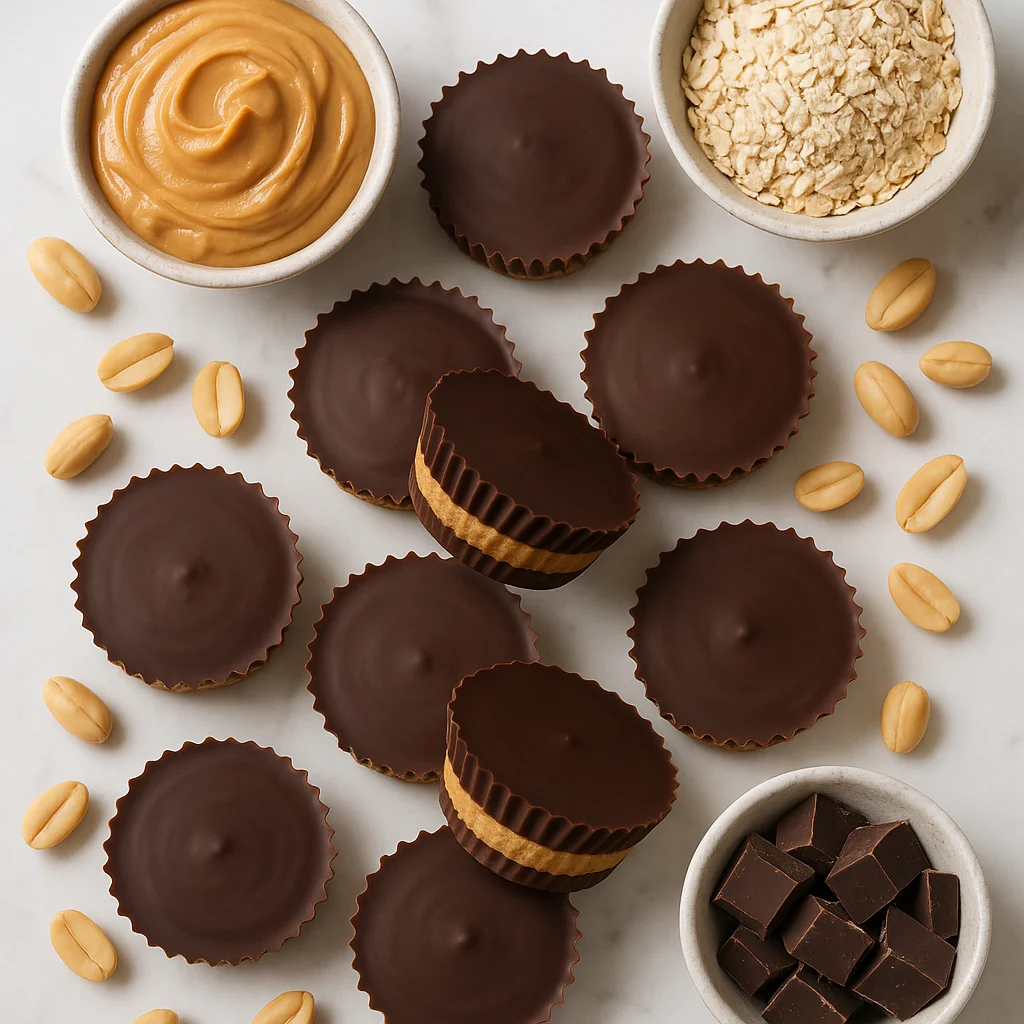
If you have ever bitten into a Reese's peanut butter cup and immediately wished it could somehow be good for you, this recipe is your answer. These healthy peanut butter cups homemade from scratch are genuinely nutritious, not just labelled as such. Made with a handful of real, recognisable ingredients, they come together in under 30 minutes of active time and set beautifully in the freezer. They are for the chocolate lover who tracks their macros, the parent sneaking something wholesome into the snack drawer, and honestly anyone who refuses to believe healthy food has to taste like compromise.
The ingredient list here is short but purposeful. The chocolate shell uses 85% dark chocolate, which is naturally lower in sugar than milk chocolate and brings a generous dose of antioxidants called flavanols. A tiny drizzle of virgin coconut oil helps it melt smoothly and set with a satisfying snap. Inside, the filling combines natural smooth peanut butter with a small amount of pure maple syrup, a pinch of fine sea salt, and oat flour. That last addition is the secret weapon. Oat flour firms the filling so it holds its shape cleanly when you bite in, while also adding soluble fibre and a gentle nutty sweetness. The maple syrup keeps things refined-sugar-free, and because peanut butter already carries its own natural sweetness, you really do not need much at all.
The texture is everything you want from a peanut butter cup. The outer shell gives a clean, firm crack, and the filling inside is dense, creamy and just slightly salty. That salt hit against the dark chocolate is genuinely addictive. These cups are best served straight from the fridge or freezer, which keeps the chocolate firm and the filling cool. Arrange them on a small plate for a dinner party dessert, tuck two into a lunchbox alongside some fruit, or simply keep a batch in the freezer for when a sweet craving hits at 9pm. They also make a lovely edible gift. Stack a few in a small jar or box tied with ribbon and you have something that looks impressive but cost almost nothing to make.
From a nutritional standpoint, these cups deliver far more than a standard peanut butter cup from the confectionery aisle. Each cup clocks in at around 118 calories with 4 grams of protein, 3 grams of fibre and healthy monounsaturated fats from the peanut butter. The sugar content sits at just 4 grams per cup compared to roughly 10 grams in a standard Reese's mini. The oat flour contributes beta-glucan, a type of soluble fibre linked to improved cholesterol and steadier blood sugar levels. Dark chocolate at 85% cocoa adds magnesium, iron and those flavanols that support cardiovascular health. The recipe is naturally gluten-free if you use certified gluten-free oat flour, fully vegan, dairy-free, refined-sugar-free and egg-free. It is also no-bake, meaning zero oven time and zero stress. This is the kind of treat that genuinely earns its place in a balanced diet rather than just pretending to.
Ingredients
- 200 g 85% dark chocolate (chopped or use chips)
- 1 tbsp virgin coconut oil (refined works if you prefer no coconut flavour)
- 120 g natural smooth peanut butter (no added sugar or oil, stir well before measuring)
- 3 tbsp oat flour (use certified gluten-free if needed)
- 1.5 tbsp pure maple syrup (grade A or B both work)
- 0.3 tsp fine sea salt (plus extra flakes for topping)
- 0.5 tsp vanilla extract
Instructions
- 1
Line a standard 12-hole muffin tin with paper cupcake liners and set aside on a flat surface in the freezer for 5 minutes to chill while you prepare the chocolate.
Chilling the tin first helps the bottom chocolate layer set faster and more evenly.
- 2
Place the chopped dark chocolate and coconut oil in a heatproof bowl. Set it over a small saucepan of barely simmering water, making sure the base of the bowl does not touch the water. Stir gently and continuously until the chocolate is fully melted and glossy. Remove from the heat.
You can also melt the chocolate in a microwave in 30-second bursts, stirring between each interval, to avoid scorching.
- 3
Spoon roughly 1 teaspoon of the melted chocolate into the base of each cupcake liner. Use the back of the spoon to nudge it slightly up the sides, forming a shallow shell. Transfer the tin to the freezer for 8 to 10 minutes until the base layer is completely set and firm.
Do not skip coaxing the chocolate up the sides slightly. It creates a stronger cup that holds together cleanly when you peel the liner.
- 4
While the bases set, make the filling. Add the natural peanut butter, oat flour, maple syrup, fine sea salt and vanilla extract to a small bowl. Stir everything together until a thick, uniform paste forms. If the mixture feels very stiff, warm the peanut butter for 15 seconds in the microwave first to loosen it.
Taste the filling at this stage and adjust sweetness. Natural peanut butters vary quite a bit so you may want a touch more maple syrup.
- 5
Remove the tin from the freezer. Divide the peanut butter filling evenly between the 12 cups, using roughly 1.5 teaspoons per cup. Press the filling down gently with your fingertip or the back of a small spoon to flatten it into a disc shape, leaving a small gap around the edges so the top chocolate layer can seal it in.
- 6
Spoon the remaining melted chocolate over each filled cup, covering the peanut butter filling completely. Gently tap the tin on the counter a couple of times to level the chocolate and release any air bubbles.
If the chocolate has cooled and thickened while you made the filling, return it briefly to the bain-marie or microwave it for 15 seconds to loosen it again.
- 7
Immediately scatter a small pinch of flaky sea salt over the top of each cup before the chocolate sets. Transfer the tin to the fridge for at least 30 minutes, or to the freezer for 15 minutes, until completely firm.
The flaky salt on top is not just decorative. It amplifies the chocolate flavour significantly and balances the sweetness.
- 8
Once set, peel away the paper liners and serve directly from the fridge or freezer. They soften quickly at room temperature so keep them cold until you are ready to eat.
Nutrition per serving
118kcal
Calories
4g
Protein
9g
Carbs
8g
Fat
3g
Fibre
4g
Sugar
62mg
Sodium
Pro Tips
- ✓
Use peanut butter at room temperature. Cold peanut butter straight from the fridge becomes very stiff and is difficult to mix smoothly with the oat flour.
- ✓
Make your own oat flour in seconds by blending rolled oats in a food processor or high-speed blender until fine. One third of a cup of oats yields roughly 3 tablespoons of oat flour.
- ✓
The higher the cocoa percentage in your chocolate, the lower the sugar content. Go for at least 70% cocoa minimum, with 85% being the ideal sweet spot for flavour and nutrition.
- ✓
If the filling crumbles when you press it, the peanut butter may be too thick. Add a teaspoon of warm water or a tiny splash of extra maple syrup and stir again.
- ✓
Silicone mini muffin moulds produce neater, more uniform cups than paper liners if you have them available.
- ✓
For a cleaner snap when biting in, keep the cups frozen rather than just refrigerated.
Frequently Asked Questions
Variations
- •
Dark Chocolate Almond Butter Cups
Swap the peanut butter for natural almond butter and add a drop of almond extract to the filling. Top with a single toasted almond pressed into the chocolate before it sets.
- •
White Chocolate and Peanut Butter Cups
Use a good quality dairy-free white chocolate for the shell instead of dark chocolate. The sweetness increases slightly so reduce the maple syrup in the filling to just 1 teaspoon.
- •
Mocha Peanut Butter Cups
Stir half a teaspoon of instant espresso powder into the melted dark chocolate before assembling. The coffee deepens the chocolate flavour and pairs wonderfully with the salty peanut filling.
- •
Crunch Peanut Butter Cups
Mix 2 tablespoons of finely chopped roasted peanuts or puffed brown rice into the filling for crunch and added texture. A wonderful contrast against the smooth chocolate shell.
- •
Mini Bite-Size Cups
Use a 24-hole mini muffin tin with mini cupcake liners for smaller, snack-size cups. Halve the filling quantity per cup and reduce the setting time in the fridge to around 20 minutes.
Substitutions
- •Oat flour → Almond flour (Almond flour gives a slightly richer, more crumbly filling with a lower carb count. Use the same quantity. The texture will be a touch more delicate.)
- •Maple syrup → Raw honey (Honey works just as well and gives a slightly floral sweetness. Note this makes the recipe no longer vegan. Use the same quantity.)
- •Maple syrup → Liquid stevia or monk fruit sweetener (For a lower sugar, keto-friendly option, use 10 to 15 drops of liquid stevia or monk fruit sweetener to taste. Start with less as these are significantly sweeter than maple syrup.)
- •85% dark chocolate → 70% dark chocolate (Slightly sweeter and more approachable for those new to dark chocolate. Sugar content will be a little higher per cup but the recipe stays far healthier than conventional versions.)
- •Natural smooth peanut butter → Sunflower seed butter (A brilliant nut-free alternative that keeps the recipe safe for those with peanut or tree nut allergies. The flavour is slightly earthier but works very well with dark chocolate.)
🧊 Storage
Store finished cups in an airtight container in the fridge for up to 2 weeks. Layer them between sheets of baking paper to prevent sticking. For longer storage, transfer to a freezer-safe container and freeze for up to 3 months. Thaw in the fridge for 10 minutes before eating, or eat them straight from frozen for a firmer texture.
📅 Make Ahead
These cups are an ideal make-ahead treat. Prepare a full batch on the weekend and keep them in the fridge or freezer throughout the week. The filling can also be made up to 3 days ahead, rolled into small discs, and refrigerated on a lined tray until you are ready to assemble.
More Halloween Desserts Recipes
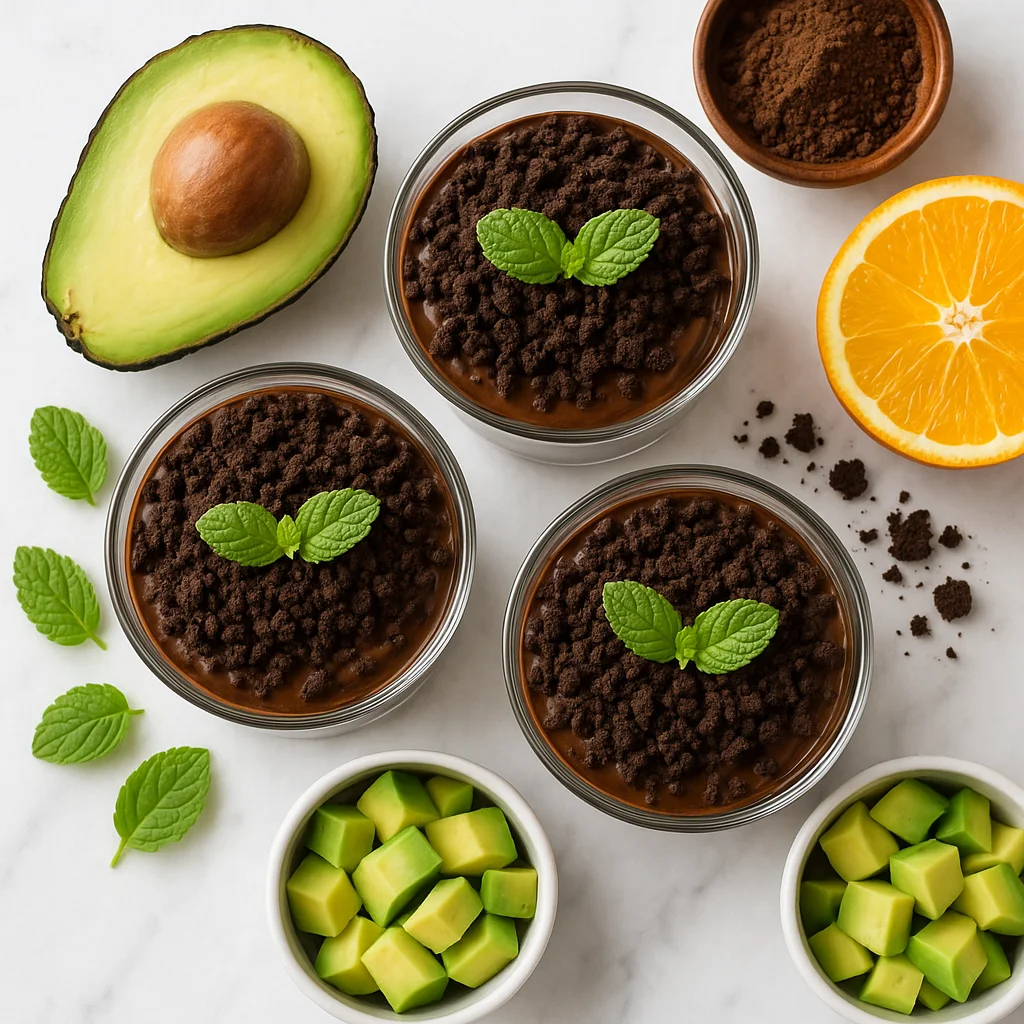
Dirt Pudding Cups Healthy Makeover with Avocado Chocolate Mousse
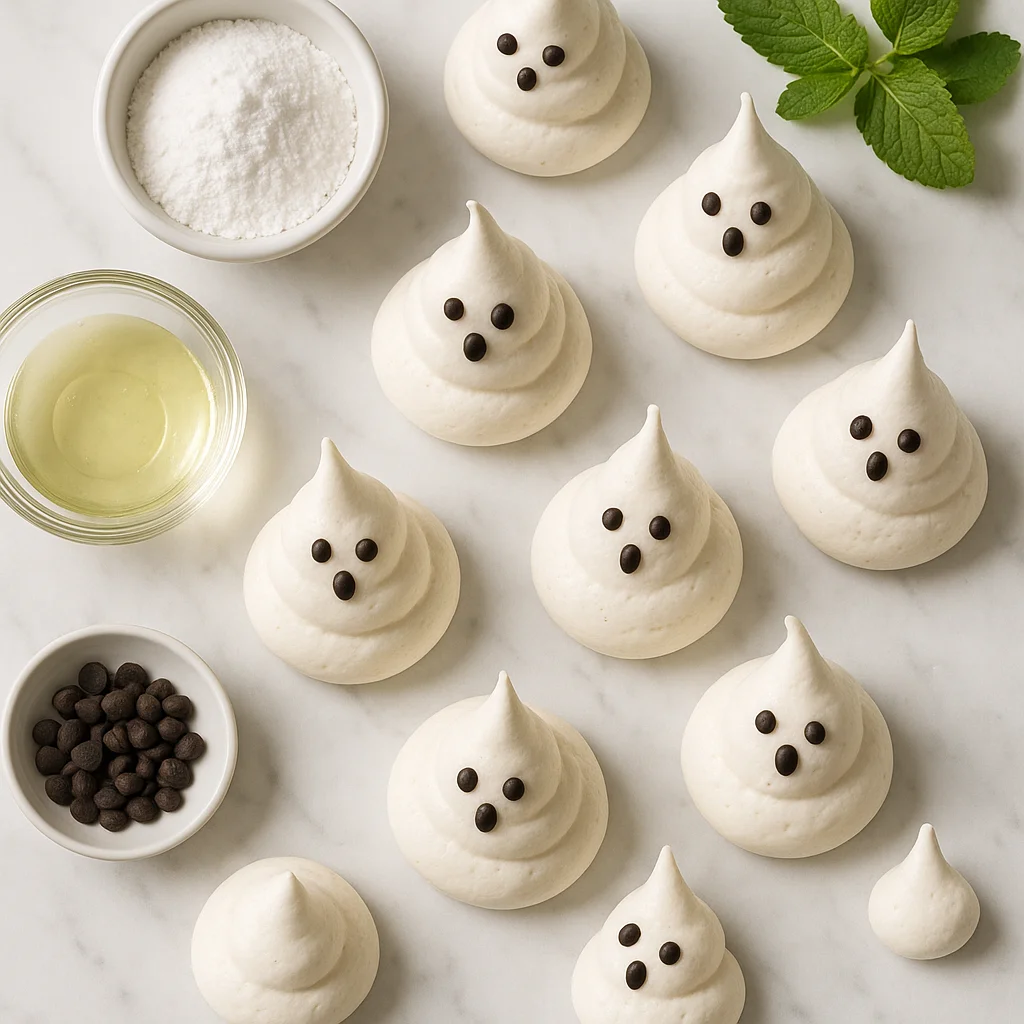
Halloween Ghost Meringue Cookies Sugar Free (Spooky & Light!)
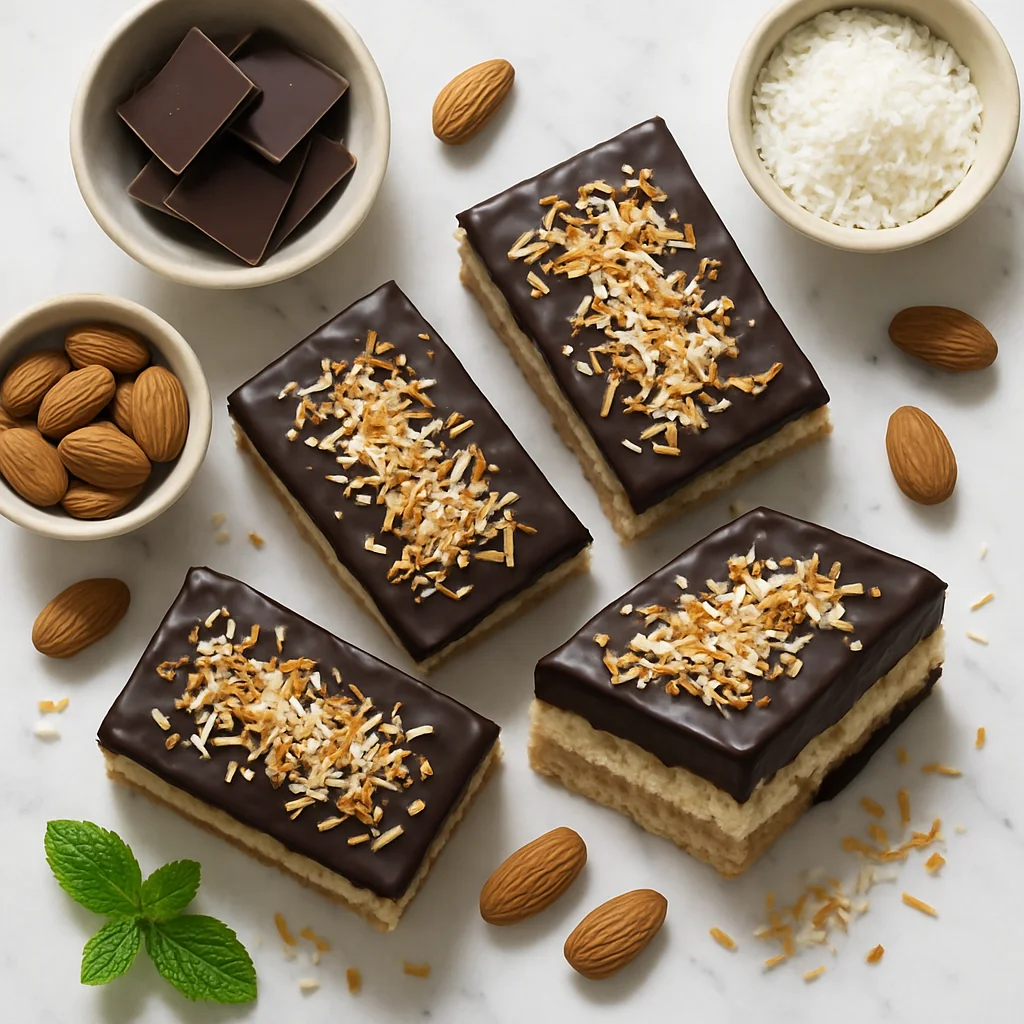
Healthy Almond Joy Bars Homemade with Dark Chocolate and Toasted Coconut