No Bake S'mores Bars Gluten Free with Healthy Chocolate Marshmallow Treats
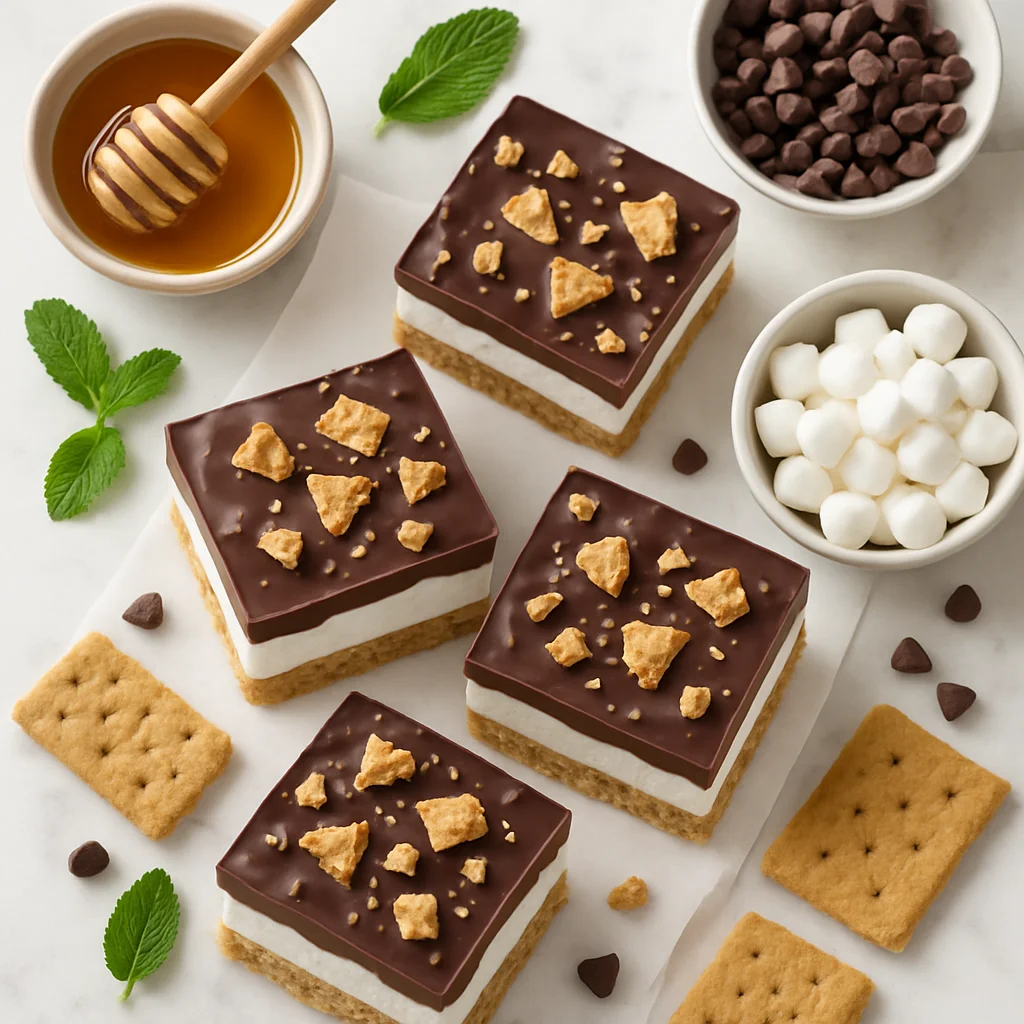
If you have ever craved the nostalgic, gooey magic of a campfire s'more but wanted something you could feel genuinely good about eating, these no bake s'mores bars gluten free are exactly what you have been looking for. Packed with wholesome ingredients, naturally sweetened, and completely free from gluten, these bars deliver every bit of that beloved chocolate, marshmallow, and graham cracker flavour, without the refined sugar overload or the need to turn on your oven.
Traditional s'mores are undeniably delicious, but they come loaded with refined sugars, processed crackers, and very little nutritional value. This healthier version flips the script entirely. The base is built from certified gluten free rolled oats and almond flour, giving you a hearty, fibre-rich foundation that mimics the crunch and warmth of a classic graham cracker. Ground cinnamon is the secret weapon here, it adds that distinctive graham cracker spice note that makes every bite taste like the real thing. Medjool dates and a touch of pure maple syrup provide natural sweetness with added minerals and antioxidants, while coconut oil binds everything together beautifully without any butter or dairy.
The chocolate layer is where things get truly indulgent, in the best possible way. We use high-quality dark chocolate (70% cacao or higher) melted with a little coconut oil to create a glossy, antioxidant-rich layer that sets firm in the fridge. Dark chocolate at this cacao percentage contains significantly less sugar than milk chocolate and is rich in flavonoids, which have been linked to heart health and reduced inflammation. You get all the chocolatey satisfaction with a fraction of the guilt. One important note: always melt your chocolate gently and keep any water well away from it, even a single drop can cause the chocolate to seize and turn grainy.
For the marshmallow layer, we keep things simple and light. Mini marshmallows work perfectly here, look for brands that use natural flavours and are certified gluten free, or opt for a vegan version made without gelatin (Dandies is a widely available and excellent option) if you prefer a fully plant-based bar. The marshmallow layer is kept deliberately thin so you get that iconic s'mores flavour hit without overloading on sugar. If you want to go completely refined sugar free, there are now excellent sugar-free marshmallow options available at health food stores that work brilliantly in this recipe.
What makes these bars stand out from other no bake s'mores recipes is the thoughtful layered approach. Rather than mixing everything together, we build distinct layers, crunchy oat-date base, melted dark chocolate, toasted marshmallow, so every single bite gives you that full s'mores experience. If you have a kitchen torch, a quick pass over the marshmallows before drizzling the final chocolate creates an authentically toasted, slightly smoky top that takes these bars from great to extraordinary. The bars are pressed into a lined baking tin, chilled until firm, and then sliced into neat, portable rectangles that are perfect for lunchboxes, picnics, after-school snacks, or a satisfying post-dinner treat.
From a nutritional standpoint, each bar comes in at around 165 calories with 3 grams of protein, 4 grams of fibre, and a sugar content significantly lower than any store-bought s'mores product. The oats and almond flour contribute slow-release carbohydrates that help keep blood sugar levels stable, making these a far smarter choice than their conventional counterparts. They are also naturally dairy free, making them suitable for those with lactose intolerance or a dairy sensitivity.
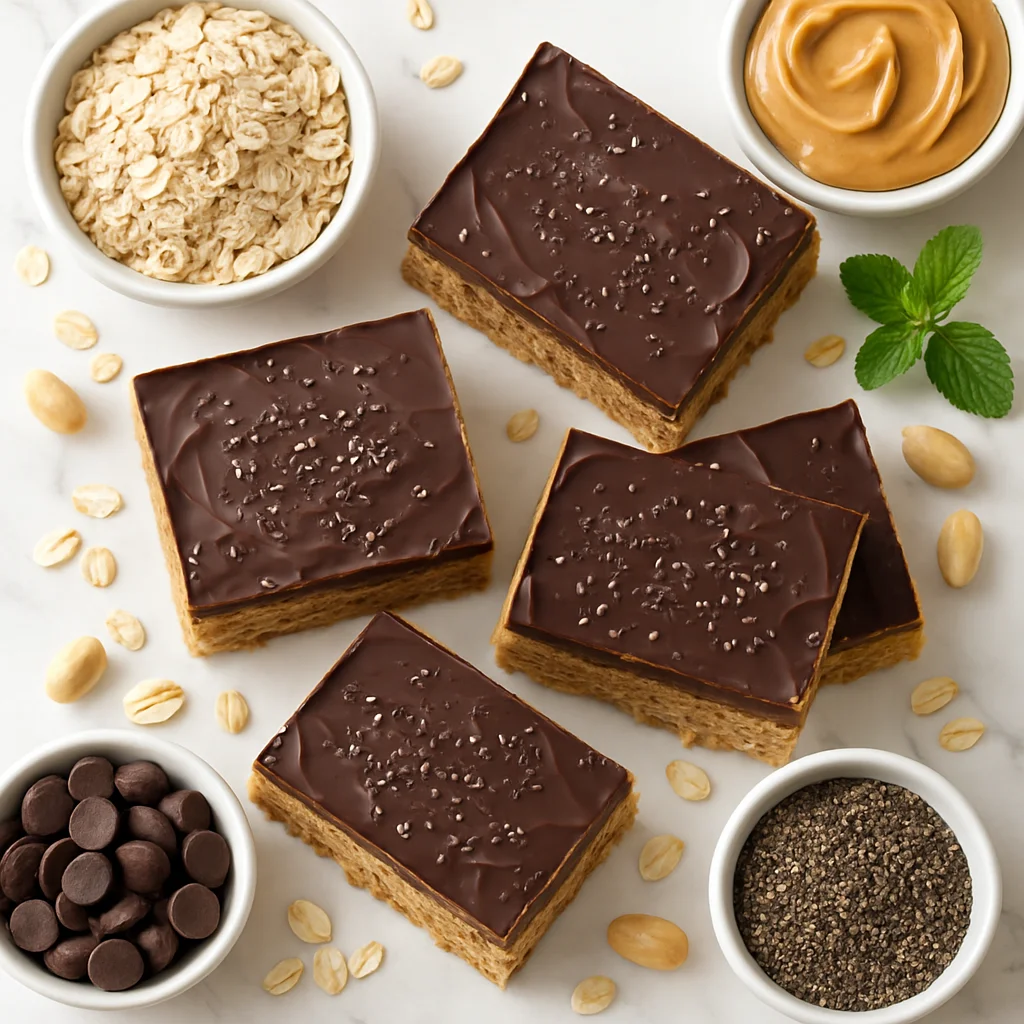
These no bake gluten free s'mores bars are also wonderfully customisable. You can swap the almond flour for sunflower seed flour to make them nut free, add a pinch of smoked sea salt on top of the chocolate layer for a sophisticated flavour contrast, or stir the zest of one orange into the melted chocolate for a dark chocolate orange twist. A sprinkle of toasted unsweetened desiccated coconut or hemp seeds on the base layer adds extra texture and nutrition without compromising the s'mores aesthetic. For a peanut butter lover's version, simply spread a thin layer of natural peanut butter over the oat base before adding the chocolate, the result is a peanut butter cup meets campfire s'more that is absolutely irresistible.
One of the best things about this recipe is how beginner-friendly it is. There is no candy thermometer, no tempering chocolate, no complicated techniques required. If you can melt chocolate and press a mixture into a tin, you can make these bars. The entire process from start to finish takes around 20 minutes of active time, after which the fridge does all the work for you. For the absolute cleanest slices, chill the bars overnight and warm your knife under hot water before each cut, wiping it clean between slices.
They keep beautifully for up to a week refrigerated and can even be frozen for up to three months, making them an ideal meal-prep dessert. The flavour and texture actually improve after 24 hours as the layers fully set and meld together, so if you can resist eating them immediately, you will be rewarded.
Whether you are managing a gluten intolerance, cooking for a crowd with mixed dietary needs, or simply trying to bring more wholesome ingredients into your sweet treats, these no bake s'mores bars gluten free will become a staple in your healthy baking repertoire. Make a batch this weekend, we guarantee they will disappear fast.
Ingredients
- 1.5 cups certified gluten free rolled oats (pulsed briefly in a blender for a finer texture; must be labelled certified GF to avoid cross-contamination)
- 0.8 cup almond flour (blanched, fine-ground; do not substitute with almond meal as the coarser texture will make the base crumbly)
- 8 whole Medjool dates (pitted and soaked in warm water for 10 minutes if firm; fresh, soft dates will blend smoothly without soaking)
- 3 tbsp pure maple syrup (grade A or B; grade B has a deeper, more caramel-like flavour that complements the graham cracker base)
- 3 tbsp coconut oil (melted, divided — 2 tbsp go into the base, 1 tbsp is reserved for the chocolate layer; refined coconut oil has a neutral flavour if you prefer no coconut taste)
- 1 tsp vanilla extract (pure vanilla extract only; avoid imitation vanilla which can contain added sugars and artificial flavours)
- 0.3 tsp fine sea salt (balances the sweetness of the dates; do not omit)
- 1 tsp ground cinnamon (key to achieving that authentic graham cracker warmth; Ceylon cinnamon has a more delicate flavour while cassia cinnamon is bolder)
- 180 g dark chocolate chips or chopped dark chocolate (70% cacao or higher, certified gluten free; check label for milk solids if making vegan — Enjoy Life and Hu Kitchen are reliable allergen-friendly brands)
- 1 tbsp coconut oil (for melting with chocolate; creates a glossy, smooth layer that sets firmly when chilled)
- 1.5 cups mini marshmallows (gluten free certified; for vegan version use Dandies brand (gelatin-free); for a refined sugar free option, look for sugar-free marshmallows at health food stores)
- 1 tsp flaky sea salt (optional but highly recommended — the contrast between salty and sweet elevates the whole bar; Maldon or Fleur de Sel work beautifully)
Instructions
- 1
Line a 8x8 inch square baking pan with parchment paper, leaving overhang on all sides for easy removal. Set aside.
If you only have a 9x9 inch pan, your bars will be slightly thinner — reduce chilling time by 15 minutes. An 8x8 pan gives the ideal bar thickness.
- 2
Pulse the gluten free rolled oats in a food processor or blender 6 to 8 times until they resemble a rough flour with some texture remaining. Do not over-process — some texture is desirable.
Stop pulsing when the oats look like a coarse flour with visible flakes still present. This mixed texture is what gives the base its satisfying graham cracker-like bite.
- 3
Add the drained Medjool dates to the food processor with the pulsed oats, almond flour, maple syrup, 2 tablespoons of melted coconut oil, vanilla extract, cinnamon, and fine sea salt. Process until the mixture comes together into a sticky, cohesive dough. It should hold its shape when pressed between your fingers.
If the mixture seems too dry or crumbly, add one teaspoon of water at a time, pulsing between additions, until it comes together. The dough should hold its shape when pressed firmly between two fingers.
- 4
Transfer the oat-date base into the prepared pan and press it down firmly and evenly using the back of a spoon or the flat bottom of a measuring cup. Make sure the layer is compact and uniform. Place in the freezer for 10 minutes to firm up.
Wetting your hands slightly prevents the mixture from sticking while you press it down. A flat-bottomed glass or measuring cup works especially well to create an even, compact layer.
- 5
While the base chills, melt the dark chocolate with 1 tablespoon of coconut oil in a heatproof bowl set over a pan of gently simmering water (double boiler method), stirring constantly until completely smooth and glossy. Alternatively, melt in the microwave in 30-second bursts, stirring between each.
Keep all equipment completely dry before melting chocolate — even a single drop of water can cause the chocolate to seize into a grainy mass. If using the double boiler, ensure the bowl sits above, not touching, the simmering water.
- 6
Remove the base from the freezer and pour approximately two-thirds of the melted chocolate over the top, spreading it into an even layer with a spatula. Return to the freezer for 5 minutes to set slightly.
Reserving one-third of the chocolate for the top is important — it acts as the glue that holds the marshmallows in place and gives you that authentic s'mores chocolate-on-top finish.
- 7
Scatter the mini marshmallows evenly over the partially set chocolate layer, pressing them down gently so they adhere. Drizzle the remaining melted chocolate over the marshmallows in thin lines or spread lightly to help bind them.
For an authentic toasted marshmallow effect, use a kitchen torch to briefly torch the marshmallows for 10 to 15 seconds before adding the remaining chocolate drizzle. Alternatively, place under a grill or broiler for 60 to 90 seconds, watching closely.
- 8
Sprinkle with flaky sea salt if using. Transfer the pan to the refrigerator and chill for a minimum of 60 minutes, or until completely set and firm throughout.
For the cleanest, most professional-looking cuts, chill overnight rather than the minimum 60 minutes. The longer chill allows all layers to fully set and bond together.
- 9
Lift the bars out of the pan using the parchment overhang and transfer to a cutting board. Use a sharp knife warmed under hot water and dried to slice into 12 even bars.
Wipe the knife completely clean between each cut for the neatest edges. Running the blade under hot water and drying it before each slice helps it glide through the chocolate layer without cracking.
Nutrition per serving
165kcal
Calories
3.2g
Protein
21g
Carbs
8.5g
Fat
3.8g
Fibre
11g
Sugar
85mg
Sodium
Pro Tips
- ✓
Use the highest quality dark chocolate you can find, at least 70% cacao, it makes a dramatic difference to the final flavour and gives you a richer antioxidant hit than lower-percentage chocolate.
- ✓
Always use certified gluten free rolled oats, not standard oats. Regular oats are frequently cross-contaminated with wheat during growing and processing, which can cause reactions in people with coeliac disease or gluten sensitivity.
- ✓
Soak firm Medjool dates in warm water for 10 minutes before blending. This softens them so they blend into a smooth, sticky paste that binds the base evenly, skipping this step with dry dates often leads to a crumbly, inconsistent texture.
- ✓
For the most authentic graham cracker flavour, add half a teaspoon of molasses and an extra pinch of ground cinnamon to the base mixture. These two additions replicate the deep, caramel-like warmth that makes traditional graham crackers so distinctive.
- ✓
Keep water completely away from your melting chocolate. Even a single drop of moisture can cause the chocolate to seize into a grainy, clumped mass. Use a completely dry bowl and spatula, and if using the double boiler method, make sure the bowl sits above, not touching, the simmering water.
- ✓
For the neatest, most professional-looking bars, chill overnight rather than the minimum 60 minutes, then run a sharp knife under hot water and dry it before each cut. Wiping the blade clean between slices gives you crisp, photo-worthy edges every time.
Frequently Asked Questions
Variations
- •
Peanut Butter S'mores Bars
Spread a thin layer of natural peanut butter over the oat base before adding the chocolate layer for a peanut butter cup meets s'more flavour combination.
- •
Coconut S'mores Bars
Mix 3 tablespoons of toasted unsweetened desiccated coconut into the oat base and sprinkle more on top for a tropical twist.
- •
Mint Chocolate S'mores Bars
Add half a teaspoon of peppermint extract to the melted chocolate layer for a refreshing mint chocolate s'mores experience.
- •
Dark Chocolate Orange S'mores Bars
Stir the zest of one large orange into the melted chocolate before spreading over the base. The citrus brightens the dark chocolate beautifully.
- •
Keto-Friendly S'mores Bars
Replace the oats with additional almond flour and unsweetened shredded coconut, use a sugar-free dark chocolate and sugar-free marshmallows, and swap maple syrup for monk fruit sweetener for a low-carb version.
Substitutions
- •Medjool dates → Pitted prunes or dried figs (Use the same quantity by weight. The flavour will be slightly different but the binding effect is similar.)
- •Almond flour → Sunflower seed flour or certified GF oat flour (Use a 1:1 replacement. Sunflower seed flour makes the recipe nut free; oat flour gives a slightly softer texture.)
- •Maple syrup → Raw honey or agave nectar (Use the same quantity. Honey is not vegan. Agave has a slightly more neutral flavour.)
- •Coconut oil → Refined avocado oil or vegan butter (Refined avocado oil has a neutral flavour. Vegan butter adds a richer taste to the base.)
- •Dark chocolate chips → Carob chips (For a caffeine-free version, carob chips work well, though the flavour will be less intense and slightly sweeter.)
- •Mini marshmallows → Vegan marshmallows or coconut cream dollops (Dandies brand vegan marshmallows are an excellent gelatin-free option. For a marshmallow-free version, dollops of lightly sweetened whipped coconut cream add creaminess.)
🧊 Storage
Store in an airtight container in the refrigerator for up to 7 days. Place parchment paper between layers to prevent sticking. For longer storage, freeze individually wrapped bars in a freezer-safe bag for up to 3 months. Thaw overnight in the refrigerator before serving. Do not store at room temperature for extended periods as the chocolate layer will soften.
📅 Make Ahead
These bars are ideal for making ahead. Prepare and chill them up to 3 days in advance and store refrigerated until ready to serve. The flavour and texture actually improve after 24 hours as the layers fully set and meld together. You can also freeze the entire uncut slab tightly wrapped in plastic wrap and foil for up to 3 months.
More No-Bake Desserts Recipes
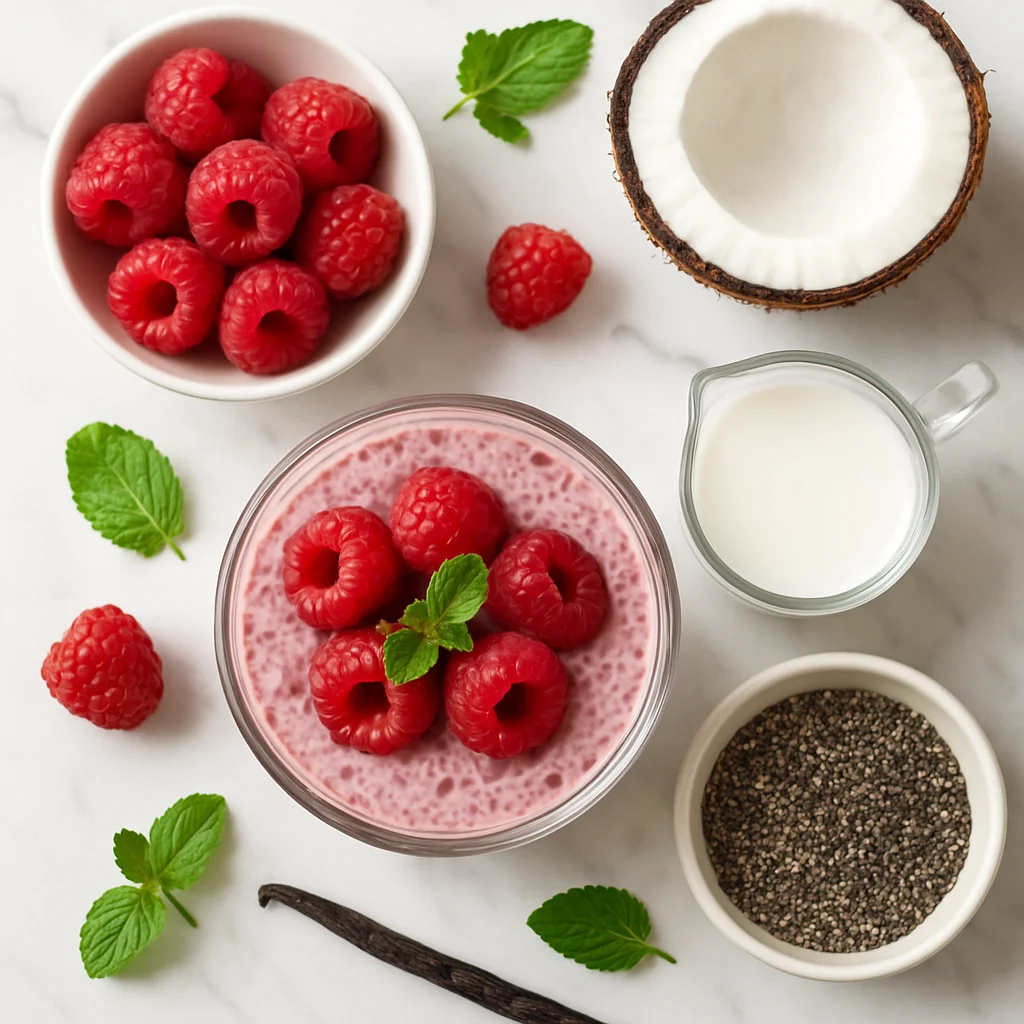
No Bake Raspberry Chia Seed Pudding with Vanilla and Coconut Milk
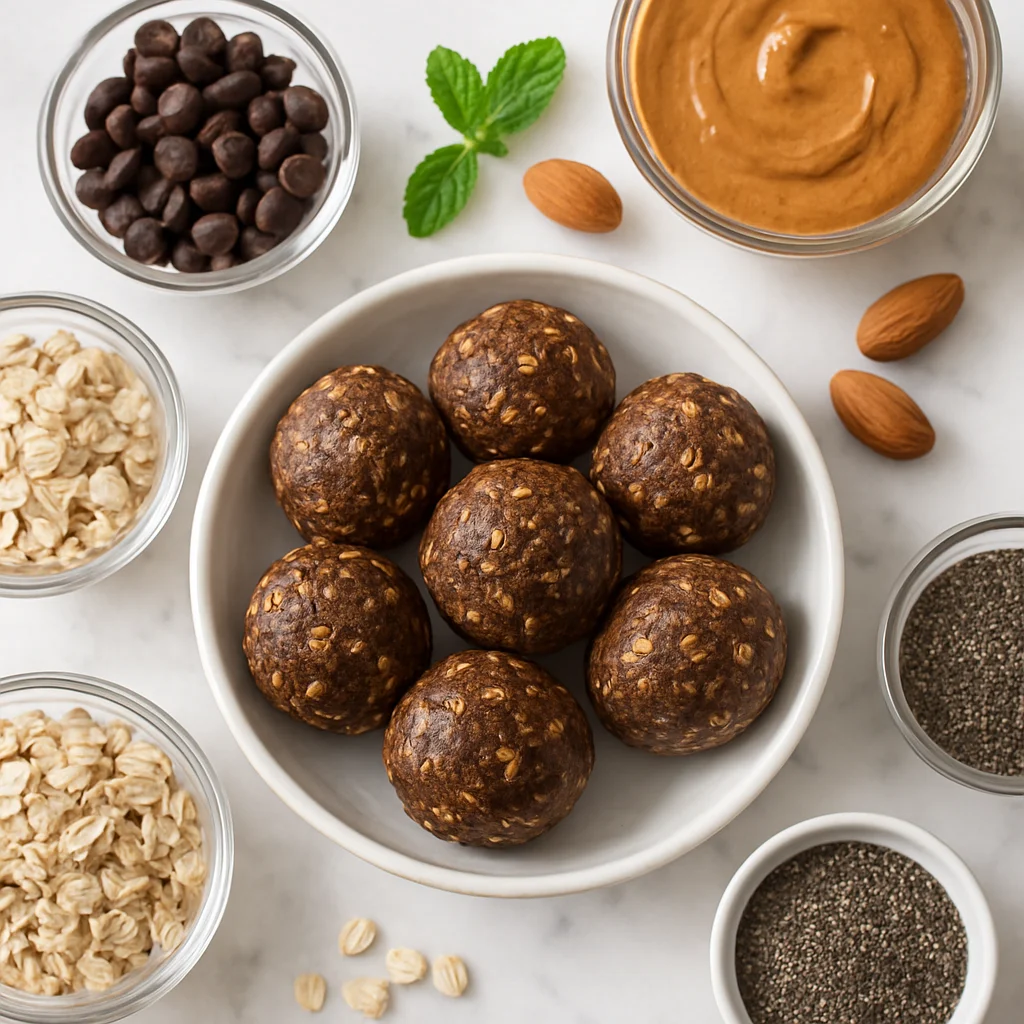
No Bake Chocolate Oat Energy Balls with Chia and Almond Butter
No Bake White Chocolate Coconut Truffles (Healthy & Refined Sugar-Free)