No Bake White Chocolate Coconut Truffles (Healthy & Refined Sugar-Free)
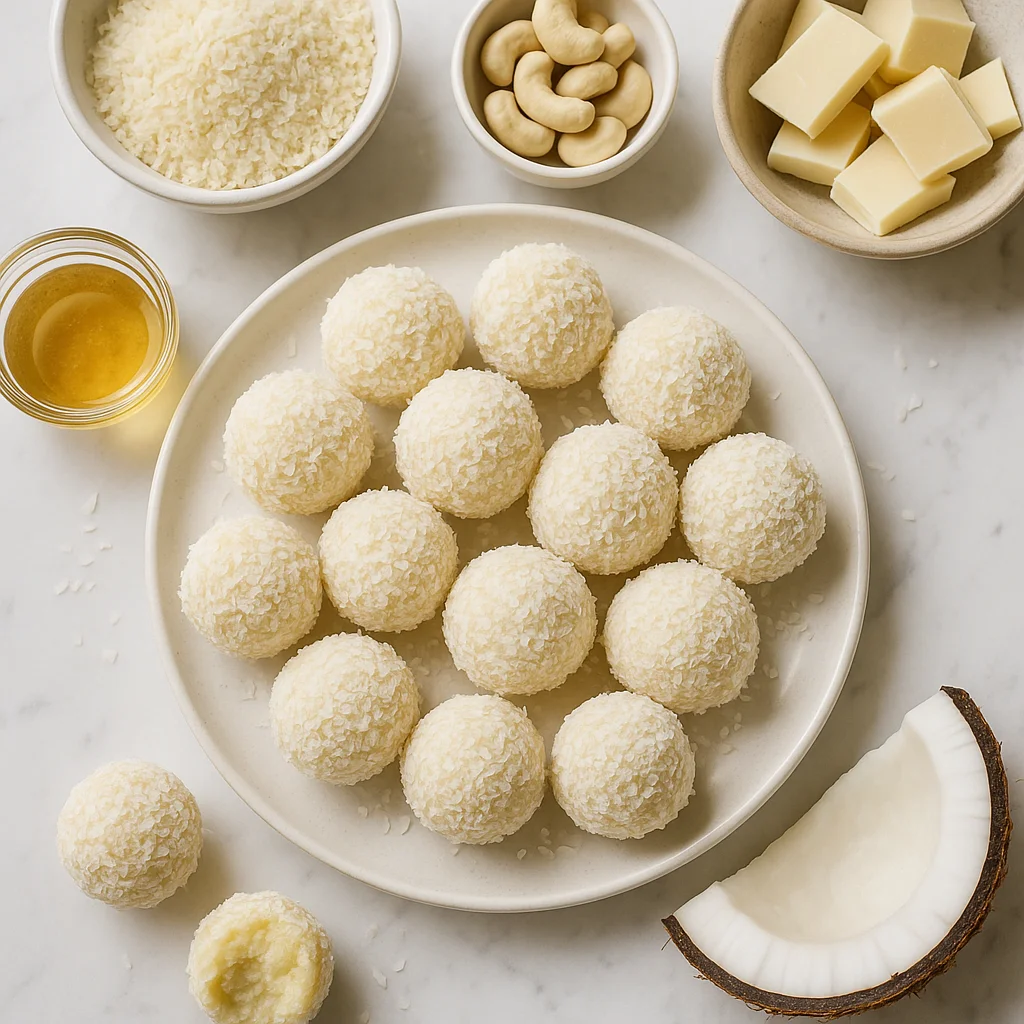
White chocolate is frequently dismissed as not real chocolate, a description that is technically accurate since it contains no cocoa solids but is somewhat unfair to a product made from cocoa butter, milk and sugar that, when handled correctly, produces a rich, creamy, vanilla-forward sweetness that is genuinely good. This recipe redeems white chocolate entirely by pairing it with coconut, which provides a contrasting tropical fragrance and a slightly fibrous texture that stops the truffles from being purely rich and sweet. Made without baking, refined sugar-free and rolled in desiccated coconut, these truffles look like small snowballs and taste considerably more interesting than their plain appearance suggests.
Why this recipe works
High-quality white chocolate, melted with a small amount of coconut cream, produces a ganache that sets to a truffle-like consistency when chilled. The coconut cream adds a subtle tropical note that pairs naturally with the vanilla in the white chocolate and prevents the flavour from being one-dimensionally sweet. Desiccated coconut mixed through the ganache before chilling adds texture and coconut flavour throughout the truffle rather than just on the coating. A small amount of vanilla extract and a pinch of sea salt sharpen all the flavours and make each truffle taste more considered.
Getting it right
Use a white chocolate with a high cocoa butter content rather than a cheap confectionery coating. Compound chocolate, made with vegetable fat rather than cocoa butter, does not melt and set in the same way and produces a waxy, unpleasant truffle.
Chill the ganache mixture until it is firm enough to scoop and roll without melting in your hands. This typically requires two hours in the fridge minimum. If the ganache is still too soft, return it to the fridge for another thirty minutes.
Common mistakes
Melting the white chocolate at too high a temperature causes it to seize or scorch. White chocolate is more sensitive to heat than dark chocolate. Use a very low temperature and stir constantly.
Rolling warm truffles in the coconut produces an uneven coating that falls off rather than adhering. The truffle must be cold and firm for the coconut to stick properly.
Substitutions
Dark chocolate in the same quantity produces a completely different truffle with a richer, more intense flavour. Matcha powder mixed into the coconut coating creates a striking visual contrast and adds a bitter note that balances the sweetness. A small amount of lime zest stirred into the ganache before chilling adds a citrus brightness.
Serving suggestion
Arrange in small paper cases on a plate or box. These keep refrigerated for up to two weeks and make a beautiful edible gift wrapped in a small box lined with parchment.
Ingredients
- 80 g cacao butter (finely chopped or grated for faster, more even melting; must be food-grade, not cosmetic-grade)
- 60 ml full-fat coconut cream (scooped from the top of a can chilled overnight in the refrigerator; avoid the watery liquid at the bottom)
- 90 g raw cashew butter (smooth and unsalted; stir well before measuring if the oil has separated)
- 2 tbsp pure maple syrup (grade A or B; adjust to taste — add an extra half tablespoon if you prefer a sweeter truffle)
- 1 tsp vanilla bean paste (or 1 tsp pure vanilla extract; vanilla bean paste gives a more intense, authentic flavour with visible vanilla specks)
- 1 pinch fine sea salt (enhances the sweetness and rounds out the white chocolate flavour; do not skip)
- 40 g desiccated coconut (unsweetened and finely shredded; adds subtle chew and fibre to the truffle base)
- 60 g shredded coconut flakes (unsweetened large flakes for rolling; toast just before use for maximum crunch and aroma)
Instructions
- 1
Place the finely chopped cacao butter in a heatproof bowl set over a small saucepan of gently simmering water. Stir occasionally until fully melted and smooth. Remove from the heat and allow to cool for 2 minutes.
Make sure no water or steam comes into contact with the cacao butter as it melts — even a small amount of moisture can cause it to seize into a grainy, unworkable mass. Keep the water at a gentle simmer rather than a rolling boil.
- 2
Add the coconut cream, cashew butter, maple syrup, vanilla bean paste, and sea salt to the melted cacao butter. Whisk vigorously until the mixture is completely smooth, glossy, and well combined.
If your coconut cream has solidified in the can, gently warm it in a small bowl set over hot water or microwave it for 10 seconds until just soft but not hot. Adding cold coconut cream to warm cacao butter can cause the fat to solidify and seize.
- 3
Stir in the desiccated coconut until evenly distributed throughout the mixture.
Fold the coconut in gently with a rubber spatula rather than whisking to avoid overworking the mixture. The batter should look thick, smooth, and glossy at this stage.
- 4
Transfer the mixture to a shallow dish or container, cover with a lid or cling film pressed directly onto the surface, and refrigerate for at least 2 hours or until firm enough to scoop and roll.
Pressing the cling film directly against the surface of the mixture prevents a skin from forming on top. For a quicker set, place the mixture in the freezer for 45 to 50 minutes, checking every 20 minutes — you want it firm but not frozen solid.
- 5
While the mixture chills, spread the shredded coconut flakes in a dry skillet over medium-low heat. Toast, stirring frequently, for 3 to 4 minutes until golden and fragrant. Transfer to a shallow bowl and allow to cool completely.
Watch the coconut carefully — it can go from pale to deeply golden in under a minute. Stir constantly and remove from the heat as soon as you see the edges turning golden, as it will continue to colour slightly from the residual heat of the pan.
- 6
Once the truffle mixture is firm, use a small cookie scoop or tablespoon to portion out 16 even pieces. Working quickly, roll each portion between your palms to form a smooth ball.
If the mixture warms and becomes too soft to handle cleanly, return the whole dish to the refrigerator for 10 minutes before continuing. Cold hands are your best friend here — run them under cold water and dry thoroughly before each batch of rolling.
- 7
Roll each truffle ball in the toasted coconut flakes, pressing gently to ensure an even coating all around. Place on a parchment-lined tray or plate.
For an extra-generous coconut coating, roll each truffle twice — once immediately after rolling into a ball, then again after they have chilled briefly. The second coat will adhere to any patches where the first layer is thin.
- 8
Once all truffles are rolled, refrigerate for a further 15 minutes to allow them to firm up and the coating to set. Serve chilled and enjoy.
Remove the truffles from the refrigerator 5 to 10 minutes before serving for the creamiest, most melt-in-your-mouth texture. Straight from the fridge they will be slightly firmer and less aromatic.
Nutrition per serving
95kcal
Calories
1.8g
Protein
5.2g
Carbs
8.1g
Fat
1.3g
Fibre
3.8g
Sugar
18mg
Sodium
Pro Tips
- ✓
Use food-grade organic cacao butter for the cleanest, most authentic white chocolate flavour, it should smell gently of cocoa and vanilla, not rancid or overly processed.
- ✓
Chill your can of full-fat coconut cream in the refrigerator overnight before opening. This causes the thick cream to rise and solidify at the top, making it easy to scoop out without any watery liquid, which is essential for a firm truffle mixture.
- ✓
If your hands are warm, rinse them under cold water and dry thoroughly before rolling each truffle. Working in small batches of four or five at a time helps prevent the mixture from softening too much between rolls.
- ✓
A small spring-loaded cookie scoop (1 tablespoon size) is the best tool for portioning the mixture evenly. This ensures all your truffles are the same size, which means they set at the same rate and look professional on a serving platter.
- ✓
Toast the coconut flakes just before you are ready to roll, freshly toasted coconut has the best aroma and crunch, and will adhere more readily to the truffle surface than coconut that has been sitting for a while.
- ✓
Taste the mixture before chilling and adjust sweetness to your preference by adding a little extra maple syrup, half a teaspoon at a time. The flavour will mellow slightly once chilled, so it is fine if it tastes just slightly sweeter than you want at the mixing stage.
Frequently Asked Questions
Variations
- •
Raspberry & White Chocolate Truffles
Roll the finished truffles in freeze-dried raspberry powder instead of toasted coconut for a vibrant pink coating with a fruity tang that balances the creamy white chocolate flavour beautifully.
- •
Matcha White Chocolate Truffles
Whisk 1 teaspoon of ceremonial-grade matcha powder into the truffle mixture and roll the finished balls in a combination of matcha powder and desiccated coconut for an elegant green tea twist.
- •
Lemon & Coconut White Chocolate Truffles
Add the zest of one large unwaxed lemon and a teaspoon of fresh lemon juice to the truffle mixture for a bright, citrusy version that is particularly refreshing in warmer months.
- •
Dark Chocolate Drizzle Truffles
After rolling in coconut, drizzle the set truffles with melted dark chocolate (85% cocoa) for a sophisticated finish and an antioxidant boost. Allow the drizzle to set in the refrigerator before serving.
Substitutions
- •Cacao butter → Dairy-free white chocolate chips (Use 80g melted dairy-free white chocolate chips. The truffles will no longer be refined sugar-free but the method remains the same.)
- •Cashew butter → Sunflower seed butter (Perfect for a nut-free version. Use the same quantity and ensure it is smooth and unsalted for the best result.)
- •Maple syrup → Raw agave nectar or coconut nectar (Both work as a 1:1 swap and maintain the refined sugar-free status of the recipe.)
- •Full-fat coconut cream → Cashew cream (Blend 60g raw soaked cashews with 3 tablespoons of water until very smooth to create a rich cashew cream alternative.)
- •Shredded coconut flakes (coating) → Finely chopped pistachios or crushed freeze-dried fruit (Any finely textured coating ingredient works well. Choose based on your flavour preference or dietary needs.)
🧊 Storage
Store finished truffles in a single layer or separated by parchment paper in an airtight container in the refrigerator for up to 10 days. For longer storage, freeze in an airtight container for up to 2 months and thaw overnight in the refrigerator before serving. Do not store at room temperature for extended periods as the cacao butter base will soften.
📅 Make Ahead
The truffle mixture can be made up to 48 hours in advance and kept covered in the refrigerator until you are ready to roll and coat. Alternatively, the finished truffles can be made up to 5 days ahead of serving and kept refrigerated, making them ideal for meal prep, party planning, or homemade gift preparation.
More No-Bake Desserts Recipes
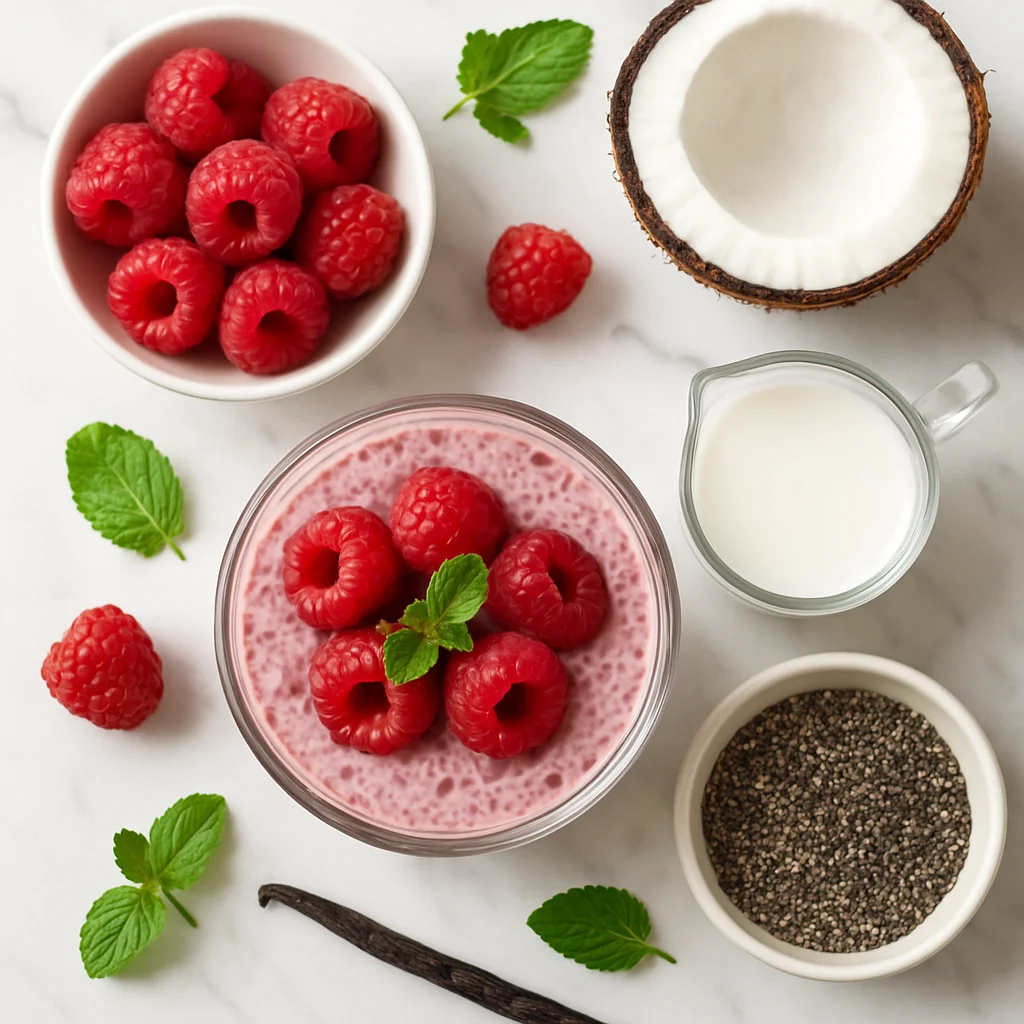
No Bake Raspberry Chia Seed Pudding with Vanilla and Coconut Milk
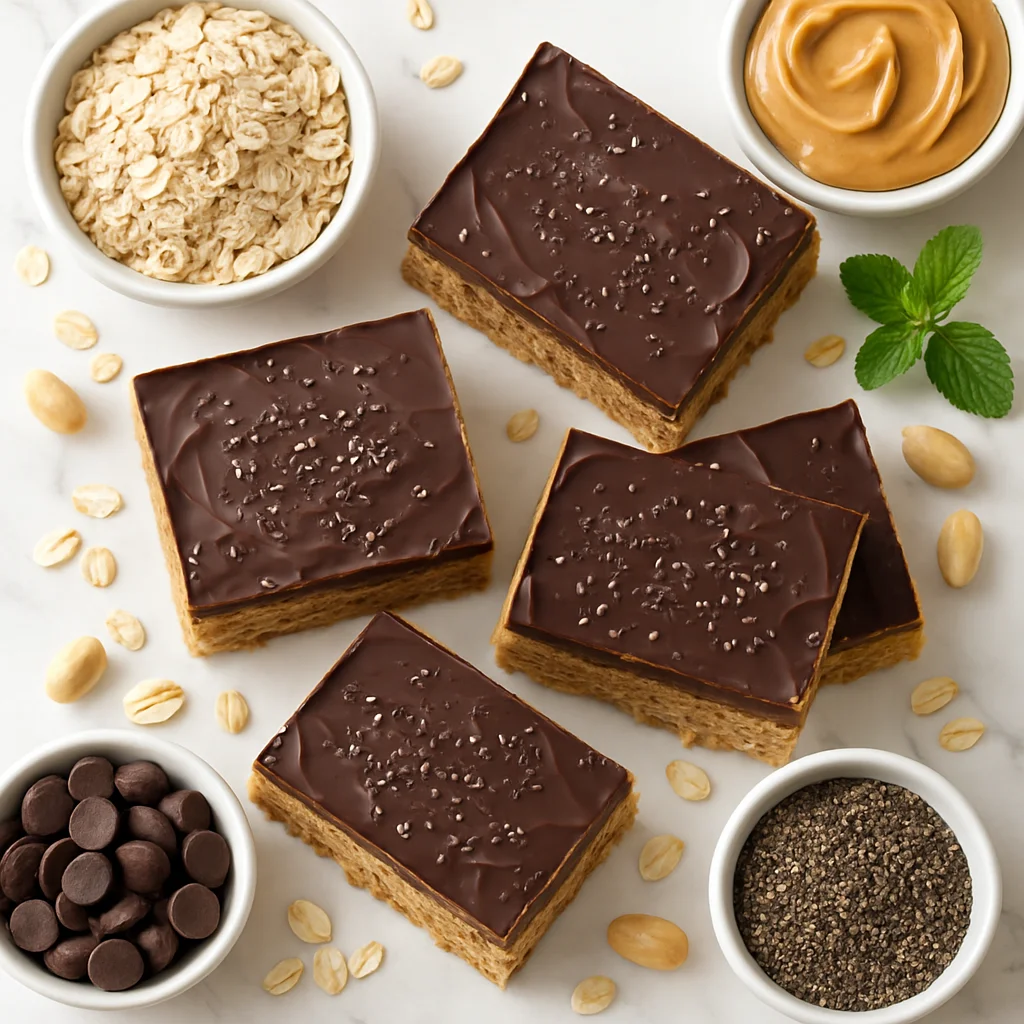
No Bake Peanut Butter Oat Bars with Dark Chocolate and Chia Seeds
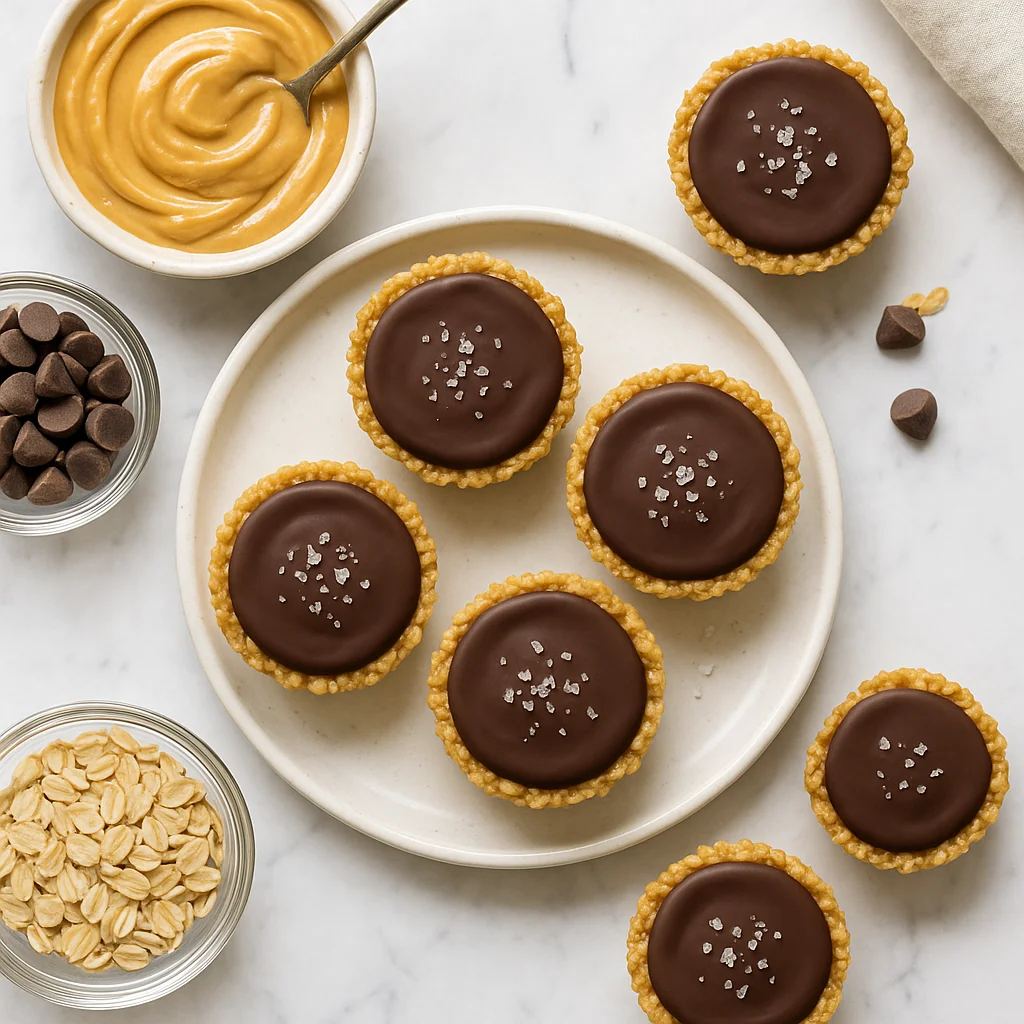
No Bake Chocolate Oat Energy Balls with Chia and Almond Butter