Vegan Banana Nice Cream
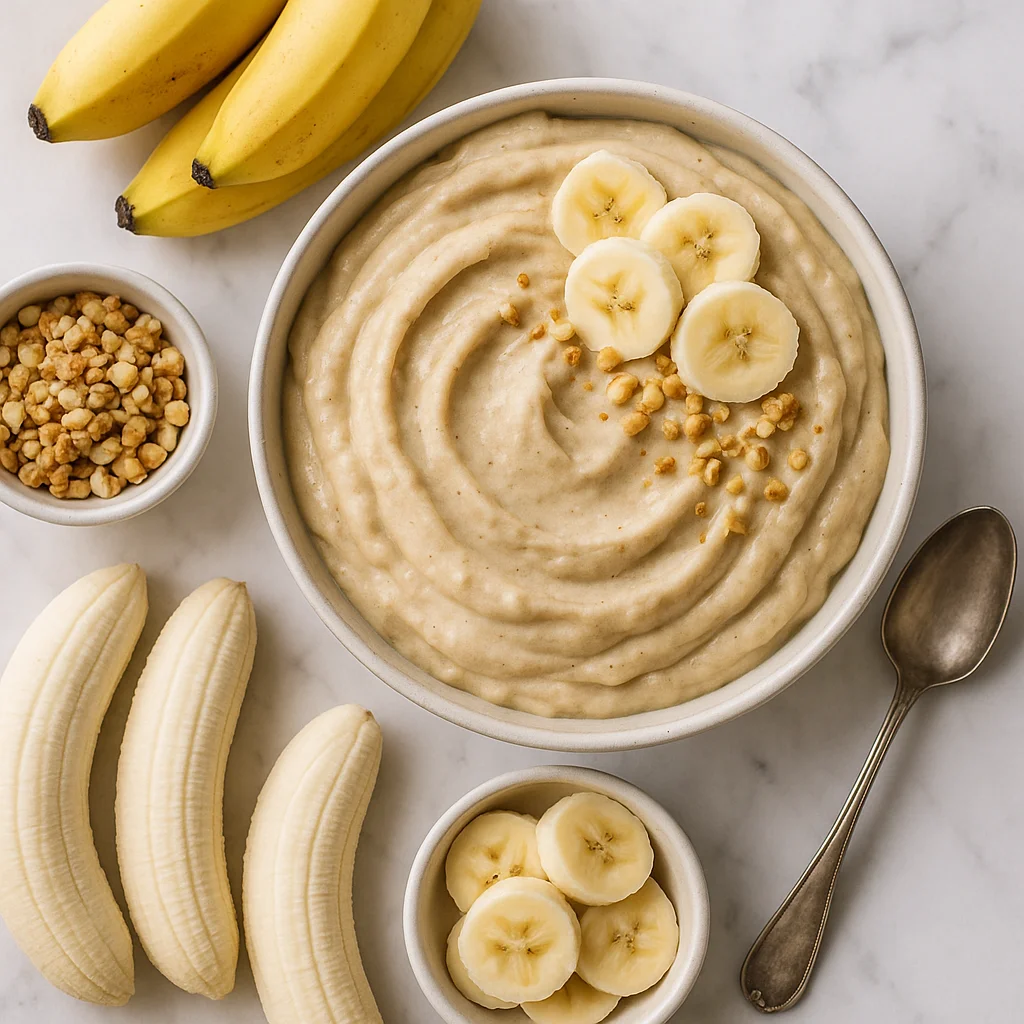
The freezer is the oven in this recipe. There is no heat involved, no baking chemistry to understand and no risk of anything going wrong in a conventional cooking sense. You freeze bananas, you blend them and you have ice cream. The result is so consistently good that it has built an entire category of healthy dessert-making around it. Vegan banana nice cream, the most basic version, is one frozen banana blended until smooth. Everything else, the flavourings, the mix-ins and the serving suggestions, is negotiable. But the underlying technique, this one, is not.
Why this recipe works
Bananas contain starch, natural sugars, water and fibre. When frozen, the water within the banana cells turns to ice crystals. When blended from frozen, the starch and fibre act as natural emulsifiers, binding the ice crystals and creating a smooth, thick texture that resembles churned dairy ice cream much more closely than you would expect from a single ingredient. Overripe bananas, the ones with dark spots or fully brown skins, have more developed natural sugars and produce a sweeter, more flavourful result. They also contain more pectin, which contributes to the creaminess of the blended texture.
Getting it right
Peel the bananas before freezing and cut them into coins or chunks. A whole frozen banana with the skin on is almost impossible to peel cleanly. Freezing in chunks also reduces the load on the blender.
Blend in short pulses initially rather than running the blender continuously. Banana frozen solid is dense and can strain a standard blender motor. Pulsing allows the machine to work in stages and produces an even, smooth result.
Common mistakes
Using bananas that are not ripe enough produces a starchy, flavourless nice cream that tastes nothing like the sweet, creamy version made from spotted, fully ripe fruit.
Adding too much liquid to help the blender produces a pourable, drink-like consistency rather than a scoopable one. Add liquid only if absolutely necessary, and one teaspoon at a time.
Substitutions
A tablespoon of peanut butter blended in adds a savoury richness. Raw cacao powder creates chocolate nice cream. A handful of frozen mango chunks blended with the banana produces a tropical two-fruit version. A teaspoon of vanilla extract lifts the base flavour significantly.
Serving suggestion
Serve immediately in a chilled bowl for the best soft-serve consistency. Top with granola, fresh fruit and a drizzle of maple syrup. For a firmer scoop, freeze the blended nice cream for thirty minutes before serving.
Ingredients
- 4 large very ripe bananas, peeled and sliced (Must be heavily speckled or fully brown for maximum natural sweetness and the creamiest texture. Yellow or under-ripe bananas will produce a starchy, bland result. Freeze when they peak in ripeness.)
- 1 tbsp oat milk or almond milk (Optional — add one tablespoon at a time only if your blender is struggling to process the frozen bananas. Too much liquid will make the nice cream runny rather than creamy.)
- 1 tsp pure vanilla extract (Optional but highly recommended — it rounds out the banana flavour and adds warmth. Vanilla bean paste works equally well for a more intense flavour with visible vanilla specks.)
Instructions
- 1
Peel ripe bananas, slice into 2cm rounds, and place in a single layer on a lined baking tray.
Freeze in a single layer first so the slices stay separate. If they touch and freeze together into a block, your blender will have to work much harder and the texture may be uneven.
- 2
Freeze for at least 4 hours or overnight until completely solid.
Overnight freezing gives the best result. Once fully frozen, transfer the slices to a zip-lock bag or freezer-safe container — they keep for up to 3 months so you can always have a batch ready.
- 3
Place frozen banana slices in a high-speed blender or food processor.
If using a food processor rather than a blender, the same method applies — just stop and scrape the sides more frequently. Both produce excellent results.
- 4
Blend on high, scraping down sides every 20 seconds, until completely smooth and creamy. Add milk only if blender is struggling.
Do not panic when it looks crumbly and grainy at first — this is completely normal. After 60–90 seconds of blending and scraping, it will suddenly turn silky and smooth. Trust the process and resist the urge to add liquid too early.
- 5
Add vanilla, blend 10 more seconds, then serve immediately as soft-serve or freeze 30 minutes for a scoopable consistency.
For soft-serve, serve straight from the blender into chilled bowls. For a firmer, scoopable consistency, transfer to a freezer-safe container, smooth the top, and freeze for 30 minutes. Remove from the freezer 10 minutes before scooping for the best texture.
Nutrition per serving
105kcal
Calories
1g
Protein
27g
Carbs
0g
Fat
3g
Fibre
14g
Sugar
2mg
Sodium
Pro Tips
- ✓
The riper the banana, the sweeter and creamier the nice cream, look for heavily speckled or fully brown bananas. Never use under-ripe fruit or the result will be starchy and bland.
- ✓
Freeze banana slices in a single layer on a baking tray before transferring to a bag. This prevents them freezing into one solid clump that strains your blender.
- ✓
A high-speed blender (Vitamix, Blendtec) gives the silkiest result, but a standard food processor works well too, just scrape the sides frequently and be patient through the crumbly stage.
- ✓
Add liquid sparingly and only if needed. Too much oat milk or almond milk will make the nice cream thin and icy rather than thick and creamy. Start with half a tablespoon.
- ✓
For mix-ins, add them after the banana is fully smooth, 2 tbsp peanut butter and 1 tbsp cacao for a Snickers variation, or 3 tbsp raw cacao and 1 tbsp maple syrup for rich chocolate nice cream.
- ✓
Always keep a bag of frozen banana slices in the freezer so you are never more than 5 minutes from a healthy dessert. Bananas that are going brown on the counter are perfect, peel, slice, and freeze immediately.
Frequently Asked Questions
Variations
- •
Peanut Butter Banana Nice Cream
Add 2 tbsp natural peanut butter and 1 tbsp cacao to the blender for a Snickers-inspired variation.
- •
Mango Banana Nice Cream
Replace half the banana with frozen mango chunks for a tropical flavour.
- •
Chocolate Banana Nice Cream
Add 3 tbsp raw cacao and 1 tbsp maple syrup for a rich chocolate ice cream alternative.
Substitutions
- •Bananas → No true substitute, banana IS the ice cream. Frozen mango can replace half for a tropical twist. (The banana provides both structure and sweetness.)
- •Vanilla extract → Vanilla bean paste or ½ tsp cinnamon (Cinnamon pairs beautifully with banana.)
🧊 Storage
Serve immediately for soft-serve, or transfer to a freezer-safe container and freeze up to 1 month. Remove 10–15 minutes before serving. Do not refreeze after thawing.
📅 Make Ahead
Freeze banana slices up to 3 months in advance and blend to order. For a gathering, blend ahead and freeze, scoop directly, allowing 15 minutes at room temperature to soften.
More Vegan Desserts Recipes
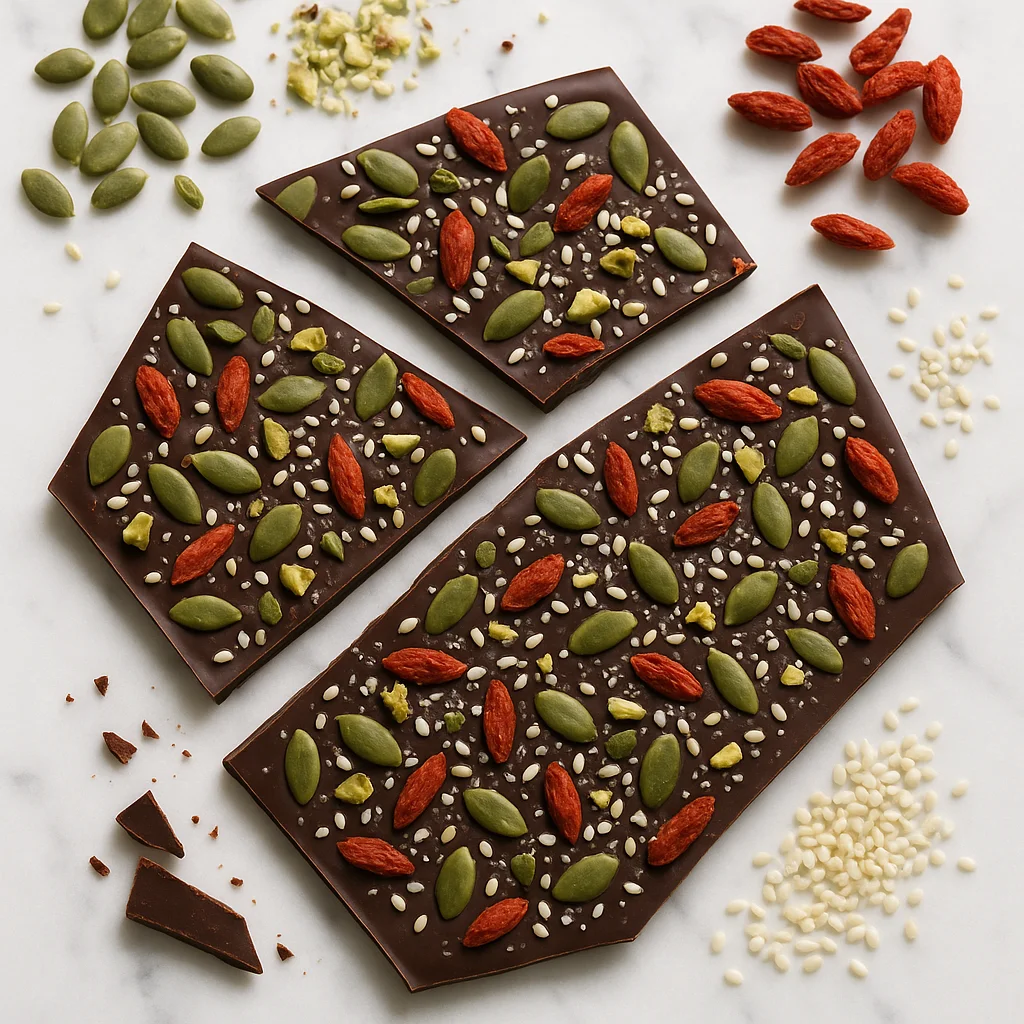
Vegan Dark Chocolate Bark with Sea Salt and Superfood Toppings
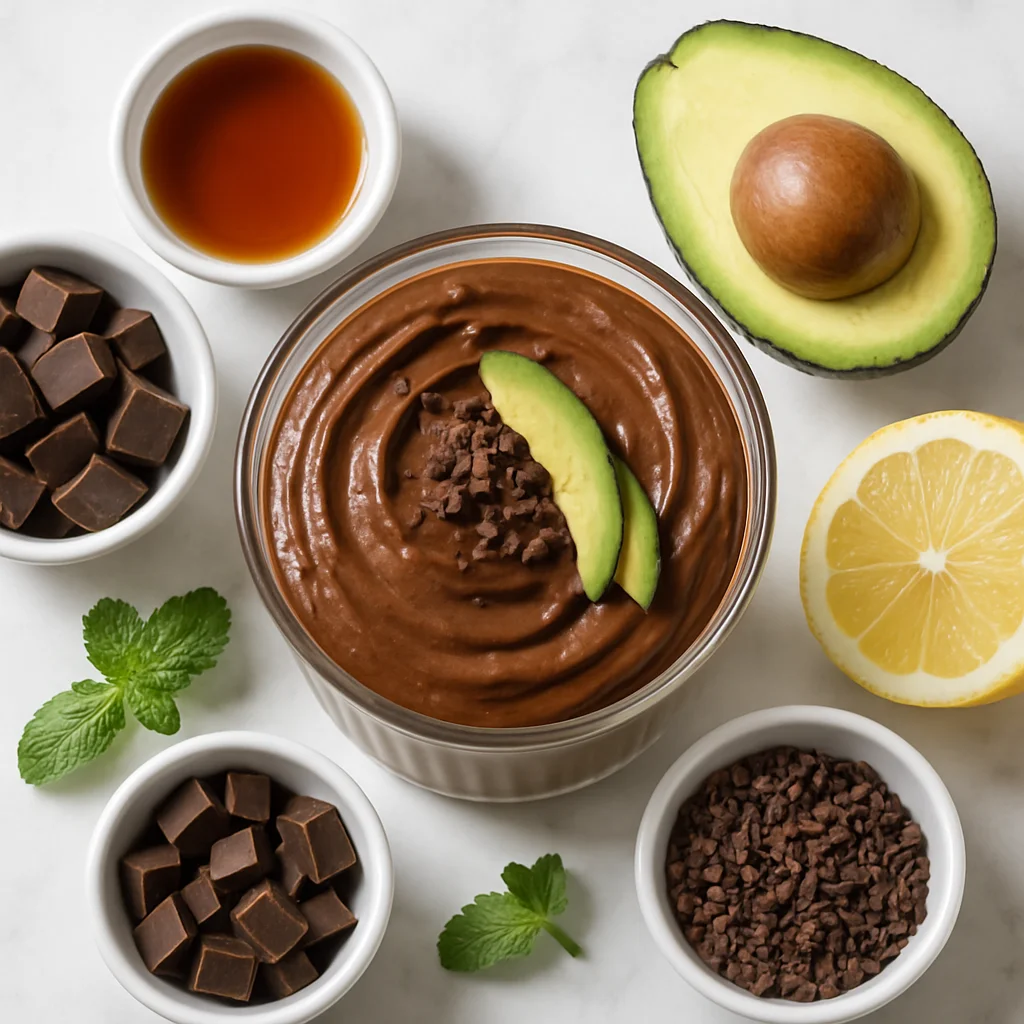
Creamy Vegan Chocolate Avocado Mousse (5 Ingredients, No Refined Sugar)
Vegan Chocolate Chia Pudding