Lightened-Up Gluten Free No Bake Cheesecake with Almond Date Crust
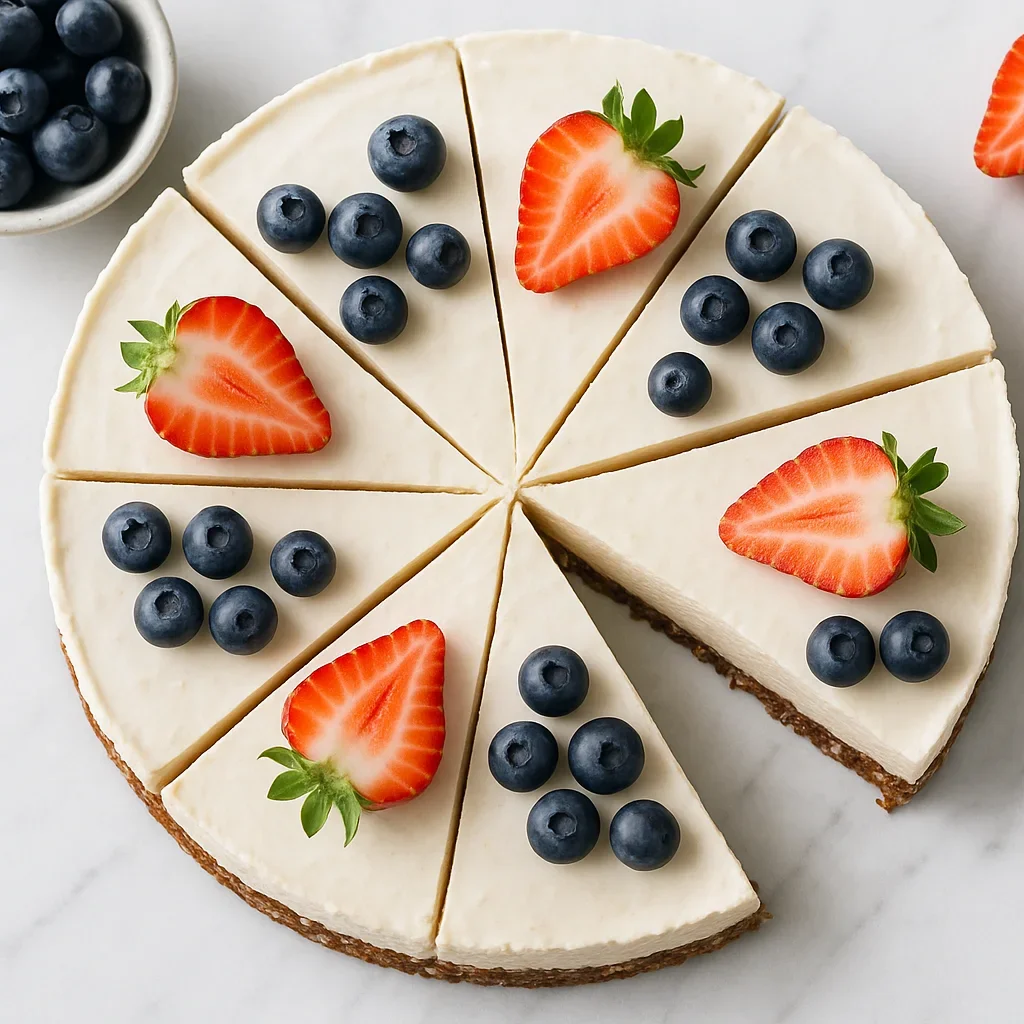
If you have been searching for a gluten free no bake cheesecake that actually tastes indulgent without derailing your healthy eating goals, you have just found it. This recipe takes everything you love about classic cheesecake, the silky, tangy filling, the satisfying crunch of a buttery crust, the elegant look of a sliced dessert, and rebuilds it from the ground up with cleaner, more nourishing ingredients. The result is a dessert that is genuinely lower in sugar, higher in fibre, and significantly lighter in calories than anything you would find in a traditional recipe, all without sacrificing the creamy texture that makes cheesecake so irresistible.
The crust is where this recipe makes its biggest departure from convention. Instead of processed gluten free graham crackers loaded with refined flour and sugar, we use a simple blend of raw almonds and naturally sweet Medjool dates. When blended together, these two ingredients form a dense, fudgy base that holds its shape beautifully when chilled. Almonds bring healthy monounsaturated fats and a welcome boost of fibre and protein, while Medjool dates provide natural sweetness along with potassium and additional dietary fibre. The crust is completely grain free, gluten free, and refined sugar free, making it suitable for paleo eaters as well. A small amount of refined coconut oil binds everything together and adds a subtle richness without any detectable coconut flavour.
For the filling, we swap out the traditional blocks of full-fat cream cheese and mountains of powdered sugar for a lighter but still luxurious combination. We use reduced-fat cream cheese as the base, blended with thick plain Greek yogurt in place of sour cream or whipped heavy cream. Greek yogurt contributes a pleasant tang that mimics the flavour of classic cheesecake filling while adding a meaningful amount of protein per serving, around six grams per slice. To sweeten the filling we use pure maple syrup rather than refined powdered sugar, keeping the sugar content low while adding a subtle warmth of flavour. A squeeze of fresh lemon juice and a generous teaspoon of pure vanilla extract round out the flavour profile, giving the filling that bright, balanced taste you expect from a well-made cheesecake.
Because this is a no bake cheesecake, the setting process relies entirely on chilling time rather than eggs or gelatin. The filling firms up beautifully in the refrigerator over a few hours thanks to the natural structure of the cream cheese and Greek yogurt. We recommend chilling for at least five hours, but overnight is even better if you want clean, sharp slices that hold their shape on the plate. One of the most common mistakes people make with no bake cheesecakes is rushing this step, give the filling adequate time and you will be rewarded with a perfectly set, sliceable dessert rather than a soft, spoonable one.
One of the things that makes this recipe such a standout for health-conscious bakers is how simple it is to prepare. The crust comes together in a food processor in under two minutes. The filling requires nothing more than a hand mixer and a large bowl. There is no tempering, no water baths, no blind baking, and no risk of cracks across the surface. Even complete beginners can pull this off on their first attempt, and experienced bakers will appreciate how reliably the recipe performs.
This gluten free no bake cheesecake is ideal for a wide range of dietary needs. It is naturally gluten free from crust to filling, making it safe for those with coeliac disease or gluten sensitivity, provided you verify that your specific almond and cream cheese brands are certified gluten free. It is also free from refined sugar and suitable for paleo diets. While it is not vegan due to the dairy ingredients, the dairy-forward filling is what gives it that authentic cheesecake richness that plant-based versions often struggle to replicate without soaked cashews or other more involved techniques.
If you want to take this recipe in a vegan direction, you absolutely can. Swap the cream cheese for a high-quality cashew-based dairy-free block and replace the Greek yogurt with a thick, strained coconut yogurt. The texture will be slightly softer, so overnight chilling is strongly recommended in that case. The almond date crust is already fully vegan and requires no changes.
Topped with a handful of fresh seasonal berries, a drizzle of homemade berry compote, or simply served plain, this cheesecake is versatile enough for a casual weeknight treat or an impressive dinner party dessert. It keeps well in the refrigerator for up to five days, making it a brilliant make-ahead option when you want a healthy dessert ready to go throughout the week. Slice it in advance, store individual portions in small airtight containers, and you have a grab-and-go dessert that genuinely satisfies a sweet craving without the sugar crash.
If you are new to no bake cheesecakes or gluten free baking in general, this recipe is the perfect place to start. It requires minimal equipment, uses wholesome everyday ingredients, and delivers results that taste far more indulgent than the nutritional profile would suggest. Each slice comes in at around 195 calories with over three grams of fibre and less than nine grams of sugar, a far cry from the 400-plus calorie slices found in most traditional recipes. Bake smarter, eat better, and enjoy every single guilt-free bite.
Ingredients
- 1.5 cups raw almonds (unsalted; blanched almonds also work and produce a slightly lighter-coloured crust)
- 10 whole Medjool dates (pitted; soak in warm water for 5 to 10 minutes if firm or dry — this is key for a cohesive crust)
- 1 pinch sea salt (for the crust; fine sea salt disperses more evenly than coarse)
- 12 oz reduced-fat cream cheese (softened to room temperature (340g); do not use cold cream cheese or the filling will be lumpy)
- 1 cup plain full-fat Greek yogurt (thick, strained variety preferred such as 0% or 2% Fage or Chobani; avoid runny yogurt as it will make the filling too loose)
- 3 tablespoons pure maple syrup (Grade A amber for a more delicate flavour, or Grade B dark for a richer, more pronounced sweetness; adjust to taste)
- 1.5 teaspoons pure vanilla extract (use pure extract rather than imitation for the best flavour)
- 2 tablespoons fresh lemon juice (freshly squeezed only — bottled lemon juice lacks brightness and can make the filling taste flat)
- 1 tablespoon lemon zest (optional but strongly recommended; zest your lemon before juicing it)
- 2 tablespoons coconut oil (refined coconut oil has no detectable coconut flavour and is preferred here; virgin coconut oil will add a subtle coconut taste)
Instructions
- 1
Line the base of a 9-inch springform pan with a round of parchment paper and lightly grease the sides with a little coconut oil. Set aside.
Using a springform pan makes releasing the finished cheesecake much easier and gives you cleaner sides. If you do not have one, a round cake tin lined with enough overhanging parchment to act as handles works as a good substitute.
- 2
Place the raw almonds in a food processor and pulse 8 to 10 times until they resemble rough crumbs. Add the pitted Medjool dates, melted coconut oil, and a pinch of sea salt. Process continuously for 60 to 90 seconds until the mixture starts to clump together and holds its shape when pressed between your fingers.
Do not over-process — you want some texture in the crust, not a smooth paste. Stop as soon as the mixture clumps and holds its shape when pressed. If the mixture seems too dry after adding the dates, add one extra date or a teaspoon of warm water.
- 3
Tip the crust mixture into the prepared pan. Use the flat base of a measuring cup or a glass to press it down firmly and evenly across the bottom. Work it up the sides slightly if you prefer a deeper crust edge. Place the pan in the freezer for at least 15 minutes while you prepare the filling.
Pressing the crust firmly and evenly is the single most important step for clean slices later. A loosely packed crust will crumble the moment a knife touches it. A flat-bottomed glass or measuring cup wrapped in cling film works perfectly as a pressing tool.
- 4
In a large mixing bowl, beat the softened reduced-fat cream cheese with a hand mixer on medium speed for about 2 minutes until smooth, light, and completely lump-free.
Make sure your cream cheese is genuinely at room temperature before beating — cold cream cheese will leave lumps in the filling that no amount of additional mixing will fully smooth out. Leave it on the counter for at least 45 to 60 minutes before you begin.
- 5
Add the Greek yogurt, pure maple syrup, vanilla extract, lemon juice, and lemon zest to the beaten cream cheese. Beat on medium speed for a further 2 to 3 minutes until the mixture is completely smooth, thick, and well combined. Taste and adjust sweetness with a little extra maple syrup if needed.
Scrape down the sides of the bowl halfway through mixing to make sure everything is evenly incorporated. Taste the filling before pouring it onto the crust — this is your opportunity to adjust sweetness or add an extra squeeze of lemon if you want a tangier result.
- 6
Remove the crust from the freezer. Pour the cheesecake filling over the chilled crust and use a spatula or the back of a spoon to smooth the top into an even layer.
Tapping the pan firmly on the counter three or four times after pouring in the filling helps eliminate air bubbles trapped near the surface and gives you a smoother, more professional-looking top.
- 7
Cover the pan loosely with plastic wrap and refrigerate for a minimum of 5 hours, or ideally overnight, until the filling is fully set and firm to the touch.
Resist the temptation to rush the chilling time. A minimum of 5 hours is required, but overnight is strongly recommended. The difference in firmness and sliceability between a 5-hour chill and an overnight chill is significant — the overnight version will hold perfectly clean edges when cut.
- 8
To serve, run a thin knife around the inside edge of the springform pan before releasing the clasp. Slice with a sharp knife, wiping the blade clean between cuts for neat slices. Top with fresh berries, a drizzle of fruit compote, or enjoy plain.
Warming the knife blade briefly under hot running water and drying it thoroughly before each cut gives you restaurant-quality clean slices. A thin-bladed knife works better than a thick chef's knife for this purpose.
Nutrition per serving
195kcal
Calories
6g
Protein
16g
Carbs
12g
Fat
3.2g
Fibre
8.5g
Sugar
145mg
Sodium
Pro Tips
- ✓
Soak Medjool dates in warm water for 5 to 10 minutes before blending if they feel hard or dry, this makes them much easier to process and is the single most reliable way to ensure the crust binds together properly without crumbling.
- ✓
Leave your cream cheese on the counter for at least 45 to 60 minutes before you start. Genuinely room-temperature cream cheese blends silky smooth in under two minutes; cold cream cheese can take five or more minutes of beating and may still leave small lumps.
- ✓
For the cleanest, sharpest slices, chill the cheesecake overnight rather than just the minimum 5 hours. If you are pressed for time, place it in the freezer for 90 minutes instead of the refrigerator, then move it to the fridge until you are ready to serve.
- ✓
If your filling tastes slightly bland before you pour it onto the crust, a small pinch of fine sea salt added directly to the filling will immediately brighten all the flavours, this is a professional pastry chef trick that works equally well in sweet recipes.
- ✓
Fresh raspberries, blueberries, or sliced strawberries make a beautiful and nutritious topping that adds extra fibre and antioxidants. For a more polished presentation, toss the berries with a teaspoon of maple syrup and a squeeze of lemon juice ten minutes before serving to create a quick macerated berry topping.
- ✓
Always verify that your cream cheese and almond brands carry a certified gluten free label if you are baking for someone with coeliac disease. Cross-contamination during manufacturing is a genuine risk even with inherently gluten free ingredients like nuts and dairy.
Frequently Asked Questions
Variations
- •
Lemon Blueberry No Bake Cheesecake
Double the lemon zest in the filling and stir through half a cup of fresh blueberries just before pouring into the crust. Top with a homemade blueberry compote made by simmering one cup of blueberries with one tablespoon of maple syrup and a squeeze of lemon juice for 5 minutes.
- •
Chocolate Almond No Bake Cheesecake
Add two tablespoons of raw cacao powder and one extra tablespoon of maple syrup to the filling mixture. Stir in a small handful of dark chocolate chips for extra texture. The date and almond crust pairs beautifully with the chocolate filling.
- •
Mango Coconut No Bake Cheesecake
Replace the Greek yogurt with thick coconut yogurt and blend half a cup of ripe mango flesh into the filling. Top with fresh mango slices and a sprinkle of toasted coconut flakes for a tropical twist that is naturally dairy light.
Substitutions
- •raw almonds → raw cashews or pecans (Cashews produce a slightly softer, more buttery crust. Pecans add a richer, more caramel-like flavour. Both work well with the date base.)
- •Medjool dates → dried figs or raisins (Dried figs give a more complex, honeyed flavour. Raisins work but may make the crust slightly stickier. Soak either option in warm water before blending for best results.)
- •reduced-fat cream cheese → full-fat cream cheese (Full-fat cream cheese produces a richer, denser filling. The calorie and fat content will increase but the texture will be even creamier and more stable.)
- •Greek yogurt → thick coconut yogurt (Coconut yogurt makes this recipe fully dairy free. Choose a thick, strained variety for the best texture. The flavour will be slightly more neutral with a subtle coconut note.)
- •maple syrup → raw honey or agave nectar (Raw honey adds a floral sweetness and works well in equal measure. Agave nectar is a lower glycaemic option with a more neutral flavour. Both keep the recipe refined sugar free.)
🧊 Storage
Store the cheesecake covered with plastic wrap or in an airtight container in the refrigerator for up to 5 days. For best texture and flavour, keep it chilled until just before serving. Individual slices can be stored in small airtight containers for easy grab-and-go portions throughout the week.
📅 Make Ahead
This cheesecake is an excellent make-ahead dessert. Prepare it the day before you plan to serve it and allow it to chill overnight in the refrigerator. The filling sets more firmly with extended chilling and the flavours deepen and meld together beautifully. The crust can also be made up to 2 days ahead and kept refrigerated until you are ready to add the filling.
More Gluten-Free Desserts Recipes
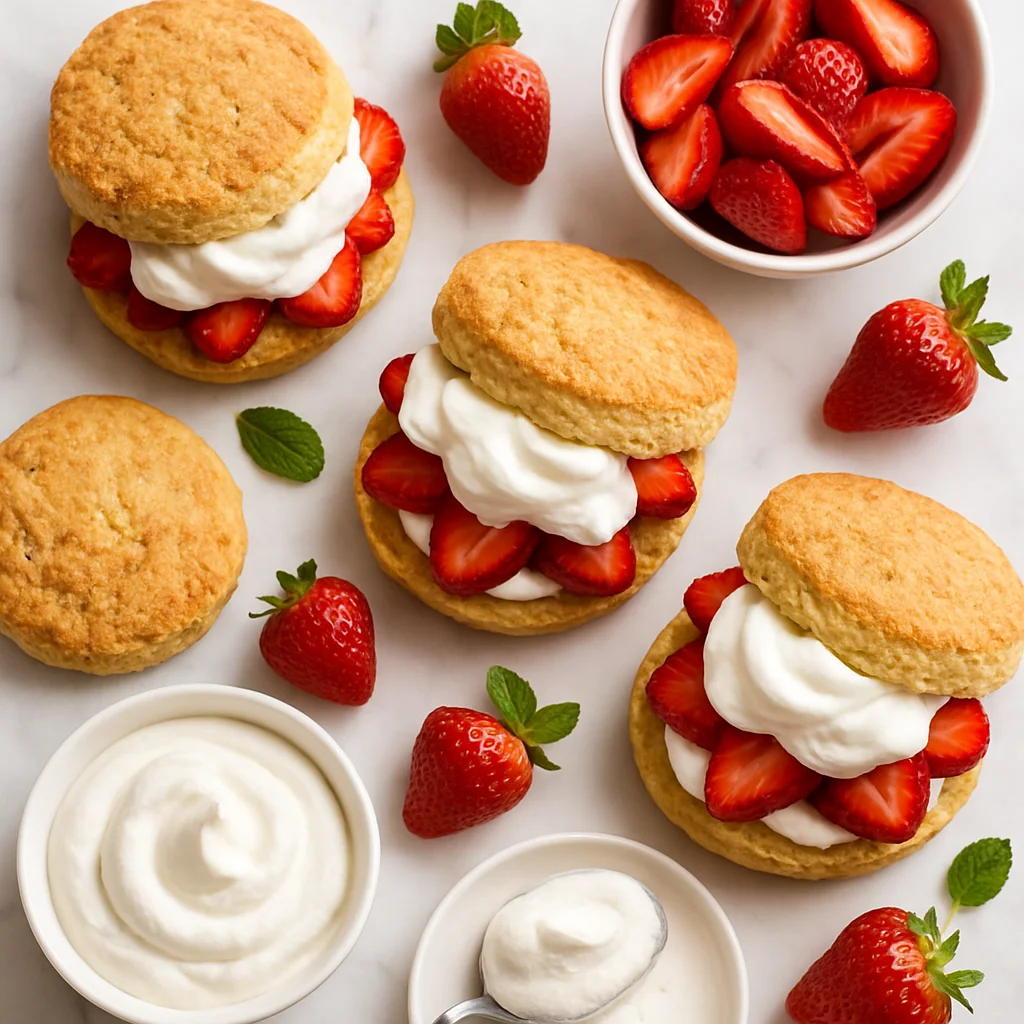
Light & Fluffy Gluten Free Strawberry Shortcake with Almond Flour Biscuits
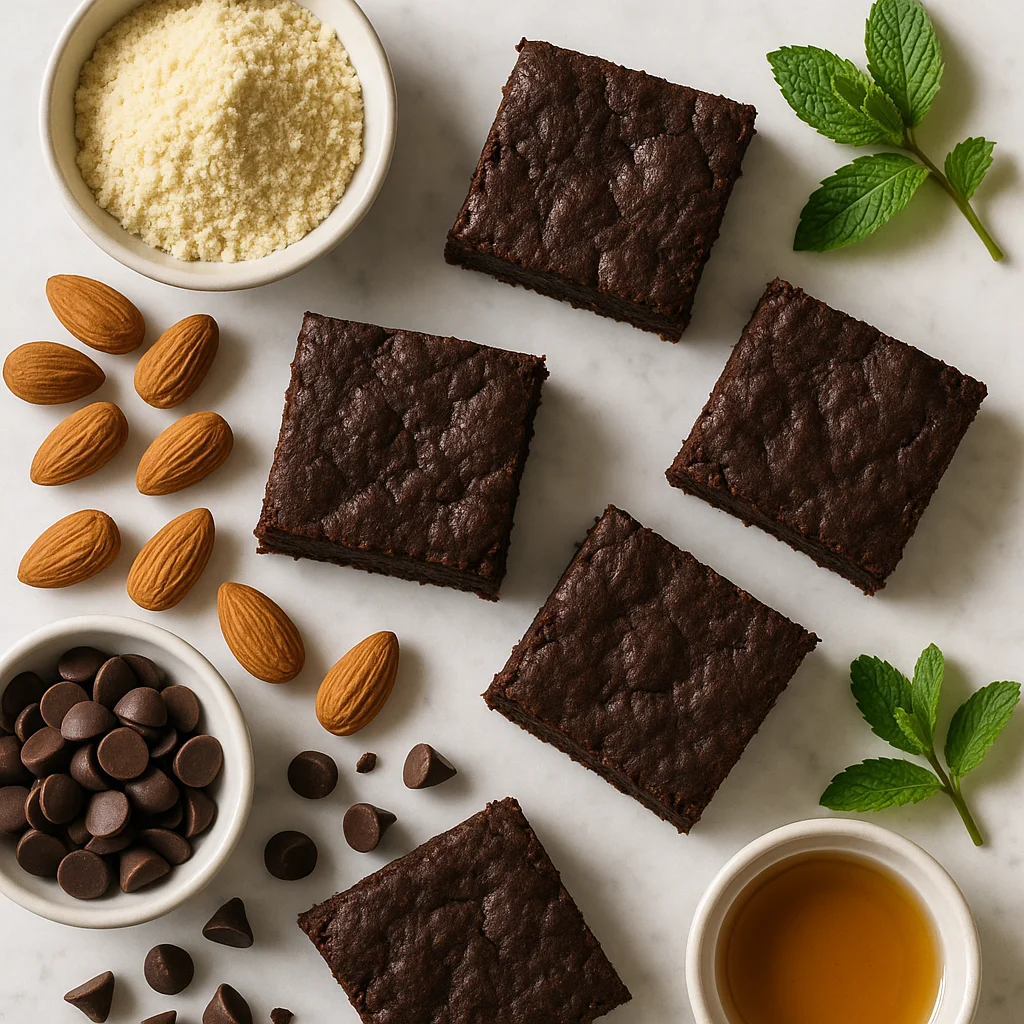
Gluten-Free Almond Flour Brownies
Gluten Free Peanut Butter Blondies (Fudgy, High-Protein & Naturally Sweetened)