Dairy Free Pistachio Gelato with Almond Milk (Creamy & Low Sugar)

Pistachio is the hardest ice cream colour to replicate convincingly. Artificial pistachio ice cream is usually a pallid, chemical green that tastes nothing like the nut. Real pistachio gelato, made from a significant quantity of actual pistachio paste or blended pistachios, is a vivid, muted green and tastes intensely of the nut: subtly sweet, slightly earthy, with a richness that is very different from any other ice cream flavour. This dairy-free version uses a base of almond milk thickened with cashew cream to produce the dense, slow-melting texture of traditional gelato without any dairy. The pistachio flavour is uncompromising throughout.
Why this recipe works
Raw pistachios blended with almond milk produce a paste that is richly flavoured and naturally green, providing both the flavour and the colour in one ingredient. Cashew cream, made from soaked and blended raw cashews, adds the fat content that gives the gelato its dense, creamy consistency without dairy. A small amount of maple syrup sweetens the base without masking the delicate pistachio flavour. Chilling and stirring the mixture every hour during the first four hours of freezing, in the absence of an ice cream machine, breaks up the ice crystals and produces a smoother, creamier final texture.
Getting it right
Use raw unsalted pistachios. Salted or roasted pistachios change the flavour profile significantly and produce a gelato that is either too salty or too roasted-tasting rather than the fresh, clean pistachio flavour the recipe needs.
Soak the cashews in cold water for at least four hours before blending. Well-soaked cashews blend to a completely smooth cream; under-soaked cashews produce a slightly grainy texture that is noticeable in the finished gelato.
Common mistakes
Not stirring the mixture during the first hours of freezing produces a gelato with a coarse, icy texture rather than the smooth, dense consistency that makes gelato distinctive. Set a timer and stir every hour.
Using a small quantity of pistachios to save cost produces a flavour that is too subtle to register clearly against the cashew and almond milk base. Be generous with the pistachios.
Substitutions
Hazelnut paste can replace pistachio for a completely different nut gelato with a more intense, roasted character. Almond paste produces a marzipan-like flavour that is very good. Peanut butter blended into the base creates a peanut gelato that works well with a chocolate ripple.
Serving suggestion
Scoop into chilled glasses and serve immediately after removing from the freezer, while the texture is at its most yielding and creamy. Top with a few roughly chopped pistachios for texture and a sprinkle of sea salt to amplify the nut flavour.
Ingredients
- 1 cups unsweetened almond milk (barista-style almond milk is strongly recommended for extra creaminess; avoid sweetened varieties as they affect sweetness and freezing point)
- 1 cup raw unsalted pistachios (shelled; raw rather than roasted for the best green colour and freshest flavour — reserve a small handful for topping)
- 2 tablespoons raw cashew butter (smooth and runny; provides body, creaminess, and helps prevent icy texture — do not use almond butter as it will overpower the pistachio)
- 3 tablespoons pure maple syrup (grade A amber for best flavour; the base should taste slightly sweeter than desired as freezing mutes sweetness)
- 2 whole Medjool dates (pitted and soaked in warm water for 10 minutes to soften; adds natural caramel sweetness and helps bind the base)
- 1 teaspoon pure almond extract (amplifies the nuttiness of the pistachios — use pure extract not imitation for best results)
- 1 teaspoon fine sea salt (do not skip — salt balances the sweetness and makes the pistachio flavour pop significantly)
- 1 teaspoon pure vanilla extract (rounds out the overall flavour profile; use pure vanilla not vanilla flavouring)
- 1 tablespoon arrowroot powder (acts as a natural stabiliser to reduce ice crystals and improve scoopability; tapioca starch is an identical substitute)
- 2 tablespoons cold water (must be cold to dissolve arrowroot properly before adding to the warm base)
Instructions
- 1
Place the raw pistachios in a high-speed blender. Pour the unsweetened almond milk into a small saucepan and warm over medium heat until steaming but not boiling, about 3 to 4 minutes. Pour the hot almond milk directly over the pistachios in the blender. Allow the mixture to soak for 5 minutes — this softens the nuts and helps them blend into a completely smooth paste.
Do not skip the soaking step — it is what gives you that ultra-smooth, restaurant-quality texture. If your pistachios are particularly large or dry, extend the soak to 8 minutes for an even smoother blend.
- 2
Drain the soaked Medjool dates and add them to the blender along with the cashew butter, maple syrup, almond extract, vanilla extract, and sea salt. Blend on the highest speed for a full 90 seconds until the mixture is completely silky and no pistachio pieces remain. Stop and scrape down the sides halfway through blending.
If your blender is not high-powered, strain the mixture through a fine mesh sieve after blending to remove any remaining pistachio skin fragments. Taste the base at this stage — it should taste slightly sweeter and more intensely flavoured than you want the finished gelato, as freezing dulls both sweetness and flavour.
- 3
In a small bowl, whisk the arrowroot powder with 2 tablespoons of cold water until fully dissolved and no lumps remain. Pour the pistachio almond milk mixture from the blender back into the saucepan over medium-low heat. Add the dissolved arrowroot slurry and stir constantly with a wooden spoon or silicone spatula for 3 to 4 minutes until the mixture thickens very slightly and coats the back of a spoon. Do not let it boil.
This gentle cooking step activates the arrowroot and ensures the gelato base has enough body to churn properly and scoop cleanly from frozen. The mixture should thicken only very slightly — if it starts to bubble, immediately reduce the heat. Boiling will break down the arrowroot and you will lose its stabilising effect.
- 4
Transfer the cooked base to a clean bowl. Press a sheet of cling film directly onto the surface of the liquid to prevent a skin from forming. Refrigerate for a minimum of 2 hours, or until completely cold throughout. For best results, chill overnight.
A fully chilled base will churn faster and produce smaller ice crystals, which means a creamier final texture. Chilling overnight also gives the pistachio, vanilla, and almond flavours more time to meld together into a more rounded, complex profile — it is absolutely worth the extra wait.
- 5
Pour the chilled gelato base into your ice cream maker and churn according to the manufacturer's instructions. Most machines will take 20 to 25 minutes. The gelato is ready when it has increased slightly in volume and has the consistency of soft-serve ice cream.
Do not over-churn. Unlike regular ice cream, gelato should incorporate less air — more air means a lighter, fluffier texture that is less true to authentic gelato. Stop churning as soon as the mixture holds its shape and looks thick and creamy. Over-churning will also cause the mixture to freeze too hard inside the machine.
- 6
Transfer the churned gelato into a shallow, freezer-safe container. Smooth the top with a spatula and scatter the reserved whole pistachios over the surface. Press a piece of cling film directly onto the gelato surface, then seal with a lid. Freeze for a minimum of 2 hours until firm enough to scoop.
A shallow container rather than a deep tub means the gelato freezes more evenly and is easier to scoop. If you are making this for a dinner party, transfer it into individual silicone moulds at this stage for elegant, perfectly portioned servings.
- 7
When ready to serve, remove the gelato from the freezer and allow it to sit at room temperature for exactly 5 minutes before scooping. Serve in chilled bowls or cones and garnish with extra chopped pistachios if desired.
Warming your scoop or spoon briefly under hot water makes for perfectly smooth, professional-looking gelato scoops. Chilling your serving bowls in the freezer for 10 minutes before plating will also keep the gelato from melting too quickly at the table.
Nutrition per serving
178kcal
Calories
5.2g
Protein
16.4g
Carbs
11.1g
Fat
1.9g
Fibre
9.8g
Sugar
82mg
Sodium
Pro Tips
- ✓
Use raw, unsalted pistachios rather than roasted for the most vibrant natural green colour and the freshest, most delicate flavour, roasted pistachios will give a noticeably more muted, brown-tinged result.
- ✓
A high-speed blender such as a Vitamix or Blendtec is strongly recommended. If you are using a standard blender, strain the blended base through a fine mesh sieve before cooking to remove any remaining pistachio skin fragments that could make the gelato gritty.
- ✓
Chill your ice cream maker bowl for at least 24 hours before churning, and make sure your gelato base is completely cold all the way through, even slightly warm base will churn poorly and produce an icy rather than creamy result.
- ✓
For a more complex, layered pistachio flavour, toast half the pistachios lightly in a dry pan for 3 minutes before blending alongside the raw half. The toasted nuts add depth and a subtle roasted quality while the raw nuts preserve the bright green colour and fresh flavour.
- ✓
Frozen desserts taste less sweet than the same mixture at room temperature. Taste your base before churning, it should taste slightly sweeter than you ultimately want the finished gelato to be. If it tastes about right at room temperature, it will taste under-sweetened once frozen.
- ✓
Store gelato in a shallow container rather than a deep tub. Shallow containers freeze more evenly, minimise the formation of ice crystals, and make scooping far easier straight from the freezer.
Frequently Asked Questions
Variations
- •
No-Churn Version
After chilling the base, beat 2 tablespoons of additional cashew butter until fluffy and fold into the gelato mixture before freezing in a shallow dish. Beat with a hand mixer every 45 minutes for 4 hours to mimic the churning process and break up ice crystals.
- •
Pistachio Dark Chocolate Chip Gelato
Fold 3 tablespoons of finely chopped 85% dark chocolate into the gelato during the last 2 minutes of churning for a pistachio chocolate chip variation that adds antioxidants and a satisfying crunch.
- •
Pistachio Rosewater Gelato
Add 1 teaspoon of food-grade rosewater to the blended base before cooking. This Middle Eastern inspired variation pairs beautifully with the pistachio and creates an elegant, floral frozen dessert perfect for special occasions.
- •
Higher Protein Version
Add 2 tablespoons of unflavoured or vanilla plant-based protein powder (pea or hemp protein work best) to the blender with the other base ingredients. This boosts protein per serving to approximately 7 grams without significantly affecting taste or texture.
Substitutions
- •cashew butter → sunflower seed butter (Use an unsweetened, unflavoured sunflower seed butter to keep the flavour neutral. The colour may darken slightly but the creaminess will be similar.)
- •maple syrup → agave nectar or coconut nectar (Both work as a 1:1 swap. Coconut nectar has a lower glycaemic index and adds a mild caramel note. Agave is sweeter so you may want to reduce by half a tablespoon.)
- •Medjool dates → 2 tablespoons of date paste or date syrup (Date paste or syrup blends more easily and requires no soaking. Use the same quantity as a direct replacement.)
- •arrowroot powder → tapioca starch (Tapioca starch works identically to arrowroot powder as a stabiliser in this recipe. Use in exactly the same quantity and method.)
- •almond extract → additional vanilla extract (If you prefer a simpler flavour profile or are sensitive to almond extract, simply double the vanilla extract. The gelato will be slightly less intensely nutty but still delicious.)
🧊 Storage
Store in a shallow, airtight freezer-safe container with a sheet of cling film pressed directly onto the surface of the gelato before sealing with the lid. This minimises air exposure and prevents ice crystals from forming on the surface. Best consumed within 10 days for optimal texture and flavour. Do not refreeze after thawing.
📅 Make Ahead
The gelato base (before churning) can be prepared up to 48 hours in advance and stored in a sealed container in the refrigerator. This actually improves the final texture as the ingredients have more time to meld together. Churn and freeze when ready to serve. The fully churned and frozen gelato can also be made up to 1 week ahead of a dinner party or event.
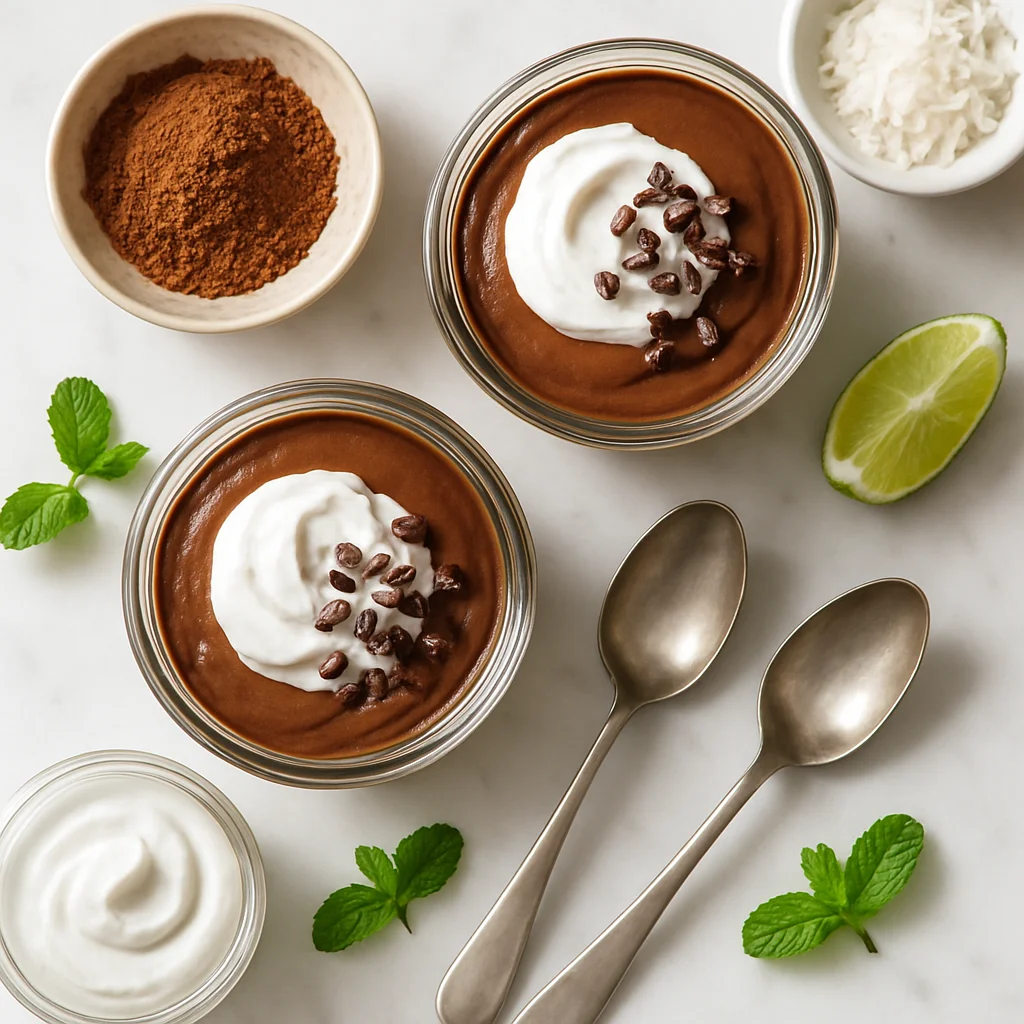
More Dairy-Free Desserts Recipes
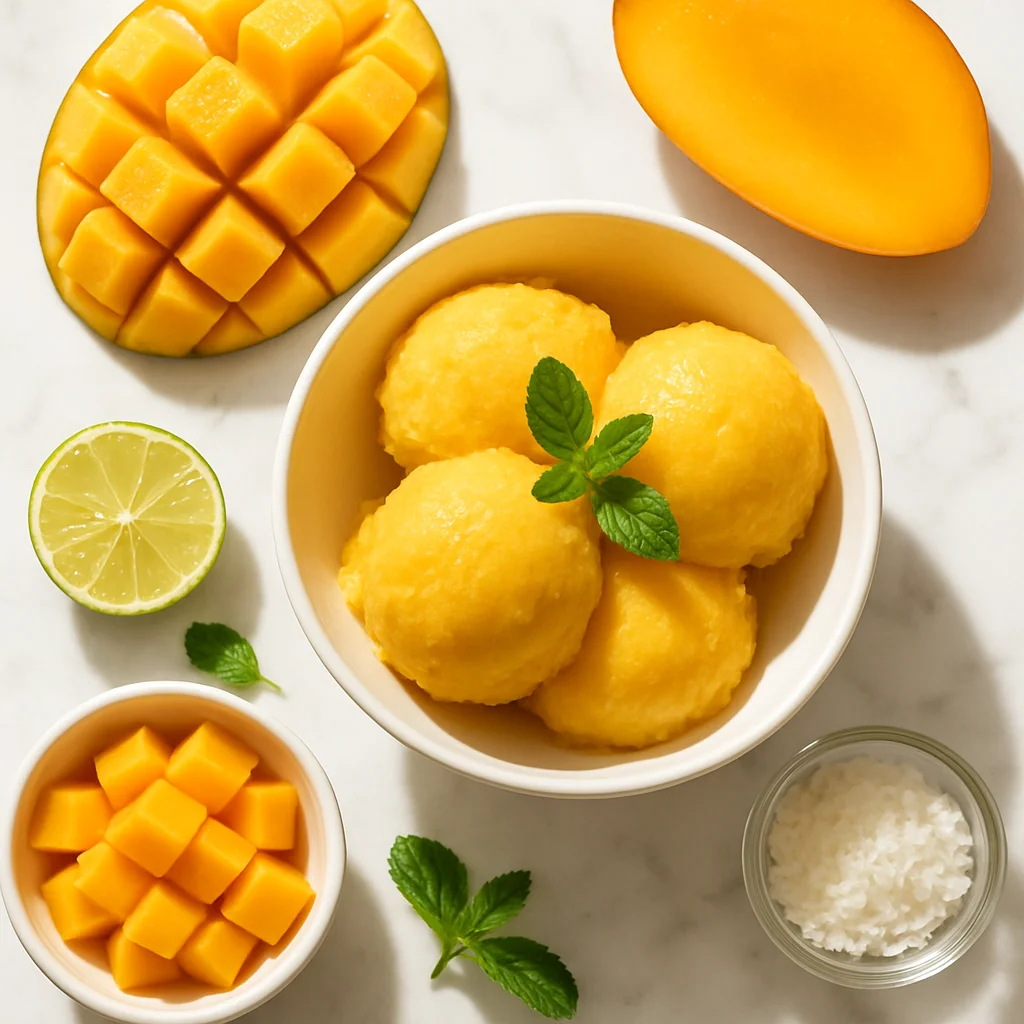
Dairy-Free Mango Sorbet
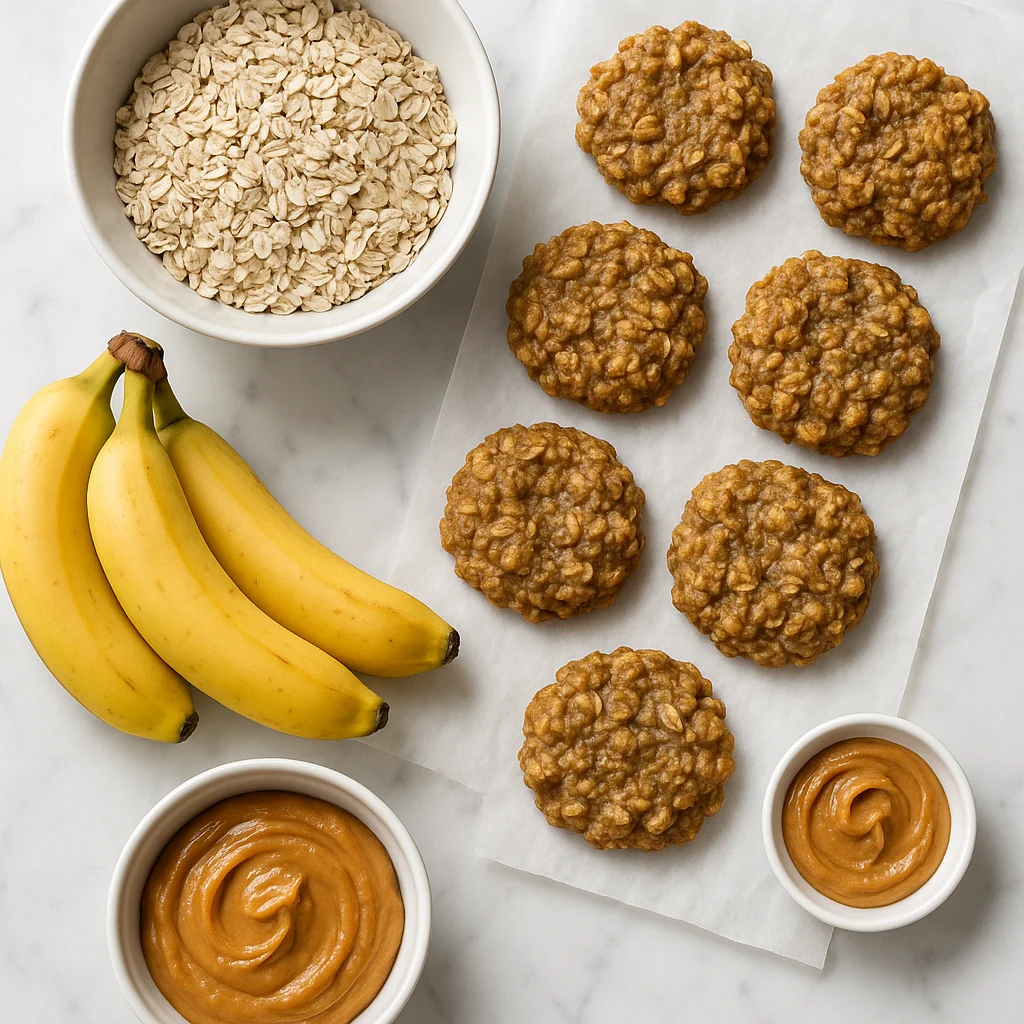
Dairy Free Banana Oat Cookies Three Ingredient (Ready in 15 Minutes)
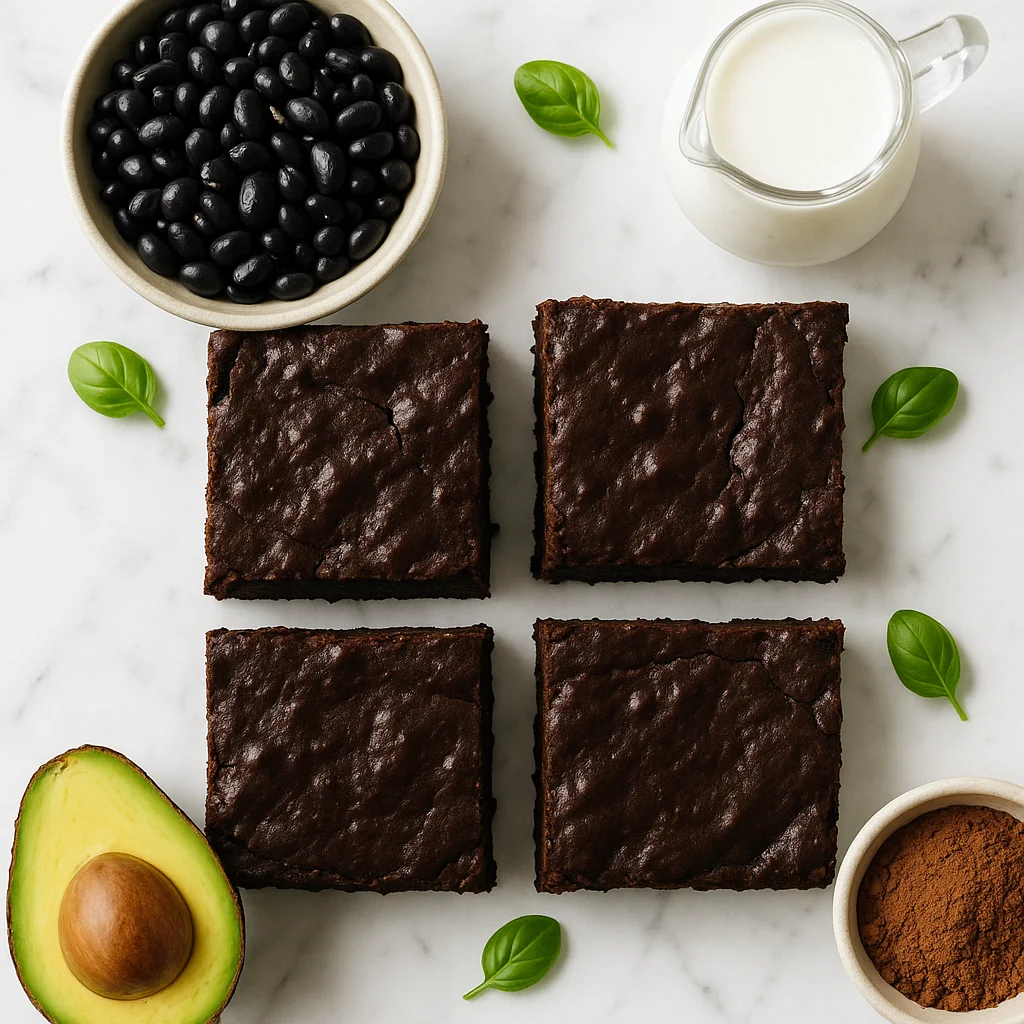
Fudgy Dairy Free Chocolate Fudge Brownies with Black Beans