Fudgy Dairy Free Chocolate Fudge Brownies with Black Beans
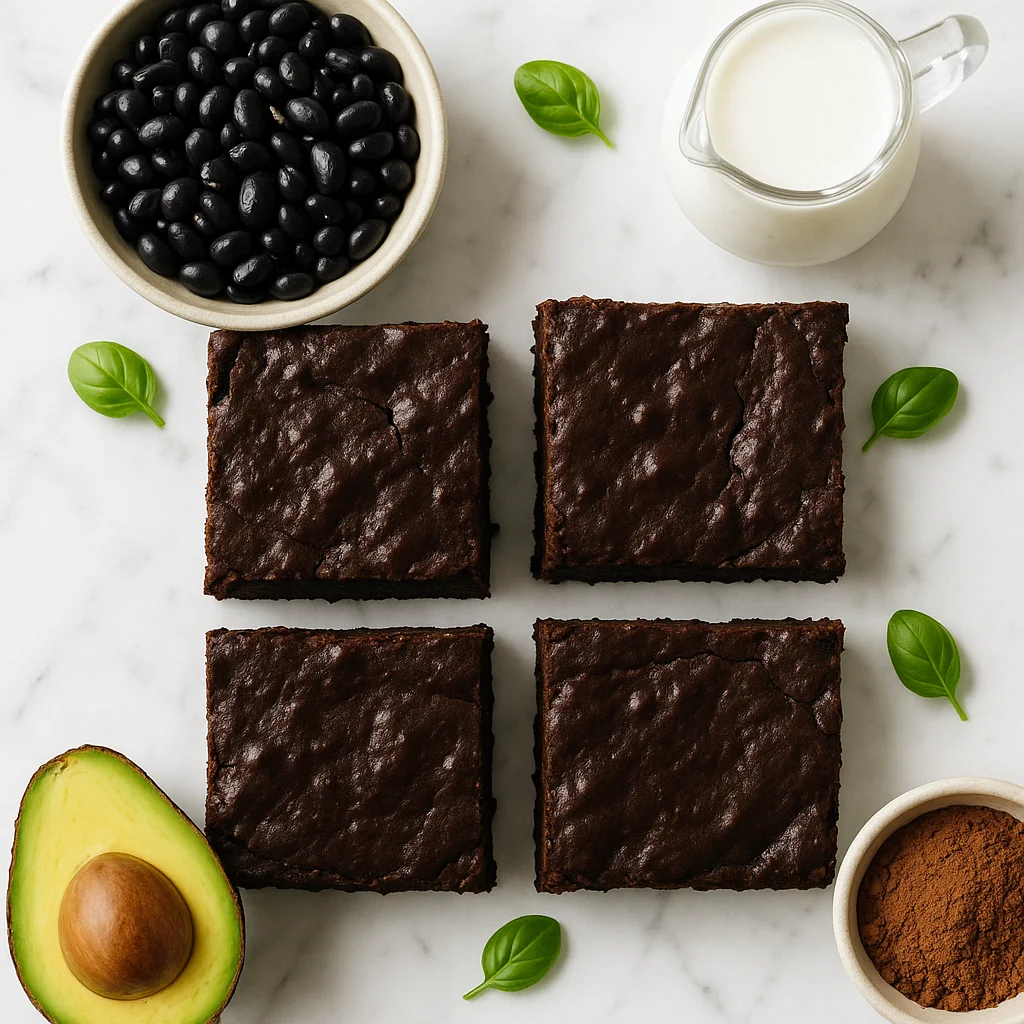
If you have been searching for dairy free chocolate fudge brownies that actually taste indulgent without derailing your health goals, you have just found your new go-to recipe. These brownies are deeply chocolatey, impossibly fudgy in the centre, and finished with a crinkly top that looks like they came straight from a bakery, yet they are made with wholesome, plant-based ingredients that your body will genuinely thank you for.
The secret ingredient that makes these brownies so rich and satisfying is a full can of black beans. Before you click away, hear this out. When blended until completely smooth in a high-powered blender, not just a food processor, black beans are entirely undetectable in both flavour and texture. A blender is the key distinction here: food processors can leave behind a slightly gritty texture, while a blender obliterates the beans completely into a silky, smooth batter. What the beans contribute is a dense, moist crumb that mimics the butter and refined flour found in traditional brownies, while adding a meaningful amount of plant-based protein and dietary fibre per serving.
Traditional chocolate brownies can clock in at over 300 calories per square with very little nutritional value to show for it. This recipe comes in at under 150 calories per brownie while delivering fibre, protein, and genuine satisfaction, the kind that keeps you full rather than sending you straight back to the tin for another square.
The dairy free element is handled effortlessly here. Instead of butter, we use a combination of coconut oil and smooth almond butter. Coconut oil provides that glossy, fudge-like quality once the brownies cool, while almond butter contributes healthy monounsaturated fats and a subtle nuttiness that pairs beautifully with dark chocolate. For the chocolate itself, we use a high-quality dairy free dark chocolate and a generous amount of raw cacao powder. Raw cacao is less processed than standard cocoa, meaning it retains more of its naturally occurring antioxidants, including flavanols which are linked to heart health and improved circulation.
The sweetener in this recipe is pure maple syrup rather than refined white sugar or brown sugar. Maple syrup has a lower glycaemic impact than standard sugar and contains trace minerals including manganese and zinc. We use just enough to make these brownies taste genuinely sweet and dessert-worthy without spiking blood sugar the way a traditional recipe would. Coconut sugar is also listed as an option if you prefer a slightly deeper, more caramel-like sweetness. Both options keep this recipe refined sugar free.
These brownies are also naturally gluten free, which makes them a fantastic option for anyone with coeliac disease or gluten sensitivity, as well as for those who simply prefer to reduce gluten in their diet. The binding comes from eggs in the base recipe, which help create that signature crinkly top and hold everything together perfectly. If you need a fully vegan version, flax eggs work remarkably well here, the texture shifts very slightly to become even denser, almost truffle-like, which many people actually prefer.
One of the greatest things about this recipe from an everyday baking perspective is how simple it is to make. Everything goes into a blender, which means there is virtually no washing up beyond that one appliance and your baking tin. The batter comes together in under five minutes. From there, it bakes for just 22 to 25 minutes, long enough to set the edges but short enough to keep that fudgy, barely-set centre that defines a truly great brownie.
Do not overbake these. The centre should look slightly underdone when you pull them from the oven. They will continue to firm up as they cool, and if you can resist the urge to cut into them immediately and allow them to chill for at least 30 minutes, you will be rewarded with a texture that is genuinely extraordinary. Chilling overnight intensifies the chocolate flavour even further and produces the cleanest slices.
These dairy free chocolate fudge brownies keep well in the fridge for up to five days, and they actually taste better on day two once the flavours have had time to deepen and meld. They also freeze beautifully, which makes them an ideal make-ahead treat for meal prep, lunchboxes, or whenever a chocolate craving strikes unexpectedly.
Whether you are dairy free by necessity or by choice, gluten free, trying to eat more plant-based foods, or simply looking for a healthier chocolate brownie that does not taste like a compromise, this recipe delivers on every front. Packed with fibre, omega-3s from the flax egg option, and antioxidants from real dark chocolate and raw cacao, these are brownies you can feel genuinely good about eating.
Ingredients
- 400 g canned black beans (drained and rinsed very thoroughly under cold running water, then patted dry — this is essential to prevent any beany aftertaste)
- 3 large eggs (at room temperature for smoother blending; or 3 flax eggs for a fully vegan version (1 tbsp ground flaxseed + 3 tbsp water per egg, left to gel for 5 minutes))
- 60 ml pure maple syrup (use a good quality, 100% pure maple syrup; or substitute 50g coconut sugar dissolved in 2 tbsp warm water for a deeper caramel sweetness)
- 60 g smooth almond butter (unsweetened and at room temperature — cold nut butter does not blend as evenly; cashew butter or sunflower seed butter work equally well)
- 3 tbsp coconut oil (melted and cooled to just above room temperature — too hot and it will begin to cook the eggs when blended)
- 45 g raw cacao powder (raw cacao retains more antioxidants than processed cocoa and has a more complex, fruity chocolate flavour; standard unsweetened cocoa powder works in equal quantity)
- 80 g dairy free dark chocolate (70% cacao or higher — use a bar rather than chips for melting, as a good quality bar gives superior flavour and gloss to the batter)
- 1 tsp pure vanilla extract (use pure extract rather than vanilla flavouring for the best result)
- 1 tsp baking powder (check packaging is certified gluten free if you have coeliac disease or severe gluten intolerance)
- 0.3 tsp fine sea salt (salt is essential for enhancing the chocolate flavour — do not reduce; reserve a small pinch of flaky sea salt separately for finishing the top)
- 50 g dairy free dark chocolate chips (check these are certified dairy free and gluten free if needed; half folds into the batter and half goes on top for texture and visual appeal)
Instructions
- 1
Preheat your oven to 175°C (350°F) fan. Line an 8x8-inch square baking tin with parchment paper, leaving overhang on two sides so you can easily lift the brownies out.
Spray the tin lightly with coconut oil before laying the parchment to help it stay perfectly flat in the corners.
- 2
Drain and rinse the black beans very well under cold running water. Shake off excess water and pat dry with a clean kitchen towel. This step is important — residual liquid can affect the texture.
Rinse far longer than you think is necessary — at least 30 to 45 seconds under running water. The cleaner the beans, the cleaner the flavour of the finished brownie.
- 3
Melt the dairy free dark chocolate and coconut oil together. You can do this in a heatproof bowl set over a pan of barely simmering water, or in 30-second bursts in the microwave, stirring between each burst. Set aside to cool for 5 minutes.
Do not let the bowl touch the water below when using the double boiler method — steam, not direct heat, melts the chocolate gently without burning or seizing it. Make sure the chocolate mixture has cooled enough that it is warm but not hot before adding to the blender, or it may begin to cook the eggs.
- 4
Add the rinsed black beans, eggs, maple syrup, almond butter, vanilla extract, cacao powder, baking powder, and sea salt to a high-powered blender or food processor. Blend on high for 60 to 90 seconds until the mixture is completely smooth with no bean pieces remaining. Scrape down the sides as needed.
A high-powered blender gives the smoothest result and is strongly preferred over a food processor. If using a food processor, blend for a full 2 to 3 minutes and check carefully for any remaining bean skin pieces before proceeding.
- 5
Pour the melted chocolate and coconut oil mixture into the blender. Pulse several times to combine fully into the batter.
Taste the batter at this stage — it should taste rich and deeply chocolatey. If you want a slightly more intense flavour, this is the moment to add a pinch of espresso powder.
- 6
Transfer the batter to a mixing bowl and fold in half of the dairy free chocolate chips using a spatula. The batter will be thick and glossy.
Folding rather than stirring vigorously keeps the batter dense and fudgy. Over-mixing at this stage can incorporate too much air and result in a cakier texture.
- 7
Pour the batter into the prepared tin and use a spatula to spread it evenly to the corners. Scatter the remaining chocolate chips over the top and add a small pinch of flaky sea salt if desired.
The pinch of flaky sea salt on top dramatically enhances the chocolate flavour and adds a professional finish — this is not optional if you want truly bakery-quality results.
- 8
Bake on the middle rack for 22 to 25 minutes. The edges should look set and the centre should have a very slight wobble — it will look slightly underdone and that is exactly right.
Start checking at 22 minutes. Overbaking is the single biggest mistake with this recipe and will result in a cakey rather than fudgy texture. When in doubt, pull them out earlier — the chilling step firms them up significantly.
- 9
Remove from the oven and allow to cool in the tin for 15 minutes. Then lift out using the parchment overhang and transfer to the fridge for at least 30 minutes before slicing. Cut into 12 even squares using a sharp knife wiped clean between cuts.
For the cleanest, most defined slices and the best fudgy texture, refrigerate overnight. The brownies firm up beautifully, the chocolate flavour intensifies, and they will slice perfectly cleanly with a knife run under hot water and dried between every cut.
Nutrition per serving
147kcal
Calories
5.8g
Protein
14.2g
Carbs
8.1g
Fat
4.6g
Fibre
6.4g
Sugar
98mg
Sodium
Pro Tips
- ✓
Always use a high-powered blender rather than a food processor, a blender fully obliterates the black beans into a completely smooth batter, while a food processor can leave a slightly gritty texture that gives away the secret ingredient.
- ✓
Rinse canned black beans extremely thoroughly under cold running water and pat them dry before adding to the blender. Residual starchy liquid from the can is the number one cause of a lingering beany aftertaste.
- ✓
Use the best quality dairy free dark chocolate bar you can find at 70% cacao or higher, melting a proper bar gives far superior depth of flavour and glossiness compared to using chocolate chips alone for the batter.
- ✓
Do not overbake. Pull the brownies from the oven when the centre still has a very slight wobble, they will look underdone and that is correct. They continue to set from residual heat and firm up significantly during chilling.
- ✓
For the cleanest, most professional slices, refrigerate the brownies overnight before cutting. Run a sharp knife under hot water and wipe it completely dry between every single cut.
- ✓
If you want to intensify the chocolate flavour without adding any extra sweetness, add half a teaspoon of instant espresso powder to the blender along with the other ingredients. It amplifies the dark chocolate dramatically without making the brownies taste of coffee at all.
Frequently Asked Questions
Variations
- •
Peanut Butter Swirl
Replace the almond butter with natural peanut butter and add an extra two tablespoons of peanut butter dropped in spoonfuls onto the top of the batter before baking. Use a toothpick to swirl it through the surface for a peanut butter chocolate marbled effect.
- •
Mint Chocolate
Add half a teaspoon of pure peppermint extract to the blender along with the other wet ingredients. Top the baked and cooled brownies with a thin drizzle of melted dairy free dark chocolate mixed with a drop of peppermint oil for a mint chocolate finish.
- •
Espresso Dark Chocolate
Add one teaspoon of instant espresso powder or very finely ground coffee to the blender. The coffee intensifies the chocolate flavour dramatically without making the brownies taste of coffee, a professional baker's trick.
- •
Orange Zest
Add the finely grated zest of one large orange to the batter before blending. The citrus oil from the zest cuts through the richness beautifully and pairs classically with dark chocolate.
- •
Topped with Raspberries
Press 80g of fresh raspberries into the surface of the batter just before baking. The berries sink slightly and create jammy pockets of sharpness that contrast perfectly with the rich chocolate.
Substitutions
- •Black beans → Cannellini beans or chickpeas (Both work well when blended completely smooth. Chickpeas produce a very slightly lighter colour. Ensure all are rinsed thoroughly.)
- •Eggs → Flax eggs (Mix 1 tbsp ground flaxseed with 3 tbsp water per egg. Allow to gel for 5 minutes before using. Makes the recipe fully vegan.)
- •Maple syrup → Coconut sugar or agave nectar (Use 50g coconut sugar dissolved in 2 tbsp warm water in place of the maple syrup. Agave can be used in equal quantities to maple syrup.)
- •Almond butter → Sunflower seed butter or cashew butter (Sunflower seed butter makes the recipe nut-free. Cashew butter has the most neutral flavour of the nut butter options.)
- •Coconut oil → Light olive oil or avocado oil (Use the same quantity. The brownies will be slightly less glossy but still delicious. Avocado oil has the most neutral taste.)
- •Raw cacao powder → Unsweetened cocoa powder (Use in exactly the same quantity. Standard cocoa powder works well, raw cacao just adds additional antioxidants and a slightly more complex flavour.)
🧊 Storage
Store cooled brownies in an airtight container in the refrigerator for up to 5 days. They actually taste better from day two as the flavours deepen. For room temperature storage, they will keep for up to 2 days in a cool kitchen, though the texture is best when chilled. Freeze for up to 3 months, wrap individually in parchment paper before placing in a freezer bag.
📅 Make Ahead
These brownies are an ideal make-ahead treat. Bake them the day before you need them and refrigerate overnight, the texture and flavour improve significantly after 12 to 24 hours of resting. The batter can also be prepared and kept in the fridge for up to 24 hours before baking; allow it to come to room temperature for 15 minutes before transferring to the tin.
More Dairy-Free Desserts Recipes
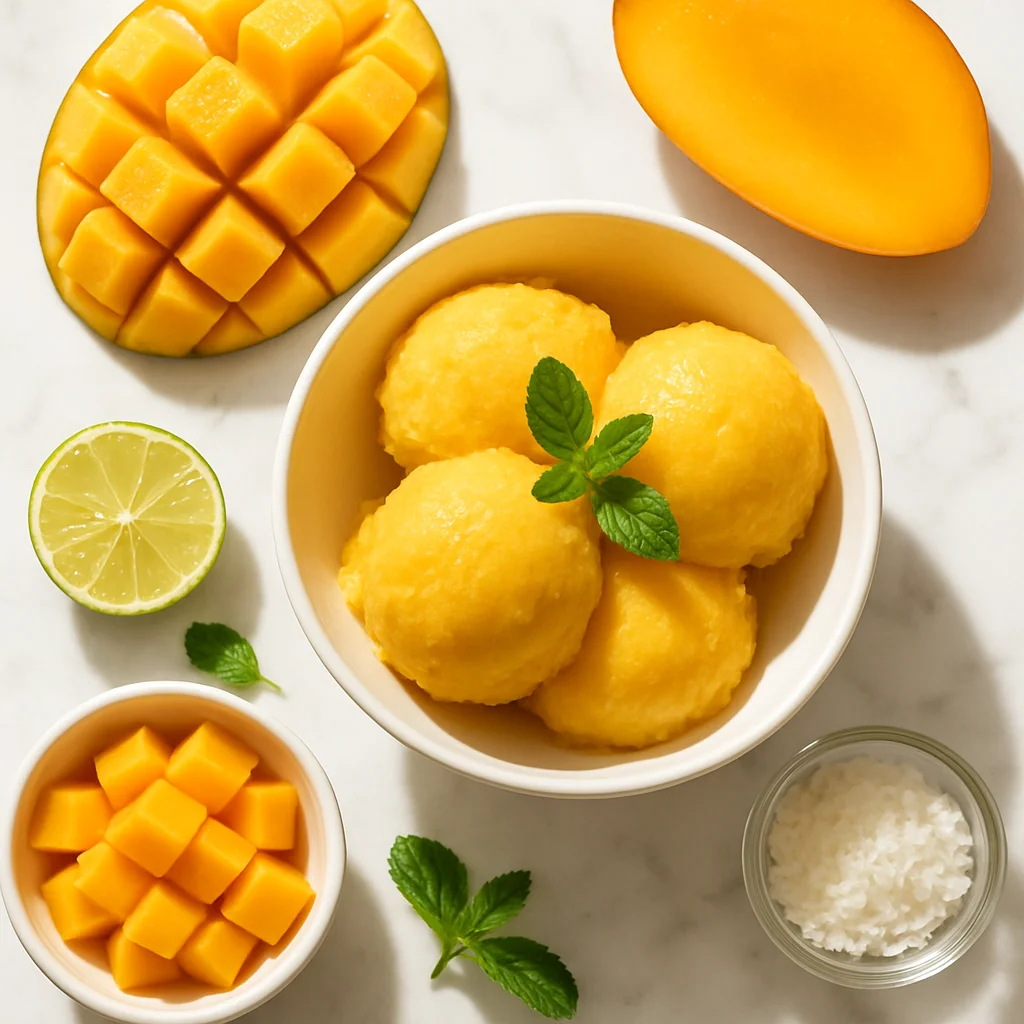
Dairy-Free Mango Sorbet
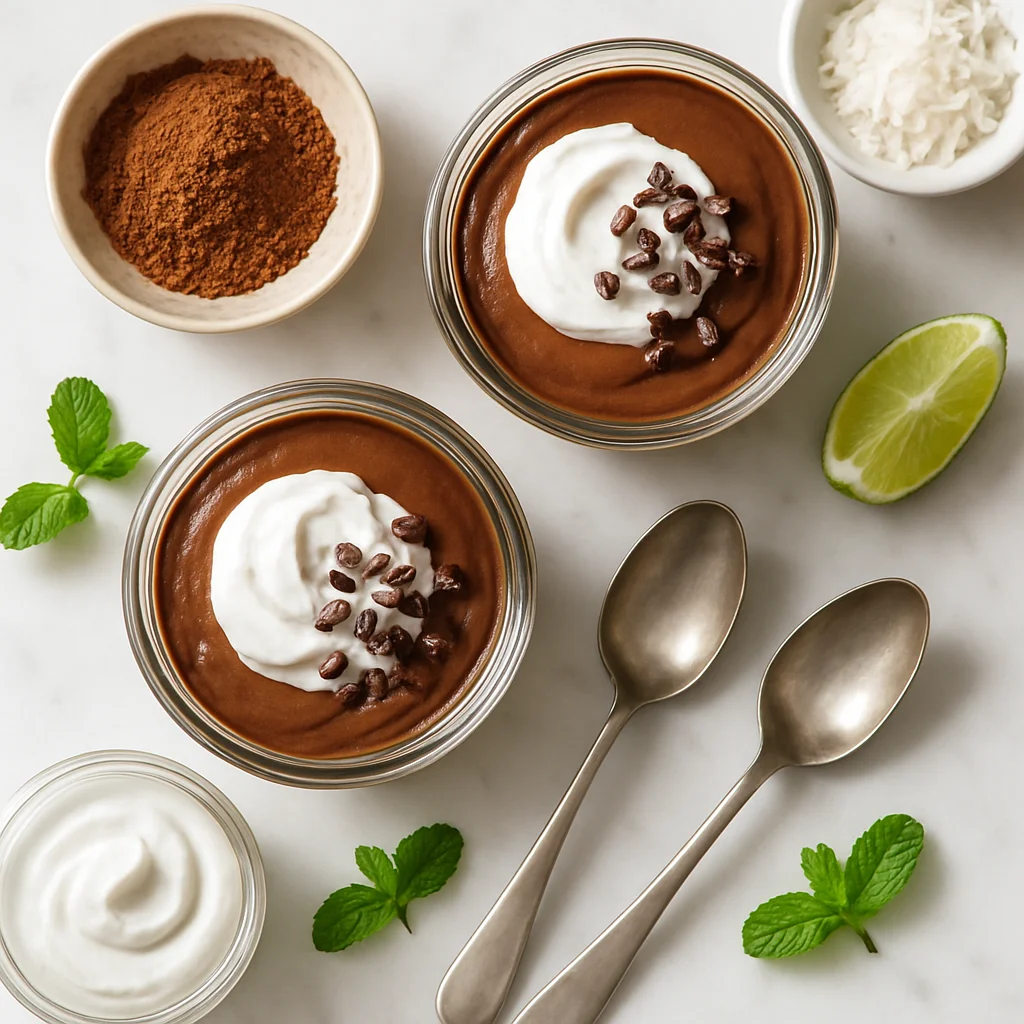
Dairy Free Chocolate Mousse with Coconut Cream and Raw Cacao
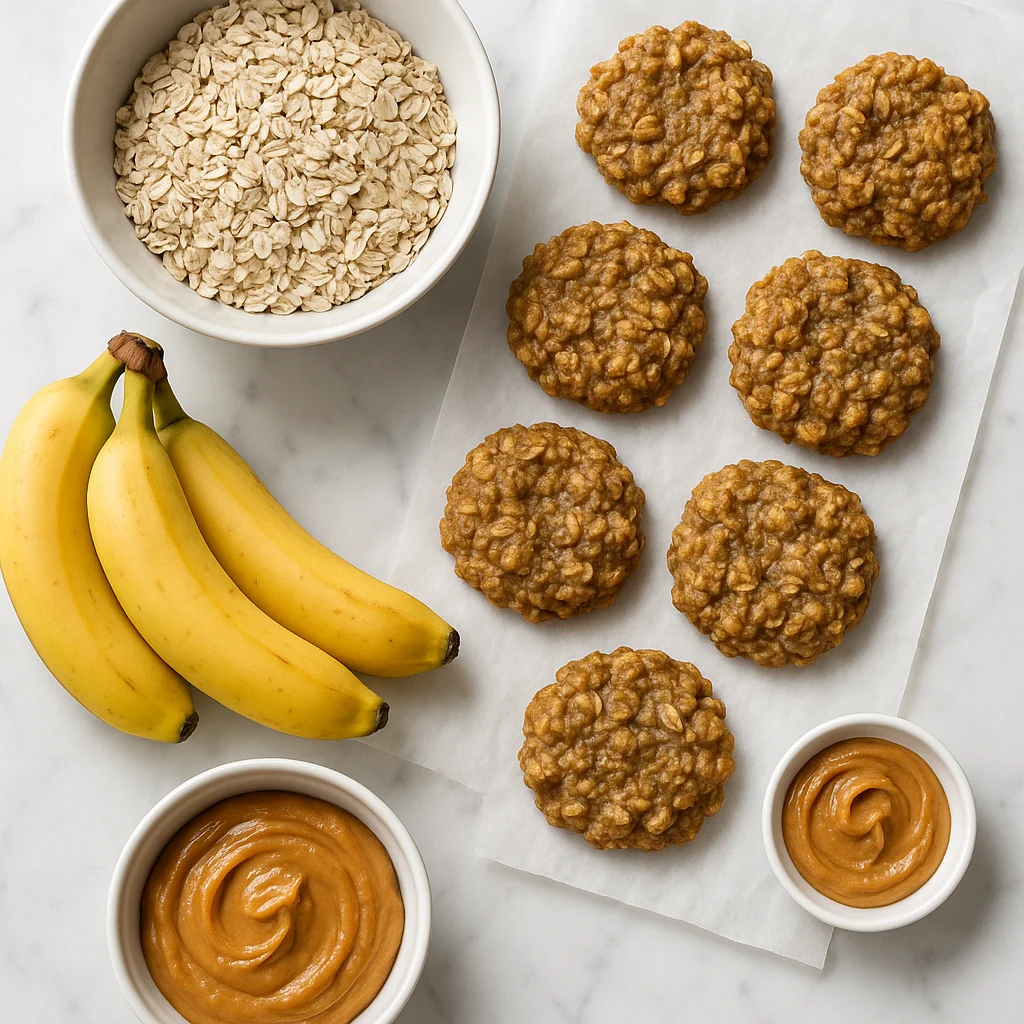
Dairy Free Banana Oat Cookies Three Ingredient (Ready in 15 Minutes)
