Dairy Free Chocolate Peppermint Bark (Refined Sugar Free)
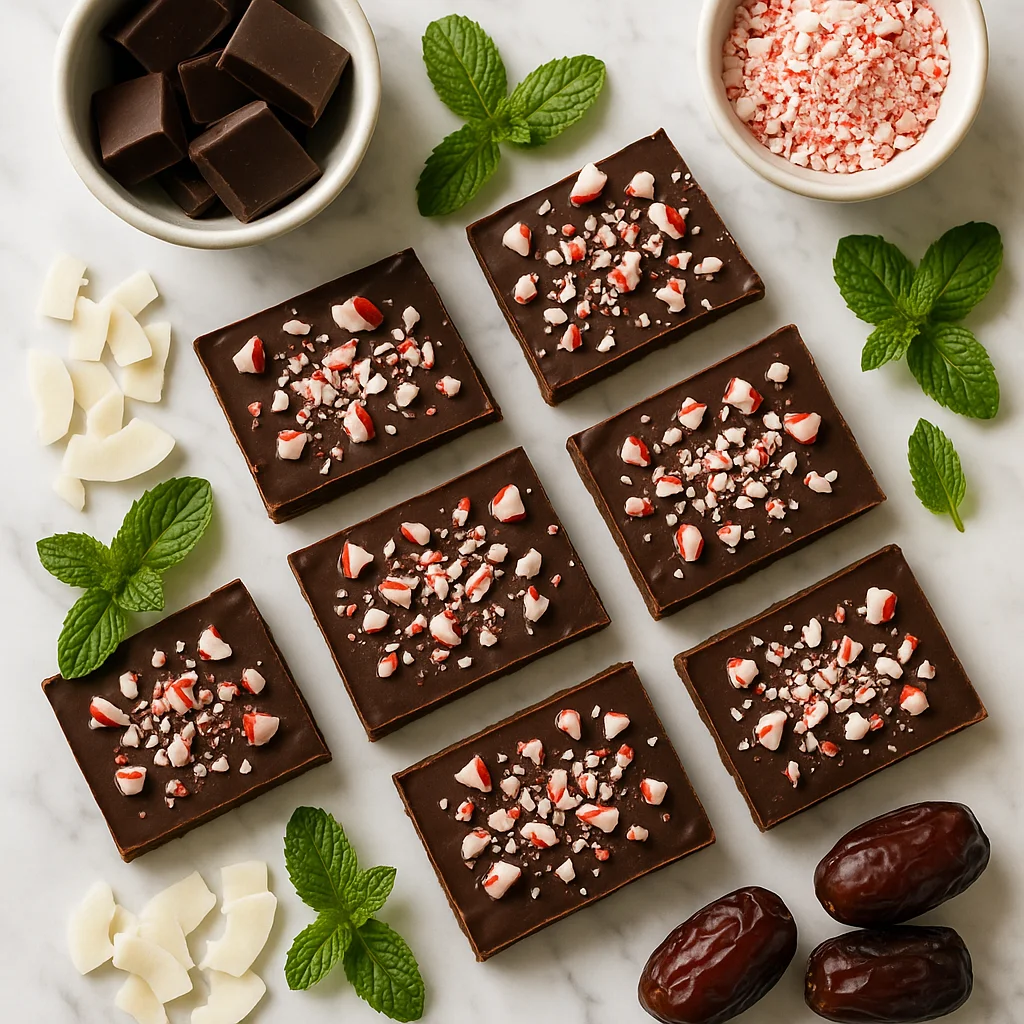
If you have been searching for a dairy free chocolate peppermint bark that does not compromise on flavour, texture, or that satisfying snap, you have found exactly the right recipe. Traditional peppermint bark is typically loaded with refined white sugar, dairy-heavy white chocolate, and enough calories to make even the most indulgent sweet tooth pause. This version strips away everything unnecessary and replaces it with genuinely wholesome, plant-based ingredients that deliver the same festive, cooling peppermint experience you love, without the guilt.
At the heart of this recipe is high-quality dairy free dark chocolate. Look for a bar or chips with at least 70 percent cacao content. Not only does darker chocolate carry a more complex, satisfying flavour that means you need less of it to feel content, it also provides a meaningful dose of antioxidants, particularly flavanols, which support cardiovascular health. Trusted dairy free brands include Enjoy Life Foods (top-8 allergen free and widely available), Hu Kitchen (paleo-friendly and sweetened only with coconut sugar), and Lindt 85% (check regional labels for milk-free certification). When you pair great dark chocolate with a creamy dairy free white chocolate layer made from coconut cream and cacao butter sweetened lightly with maple syrup, you get the classic two-tone peppermint bark look without a single drop of dairy in sight.
The sweetener choice here is deliberate. Refined white sugar causes rapid blood sugar spikes and provides zero nutritional value. Pure maple syrup, used in modest amounts throughout this recipe, contains trace minerals including zinc and manganese and has a lower glycaemic impact when used in small quantities. The goal is not to make this a sugar-free recipe at the expense of enjoyment, it is to make every gram of sweetness count for something.
Coconut oil plays a functional role in this dairy free chocolate peppermint bark. It helps the chocolate layers set firmly in the refrigerator while remaining perfectly snappable when cold, mimicking the texture that cocoa butter provides in conventional chocolate. Use refined coconut oil if you want a neutral flavour that lets the peppermint and chocolate shine, or unrefined for a subtle tropical undertone that pairs surprisingly well with mint.
Finding good dairy free white chocolate in stores can be genuinely difficult, and when you do find it, it often melts unpredictably. That is precisely why this recipe builds the white layer from scratch using cacao butter and coconut cream. Cacao butter is the natural fat extracted from cacao beans and is the same ingredient used to give commercial white chocolate its characteristic richness and ivory colour. Making it yourself takes just a few extra minutes and gives you complete control over sweetness, flavour, and texture. If cacao butter is unavailable locally, it is easy to find online and worth having in your pantry for this recipe alone.
The peppermint element comes from pure peppermint extract rather than artificial flavouring. A small amount goes a very long way, which is why the recipe calls for a precise quarter teaspoon in each layer. Too much and the bark becomes medicinal rather than refreshing. Get it right and every piece delivers that characteristic cool tingle that makes peppermint bark so irresistible around the winter holidays and beyond.
For the topping, crushed candy canes are the traditional choice, but many commercial candy canes contain artificial colours and refined sugar. This recipe suggests using naturally coloured peppermint candy pieces or simply skipping the candy entirely and using a sprinkle of cacao nibs for crunch and added fibre. Cacao nibs are the raw, unsweetened form of chocolate before sugar is added, deeply chocolatey, slightly bitter, and packed with magnesium and fibre. They transform this from a seasonal treat into something you could genuinely feel good about eating year-round.
From a dietary perspective, this recipe is naturally vegan, gluten free, egg free, nut free, and of course completely dairy free. It is also refined sugar free when you use maple syrup and opt for cacao nibs over candy canes. The calorie count per serving is significantly lower than store-bought peppermint bark, and the fibre content from dark chocolate and cacao nibs is a genuine bonus that commercial versions simply cannot offer.
Making this dairy free chocolate peppermint bark at home also gives you complete control over ingredient quality. You can choose fair-trade chocolate, organic maple syrup, and ethically sourced coconut oil. Given how simple the process is, melt, pour, chill, repeat, there is really no reason to reach for a mass-produced alternative.
This recipe makes an exceptional homemade gift. Break it into irregular shards, layer them in a glass jar or kraft paper bag with a festive ribbon, and you have a thoughtful, health-conscious present that anyone with dietary restrictions can enjoy with confidence. It stores beautifully in the fridge for up to two weeks and can even be frozen for longer shelf life, just pull pieces straight from the freezer and allow them to rest at refrigerator temperature for 30 minutes before serving.
Whether you are making this for a holiday cookie exchange, a dairy-free guest, or simply because you deserve a treat that tastes indulgent without derailing your wellness goals, this dairy free chocolate peppermint bark delivers on every front. Simple ingredients, minimal equipment, no baking required, and genuinely better for you than anything you will find on a supermarket shelf.
Ingredients
- 250 g dairy free dark chocolate chips or chopped bar (70% cacao or higher recommended; trusted brands include Enjoy Life Foods, Hu Kitchen, or Lindt 85% — always check label for milk-free certification)
- 1 tbsp refined coconut oil (refined is preferred for a neutral flavour; unrefined adds a subtle coconut note)
- 1.5 tbsp pure maple syrup (for the dark chocolate layer; use Grade A dark amber for stronger flavour)
- 0.3 tsp pure peppermint extract (for the dark chocolate layer; use pure extract, not imitation or peppermint oil)
- 120 g cacao butter (chopped into small pieces for faster melting; food-grade, deodorised cacao butter gives the most neutral, ivory-coloured white layer)
- 3 tbsp coconut cream (thick solid part only from a refrigerated full-fat tin; avoid lite coconut cream as the layer will not set firmly)
- 2 tbsp pure maple syrup (for the white layer; adds sweetness and helps the layer stay smooth)
- 0.3 tsp pure peppermint extract (for the white layer; measure carefully — peppermint extract is potent)
- 0.5 tsp vanilla extract (for the white layer; rounds out the sweetness and balances the peppermint)
- 2 tbsp cacao nibs (for topping; adds fibre and crunch with no added sugar — substitute crushed natural peppermint candies or freeze-dried strawberries for a more festive look)
- 0.1 tsp fine sea salt (enhances both chocolate and peppermint flavour; flaky sea salt also works for a more visual finish)
Instructions
- 1
Line a standard baking sheet (approximately 30x20 cm) with parchment paper, leaving overhang on the sides for easy lifting later. Place it on a flat surface in your refrigerator to chill while you prepare the chocolate layers.
A flat, level refrigerator shelf is essential so both layers set evenly without pooling to one side — check with a spirit level if you are unsure.
- 2
Make the dark chocolate layer: Place the dairy free dark chocolate chips and coconut oil in a heatproof bowl set over a pot of barely simmering water (double boiler method). Stir gently and continuously until fully melted and smooth. Remove from heat.
Alternatively, microwave in 30-second bursts on medium power, stirring between each interval, to avoid scorching the chocolate. Stop as soon as the last few chips are nearly melted and stir to finish — residual heat does the rest.
- 3
Stir the maple syrup and peppermint extract into the melted dark chocolate until fully combined and glossy. Work quickly as the mixture will begin to thicken.
Add the maple syrup slowly while stirring rather than all at once — this keeps the chocolate glossy and prevents it from seizing or becoming grainy.
- 4
Remove the chilled baking sheet from the refrigerator. Pour the dark chocolate mixture onto the parchment and use a spatula to spread it into an even layer approximately 4–5 mm thick. Return the tray to the refrigerator and chill for 20–25 minutes, or until the layer is firm but still slightly tacky on the surface.
Do not chill until completely hard or the white layer will not bond properly and the bark will separate when broken. The surface should feel firm but yield very slightly when pressed with a fingertip.
- 5
While the dark layer chills, prepare the white layer. Melt the cacao butter in a clean heatproof bowl over simmering water, stirring until completely liquid and clear. Remove from heat and allow it to cool for 3–4 minutes.
Cacao butter has a higher melting point than regular chocolate — around 34–35°C — so be patient. Chop it into small, uniform pieces beforehand to ensure even melting without any scorching.
- 6
Whisk the thick coconut cream, maple syrup, vanilla extract, and peppermint extract into the melted cacao butter until the mixture is smooth, creamy, and uniform in colour. It should look like a pale ivory ganache.
If the coconut cream is cold and causes the cacao butter to seize slightly, place the bowl back over warm water briefly and whisk vigorously until smooth again. Ensure your coconut cream is at room temperature to minimise this risk.
- 7
Remove the baking tray from the refrigerator. Gently pour the white layer over the set dark chocolate layer and spread with a clean spatula, working carefully to avoid dragging the layers together.
Pour from the centre outward in a slow, steady stream rather than dumping from one side, and use a light touch with the spatula to avoid dragging and mixing the two layers together.
- 8
Immediately scatter the cacao nibs evenly over the white layer and finish with a light sprinkle of fine sea salt. Return the tray to the refrigerator and chill for a minimum of 35–40 minutes, or until the white layer is completely firm.
For the cleanest snap and best texture, chill for a full 60 minutes rather than the minimum. The white layer needs to be completely solid all the way through before you attempt to break it.
- 9
Once fully set, lift the bark from the tray using the parchment overhang. Break it into irregular shards by hand, or cut into neat rectangles with a sharp knife. Serve immediately or store as directed.
For clean cuts, warm your knife blade briefly under hot water, dry it thoroughly, then slice — this prevents cracking along unintended lines. For rustic shards, simply snap the bark by hand for a more homemade, gift-worthy look.
Nutrition per serving
112kcal
Calories
1.4g
Protein
9.2g
Carbs
8.6g
Fat
1.8g
Fibre
5.1g
Sugar
28mg
Sodium
Pro Tips
- ✓
Use a kitchen thermometer to temper the dark chocolate layer if you want an extra-glossy, professional finish, aim for 31–32°C when pouring onto the parchment. Tempered chocolate will also have a more satisfying snap straight from the fridge.
- ✓
Never swap peppermint extract for peppermint oil without drastically reducing the quantity. Peppermint essential oil is 4–5 times more concentrated than extract, use only 1 to 2 drops maximum and only if it is explicitly labelled food-safe.
- ✓
Finding dairy free white chocolate in stores can be hit or miss, and many brands do not melt smoothly. The homemade cacao butter layer in this recipe is more reliable, less expensive, and far better tasting than most commercial dairy free white chocolate chips.
- ✓
If your kitchen is warm (above 22°C), chill the baking sheet in the freezer for the first 10 minutes of each layer's setting time, then transfer to the refrigerator. This prevents the layers from melting into each other when you pour.
- ✓
Choose dairy free dark chocolate that lists cacao mass and cacao butter as primary ingredients rather than palm oil or other vegetable fats, this gives a far superior flavour, better snap, and a cleaner nutritional profile.
- ✓
Wrap individual pieces in small squares of wax paper or cellophane and pack them into a glass jar or kraft box with a ribbon for beautiful, health-conscious holiday gifts that even guests with multiple dietary restrictions can enjoy safely.
Frequently Asked Questions
Variations
- •
Dark Chocolate Only Bark
Skip the white layer entirely and make a single thick layer of peppermint-infused dark chocolate. Top with cacao nibs, crushed freeze-dried raspberries, and sea salt for a more complex flavour profile with even fewer calories.
- •
Matcha White Layer
Add half a teaspoon of ceremonial-grade matcha powder to the white cacao butter layer before pouring. The earthy green colour and subtle bitterness of matcha pairs beautifully with the cooling peppermint and bitter dark chocolate.
- •
Mocha Peppermint Bark
Stir one teaspoon of instant espresso powder into the melted dark chocolate layer for a coffee-chocolate-peppermint combination that is especially popular with adults. The caffeine in espresso also enhances the perception of chocolate flavour.
- •
Orange Peppermint Bark
Replace the peppermint extract in the dark chocolate layer with pure orange extract and add a quarter teaspoon of orange zest to the white layer. Finish with candied orange peel pieces for a citrus twist on the classic.
Substitutions
- •Maple syrup → Coconut nectar or agave syrup (Both work as 1:1 liquid sweetener substitutes. Coconut nectar has a slightly lower glycaemic index. Agave is sweeter so reduce quantity by about 20 percent.)
- •Cacao butter → Refined coconut oil (Use the same weight of refined coconut oil. The white layer will be slightly softer and less firm, and the ivory colour will be more translucent. Works well but sets less firmly.)
- •Coconut cream → Cashew cream (Blend half a cup of soaked raw cashews with 2 tablespoons of water until completely smooth. Use the same quantity as coconut cream. Note this recipe will no longer be nut free with this substitution.)
- •Cacao nibs (topping) → Crushed freeze-dried strawberries or natural peppermint candies (Freeze-dried strawberries add a beautiful colour contrast and natural tartness with no added sugar. Natural peppermint candies boost the mint flavour but add refined sugar to the recipe.)
- •Peppermint extract → Food-grade peppermint essential oil (Use only 1–2 drops maximum as peppermint essential oil is far more concentrated than extract. Ensure it is explicitly labelled as food safe before using.)
🧊 Storage
Store the dairy free chocolate peppermint bark in an airtight container in the refrigerator for up to 2 weeks. Layer pieces between sheets of parchment paper to prevent sticking. The bark can be frozen in a freezer-safe container for up to 3 months, allow to thaw in the refrigerator for 30 minutes before serving. Do not store at room temperature for extended periods as the white layer may soften.
📅 Make Ahead
This bark is an ideal make-ahead treat. Prepare it up to 2 weeks in advance and keep refrigerated until needed. It is particularly useful for holiday entertaining or gifting, the flavour actually deepens slightly after the first 24 hours of refrigeration as the peppermint extract infuses fully into the chocolate layers.
More Dairy-Free Desserts Recipes
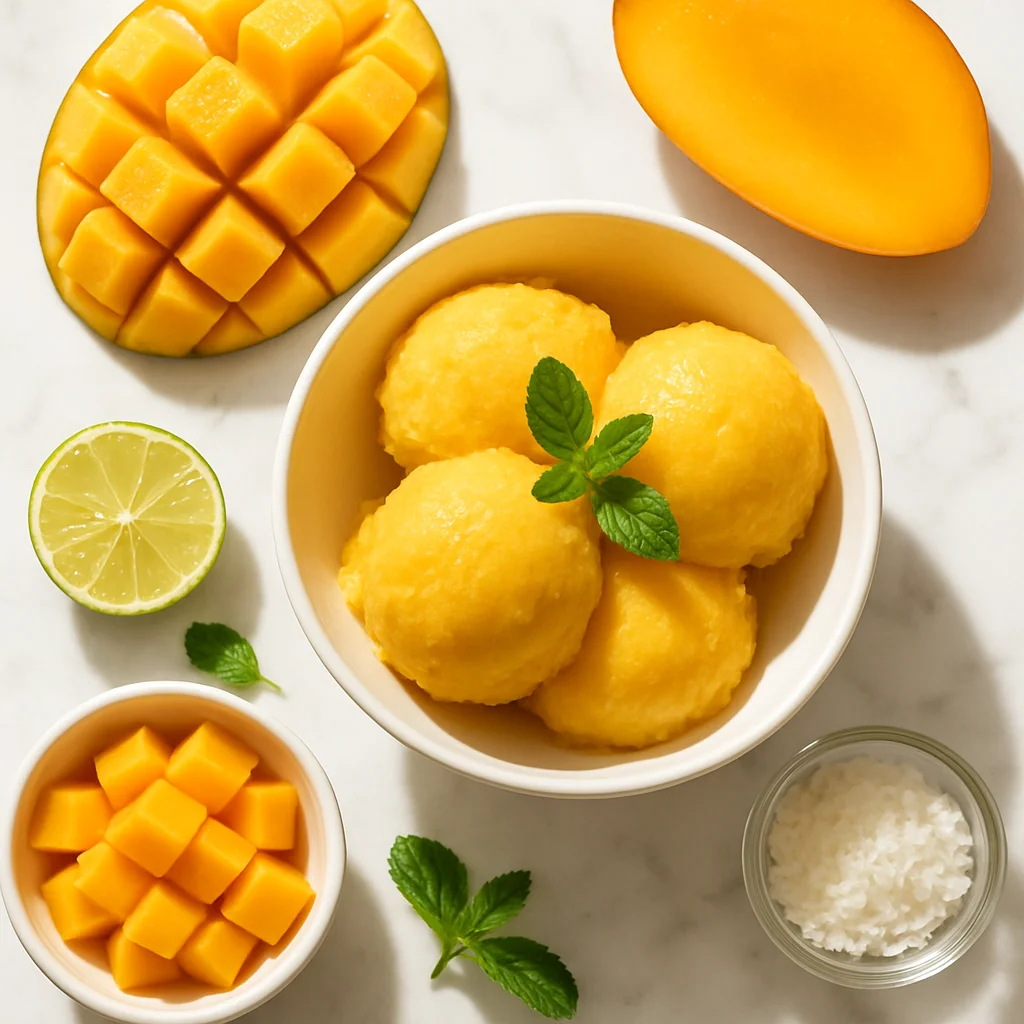
Dairy-Free Mango Sorbet
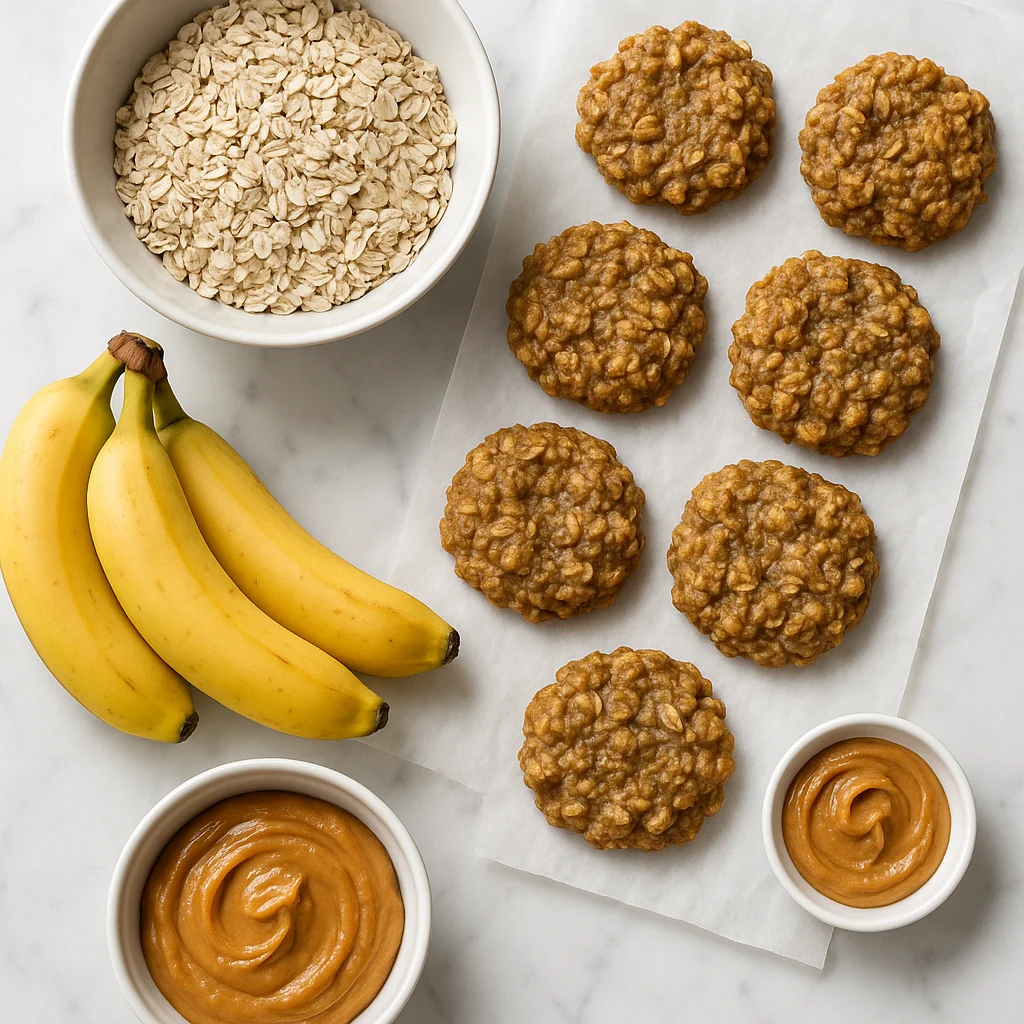
Dairy Free Banana Oat Cookies Three Ingredient (Ready in 15 Minutes)
Fudgy Dairy Free Chocolate Fudge Brownies with Black Beans