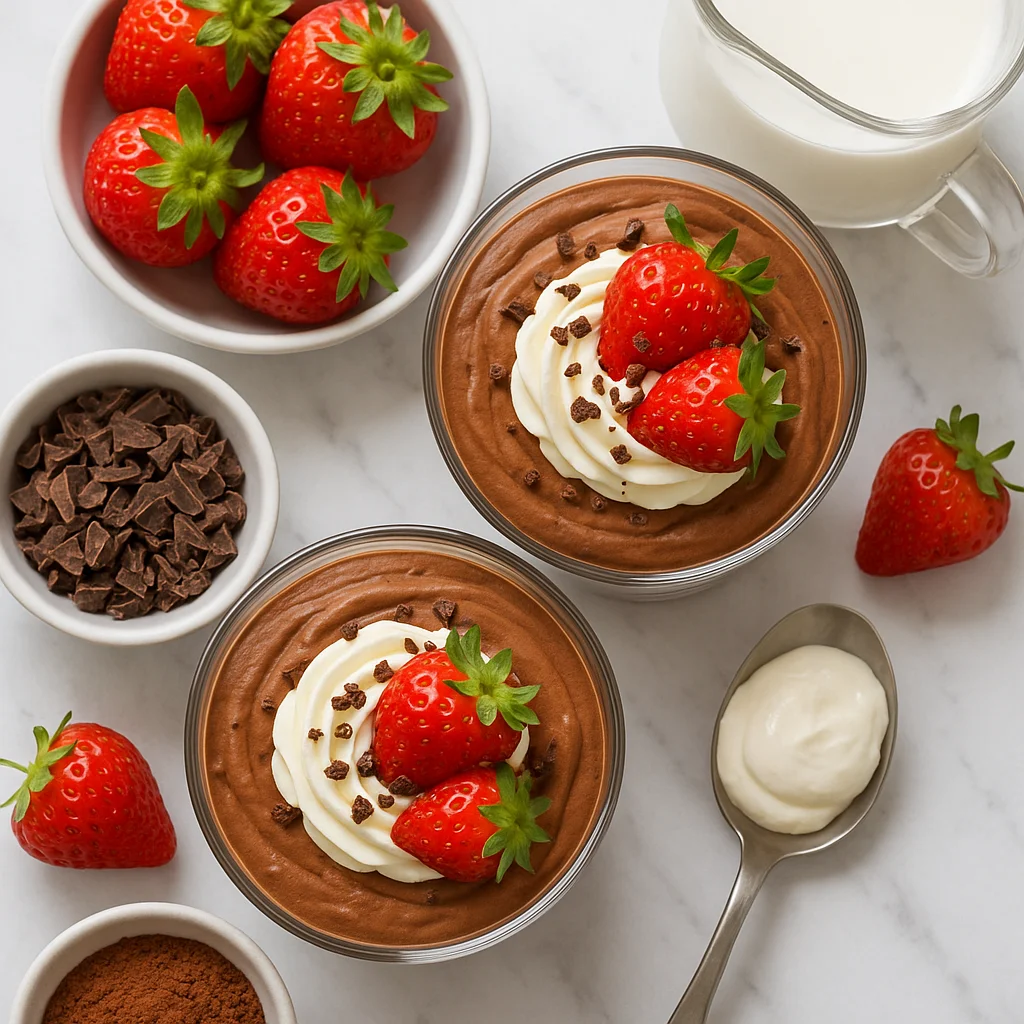
Keto Chocolate Mousse with Heavy Cream (5 Ingredients, 10 Minutes)
If you have been searching for a dessert that feels completely indulgent while keeping your carbohydrates low, this keto chocolate mousse with heavy cream is exactly what you need. Made with just five simple ingredients you likely already have in your kitchen, this mousse comes together in under ten minutes and delivers a cloud-like, velvety texture that rivals anything you would find in a high-end restaurant. Whether you are new to the ketogenic lifestyle or a seasoned low-carb baker looking for a reliable go-to dessert, this recipe belongs in your regular rotation.
Traditional chocolate mousse is loaded with refined sugar, often contains flour-thickened custard bases, and can pack in well over 400 calories per serving with double-digit net carbs. This healthier version flips that script entirely. By whipping cold heavy cream to stiff peaks and folding in unsweetened cocoa powder alongside a natural low-glycaemic sweetener, you get all the luxurious body and deep chocolate flavour without the blood sugar spike. Each serving contains only around 3 grams of net carbohydrates, making it perfectly aligned with strict ketogenic macros.
The star of this recipe is high-quality heavy whipping cream, which should have at least 36% fat content for the best whipping results. Heavy cream is naturally very low in carbohydrates, less than 0.5g per tablespoon, and rich in dietary fat. On a ketogenic diet, fat is your primary fuel source, so using heavy cream is not just permitted, it is encouraged. When whipped to stiff peaks, millions of tiny air bubbles become trapped within the fat molecules, creating that signature airy yet rich texture that makes mousse so deeply satisfying.
For the chocolate element, we use unsweetened cocoa powder rather than chocolate chips or sweetened cocoa mix. Unsweetened cocoa powder provides intense chocolate flavour along with a meaningful dose of dietary fibre and beneficial plant compounds called flavanols, which have been associated with cardiovascular and cognitive health benefits. Dutch-process cocoa powder is particularly recommended here because it has been alkali-treated to neutralise its natural acidity, producing a smoother, rounder, less bitter chocolate flavour that integrates seamlessly into the whipped cream. If you prefer a more intense, slightly earthier taste with maximum antioxidant content, raw cacao powder is an excellent alternative.
A small but important tip borrowed from professional bakers: add the cocoa and sweetener when the cream is at the soft peak stage rather than fully whipped to stiff peaks. This approach, demonstrated by experienced low-carb recipe developers, allows the dry ingredients to incorporate more evenly while reducing the risk of over-whipping the cream into a grainy or buttery texture.
Sweetening this recipe is done entirely with a granulated erythritol and stevia blend, which provides zero calories and has a glycaemic index of essentially zero, meaning it will not raise blood sugar or insulin levels. Powdered versions of keto sweeteners integrate even more smoothly than granulated ones and are worth seeking out if you want the silkiest possible texture. Allulose is another excellent option that does not crystallise when cold, making it particularly well suited to chilled desserts like this mousse.
A small amount of pure vanilla extract deepens the flavour and adds a warm aromatic note that makes the mousse taste more complex and layered than you might expect from such a simple preparation. Some recipes also add a pinch of cinnamon, which subtly complements the chocolate and adds an unexpected warmth. And finally, a pinch of fine sea salt amplifies the perceived sweetness and enhances the depth of the chocolate flavour significantly, a professional baking technique that is well worth the extra second it takes.
This mousse is naturally gluten-free, grain-free, and egg-free, making it suitable not just for those following a ketogenic diet but also for individuals with coeliac disease, gluten sensitivity, or concerns about raw eggs that arise in classic French mousse recipes. Because this recipe requires no cooking or baking at all, it is classified as a completely no-bake dessert. The entire process involves chilling your bowl and beaters, whipping the cream, sifting in the dry ingredients, folding, and refrigerating briefly to set.
From start to finish, you are looking at about ten minutes of active preparation and thirty minutes of chilling time. It is the kind of recipe you can pull together last minute when guests arrive unexpectedly or when a chocolate craving strikes at nine in the evening. Serve it in elegant small glasses or ramekins, topped with a few fresh raspberries, a dusting of extra cocoa, or a small curl of very dark sugar-free chocolate for a presentation that looks far more effortful than it actually was. This keto chocolate mousse with heavy cream proves that eating low-carb and sugar-free does not mean sacrificing pleasure, richness, or satisfaction at the dessert table.
Ingredients
- 1 cup heavy whipping cream (must be very cold, straight from the refrigerator; look for at least 36% fat content — lower-fat creams will not whip to stable peaks)
- 3 tablespoons unsweetened cocoa powder (sifted to remove clumps; Dutch-process cocoa gives a smoother, less bitter flavour; raw cacao powder can be used for a more intense, antioxidant-rich alternative)
- 3 tablespoons granulated erythritol-stevia blend (such as Swerve or Natvia; a powdered version integrates more smoothly than granulated; allulose also works well and will not crystallise when cold — adjust quantity to taste)
- 1 teaspoon pure vanilla extract (use a high-quality extract for the best flavour; vanilla bean paste can be substituted for a more intensely aromatic result with visible vanilla specks)
- 1 pinch fine sea salt (a professional baking technique — salt amplifies perceived sweetness and deepens the chocolate flavour; do not skip it)
Instructions
- 1
Place your mixing bowl and electric beater attachments in the freezer for 10 minutes before you begin. This step is key to achieving stiff, stable peaks quickly.
A cold bowl keeps the cream from warming up during whipping, which can cause it to turn grainy or fail to hold peaks. Metal bowls chill faster and retain the cold better than glass or plastic.
- 2
Sift the unsweetened cocoa powder and granulated erythritol-stevia blend together into a small bowl to remove any lumps and ensure even distribution when folded into the cream.
Skipping the sifting step can result in small pockets of bitter cocoa powder in the finished mousse. Push every last bit through the sieve with the back of a spoon.
- 3
Remove the bowl and beaters from the freezer. Pour the cold heavy whipping cream into the chilled bowl. Begin whipping on medium speed for 1 minute, then increase to high speed.
Starting on medium speed builds a more stable foam structure before you increase the speed. If using a stand mixer, the whisk attachment gives the most volume.
- 4
Add the vanilla extract and pinch of sea salt to the cream while whipping. Continue whipping on high speed until the cream begins to form soft peaks, approximately 2 to 3 minutes.
Adding the vanilla and salt at the soft peak stage — before the cream is fully stiff — allows them to incorporate evenly without deflating the foam.
- 5
With the mixer running on low speed, gradually add the sifted cocoa and sweetener mixture one tablespoon at a time, allowing each addition to incorporate before adding the next.
Adding the dry ingredients at the soft peak stage rather than after stiff peaks have fully formed is a key technique used by experienced low-carb bakers — it reduces the risk of over-whipping the cream and ensures even incorporation of the cocoa.
- 6
Once all the cocoa mixture is added, increase speed to medium-high and continue whipping until stiff peaks form and the mousse holds its shape firmly on the beater. Do not over-whip.
Stiff peaks mean the mousse stands straight up without drooping when the beater is lifted. Stop whipping the moment this happens — even 30 extra seconds at this stage can push the cream past stiff peaks into a grainy, buttery texture that cannot be recovered.
- 7
Divide the chocolate mousse evenly between four serving glasses or ramekins using a spoon or piping bag. Smooth or swirl the tops as desired.
A piping bag fitted with a large star tip makes for a beautiful restaurant-style presentation. Fill the bag and pipe in a spiral motion starting from the outside edge of the glass.
- 8
Refrigerate the mousse cups for at least 30 minutes before serving to allow them to firm up slightly and develop the best flavour and texture.
The mousse can be refrigerated for up to 48 hours, making it an excellent make-ahead dessert. Cover each glass individually with plastic wrap to prevent the surface from absorbing fridge odours.
Nutrition per serving
218kcal
Calories
2g
Protein
5g
Carbs
22g
Fat
2g
Fibre
1g
Sugar
45mg
Sodium
Pro Tips
- ✓
Always use very cold heavy cream straight from the refrigerator, room temperature cream contains less dissolved gas and will not whip properly. If your kitchen is warm, set the bowl over a larger bowl of ice water while whipping.
- ✓
Add the cocoa powder and sweetener when the cream has reached soft peaks rather than waiting for full stiff peaks. This professional technique, used by experienced low-carb bakers, ensures even incorporation and dramatically reduces the risk of over-whipping.
- ✓
Use powdered keto sweetener rather than granulated if you can find it. Powdered erythritol, powdered Swerve, or powdered monk fruit sweetener (such as Lakanto) dissolve more readily into the whipped cream, producing a silkier, grainer-free texture with no slight crunch.
- ✓
For an extra-deep chocolate flavour, add half a teaspoon of instant espresso powder to the cocoa mixture before sifting. It intensifies the chocolate significantly without adding any detectable coffee taste, a trick used in professional pastry kitchens.
- ✓
Taste the mousse before chilling and adjust sweetness by folding in a little extra sweetener a teaspoon at a time. Different brands of cocoa powder and sweetener vary in intensity, so always taste and adjust to your personal preference.
- ✓
Serve in well-chilled glasses pulled straight from the refrigerator. Cold serving vessels keep the mousse firmer and more stable at the table, especially during warmer months or when entertaining.
Frequently Asked Questions
Variations
- •
Peppermint Keto Chocolate Mousse
Add a quarter teaspoon of pure peppermint extract along with the vanilla extract for a refreshing mint chocolate flavour. Top with a small sugar-free dark chocolate shaving for a festive touch.
- •
Mocha Keto Chocolate Mousse
Dissolve one teaspoon of instant espresso powder in the vanilla extract before adding it to the cream. This creates a rich mocha flavour with a subtle coffee bitterness that complements the dark chocolate beautifully.
- •
Dark Chocolate Orange Mousse
Add half a teaspoon of pure orange extract and a small pinch of finely grated orange zest along with the vanilla. The citrus brightens the chocolate and creates a sophisticated flavour profile.
- •
White Chocolate Keto Mousse
Replace the unsweetened cocoa powder with two tablespoons of unsweetened white chocolate-flavoured sugar-free protein powder and reduce the sweetener by one tablespoon. The result is a pale, creamy mousse with a lighter sweetness.
Substitutions
- •heavy whipping cream → full-fat coconut cream (chilled solid portion only) (Makes the recipe dairy-free and vegan. Chill the coconut cream tin overnight. The mousse will be slightly less stable but still holds well when cold.)
- •erythritol-stevia blend → allulose or pure monk fruit sweetener (Use the same quantity. Allulose produces a slightly softer texture and does not crystallise when cold, making it an excellent choice for mousse.)
- •unsweetened cocoa powder → raw cacao powder (Raw cacao is less processed and has a more intense, slightly more bitter flavour. It also contains higher levels of antioxidants. Use the same quantity.)
- •pure vanilla extract → vanilla bean paste or scraped vanilla bean seeds (Use half a teaspoon of vanilla bean paste in place of one teaspoon of extract for a more intensely aromatic result with visible vanilla specks.)
🧊 Storage
Store the mousse covered tightly with plastic wrap or in an airtight container in the refrigerator for up to 3 days. Do not freeze, as the whipped cream structure will collapse upon thawing. If any liquid separation occurs after storage, gently stir before serving.
📅 Make Ahead
This mousse is an excellent make-ahead dessert. Prepare and portion into serving glasses up to 48 hours before serving, cover each glass with plastic wrap, and refrigerate. The flavour actually improves after a few hours of resting as the cocoa fully hydrates into the cream.
More Keto Desserts Recipes

Keto Salted Caramel Truffles with Almond Butter and Sea Salt
Keto Chocolate Hazelnut Spread Brownies (Fudgy, Low-Carb & Gluten-Free)

Keto Cinnamon Butter Pecan Fat Bombs (No-Bake, 5-Ingredient)