Healthy Japanese Dorayaki Red Bean Pancakes (Lower Sugar, High Fibre)
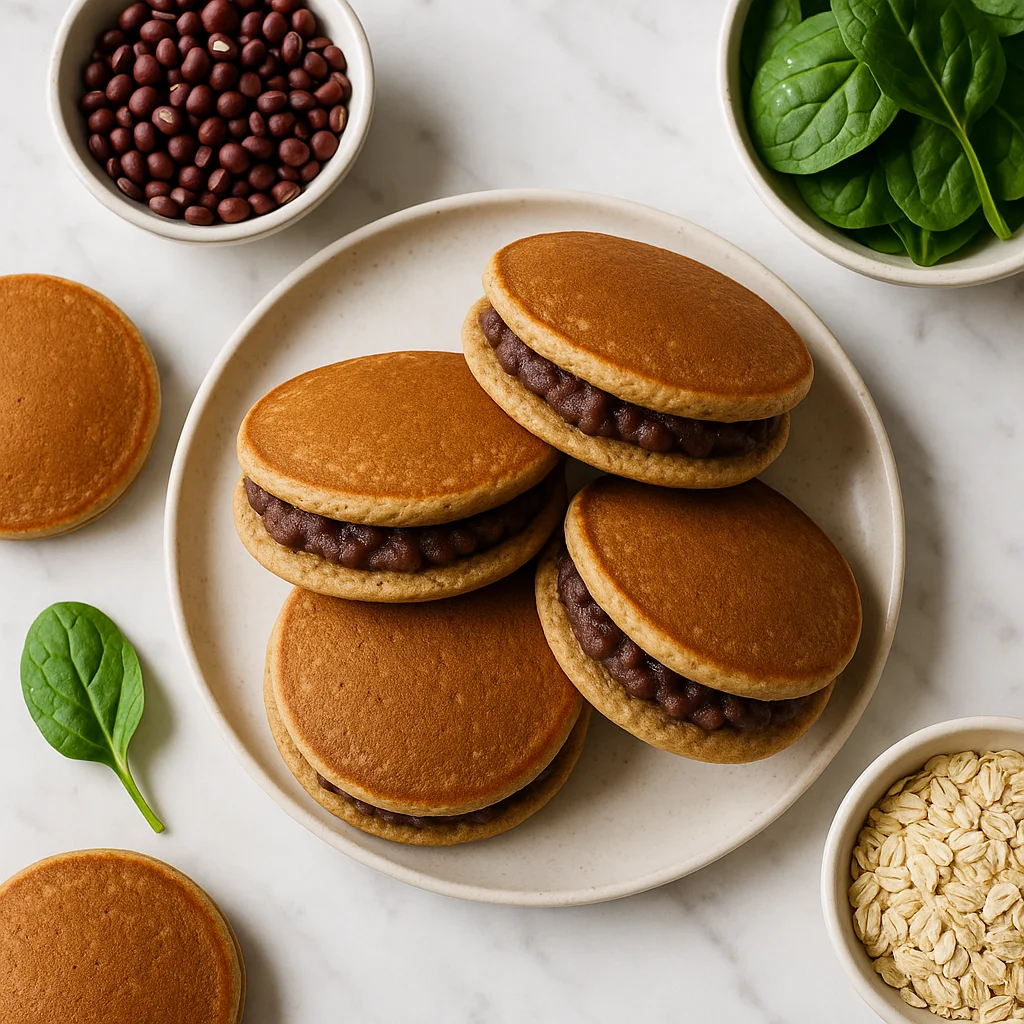
Dorayaki is famously Doraemon's favourite food, which is relevant only in that it explains why almost every Japanese child knows what it is. Two small, round, slightly honey-scented pancakes sandwiched around a filling of sweet red bean paste: it is a confection that manages to be both a proper snack and a proper dessert simultaneously, in the way that many Japanese wagashi do. This healthier version reduces the sugar in both the pancake batter and the anko filling, and increases the fibre content by incorporating a small amount of oat flour alongside the plain flour in the pancakes. The result is a dorayaki that is noticeably more nutritious than the shop-bought version without any meaningful sacrifice of the flavour or texture that makes the original so likeable.
Why this recipe works
The dorayaki pancake batter contains honey and mirin alongside the eggs and flour, which give the pancakes their characteristic gentle sweetness and their slightly glossy, caramelised surface when cooked. Adding a small amount of oat flour to the batter increases the fibre content and adds a subtle nuttiness that complements the red bean filling. The red bean paste filling, made from azuki beans cooked until very soft and mashed with a reduced amount of coconut sugar, has a deeply earthy flavour that is balanced and complex rather than purely sweet.
Getting it right
Cook the pancakes over a medium-low heat. Too high and the surface colours before the interior is cooked through, producing a pancake with a pale, doughy centre. Too low and the characteristic surface gloss does not develop. Medium-low, with patience, produces the right result.
Rest the batter for fifteen minutes before cooking. Resting allows the gluten to relax and the oat flour to hydrate, producing a smoother, more even pancake.
Common mistakes
Making the pancakes different sizes produces pairs that do not match, which matters both visually and in terms of the filling-to-pancake ratio. Use a tablespoon measure or a small ladle for consistent sizing.
Applying the filling to warm pancakes causes the filling to soften and spread beyond the edge of the pancake. Allow the pancakes to cool completely before filling and sandwiching.
Substitutions
Smooth peanut butter makes a quick alternative filling that requires no cooking. Matcha cream cheese, made from cream cheese mixed with matcha powder and a small amount of honey, produces a contemporary filling variation. Sweet potato paste works very well as a filling for those who find red bean unfamiliar.
Serving suggestion
Serve at room temperature, ideally with a cup of green tea or hojicha. Dorayaki keep in an airtight container for two days without the filling drying out significantly. The pancakes soften slightly on the second day, which some people prefer.
Ingredients
- 200 g dried azuki beans (soaked overnight in cold water; also sold as adzuki beans — available in Asian supermarkets or health food stores. Use a drained 400g can as a shortcut.)
- 3 tbsp pure maple syrup (for the anko filling; grade A or B both work well. Adds sweetness with a lower glycaemic impact than white sugar.)
- 1 tbsp coconut sugar (for the anko filling; adds a subtle caramel depth. Light brown sugar can substitute at a 1:1 ratio.)
- 1 pinch fine sea salt (for the anko filling; enhances the natural sweetness of the beans — do not skip this.)
- 120 g wholemeal spelt flour (sifted; provides more fibre and protein than white flour with a mild, nutty flavour. White spelt flour can be used for a lighter texture.)
- 40 g oat flour (certified gluten-free if needed; adds tenderness and soluble beta-glucan fibre. Make your own by blending rolled oats until fine.)
- 1 tsp baking powder (ensure it is fresh for maximum lift — test by dropping a pinch into warm water; it should bubble immediately.)
- 2 large eggs (room temperature; essential for the light, springy pancake structure. For vegan version, use flax eggs (1 tbsp ground flaxseed + 3 tbsp water per egg, rested 5 minutes).)
- 2 tbsp raw honey (gives the pancakes their characteristic glossy, golden-brown finish and subtle floral sweetness. Use pure maple syrup for a vegan version.)
- 1 tbsp coconut sugar (for the pancake batter; adds depth without spiking blood sugar as sharply as white sugar.)
- 1 tbsp mirin (a Japanese sweet rice wine that adds subtle umami and helps the pancakes stay moist. Substitute with 1 tsp rice wine vinegar plus 1 tsp water, or omit entirely.)
- 80 ml unsweetened oat milk (or any plant milk — almond, soy, or rice milk all work well. Avoid flavoured or sweetened varieties.)
- 1 tsp pure vanilla extract (use real vanilla extract rather than vanilla flavouring for the best flavour.)
- 1 tsp neutral coconut oil or light olive oil spray (for cooking; use sparingly — too much oil causes uneven browning. Wipe excess away with kitchen paper between batches.)
Instructions
- 1
Drain and rinse the soaked azuki beans. Place them in a medium saucepan and cover with fresh cold water by at least 5 cm. Bring to a boil over high heat, then drain and rinse again. This double-blanching step reduces bitterness and improves digestibility.
Do not skip the double-blanching step — it makes a noticeable difference to the final flavour of the anko by removing bitter tannins from the bean skins.
- 2
Return the blanched beans to the saucepan and cover with fresh water. Bring to a boil, then reduce heat to low and simmer uncovered for 50 to 60 minutes, or until the beans are completely tender and can be easily crushed between two fingers. Check and top up the water level every 15 minutes to keep the beans submerged.
The beans should be very soft — slightly overcooked is better than undercooked when making anko. Undercooked beans will result in a grainy, starchy paste that doesn't hold together well.
- 3
Drain the cooked beans, reserving about 60 ml of the cooking liquid. Return the beans to the pan over low heat. Add the maple syrup, coconut sugar, and sea salt. Stir and mash with a fork or potato masher to your preferred texture — chunky tsubuan style or smooth koshian style. Cook for a further 8 to 10 minutes over low heat, stirring frequently, until the paste thickens and pulls away from the sides of the pan. Add a splash of reserved cooking liquid if it becomes too thick.
For a smoother koshian-style paste, blend briefly with an immersion blender then return to the heat. For traditional tsubuan (chunky), simply mash with a fork leaving some whole beans intact — this is the most common style for home-made dorayaki.
- 4
Transfer the anko to a bowl, press a sheet of cling film directly onto the surface to prevent a skin forming, and refrigerate for at least 30 minutes until firm and easy to portion.
The anko can be made up to 3 days in advance and stored in the refrigerator, or frozen for up to 3 months. It must be completely chilled before assembling — warm anko will cause the pancakes to go soggy.
- 5
Make the pancake batter. In a large bowl, whisk together the eggs, raw honey, coconut sugar, mirin, oat milk, and vanilla extract until smooth and slightly frothy.
Whisk the eggs vigorously for at least 60 seconds — incorporating air at this stage is what gives the pancakes their characteristic light, springy texture. The mixture should look slightly foamy before you add the flour.
- 6
Sift the wholemeal spelt flour, oat flour, and baking powder into the wet ingredients. Gently fold together with a spatula until a smooth batter forms. Do not overmix. Rest the batter for 10 minutes at room temperature.
Resting the batter for a full 10 minutes allows the oat flour to fully hydrate and the baking powder to activate — this is a key step professional wagashi makers follow for consistently fluffy dorayaki. The batter will thicken slightly as it rests, which is normal.
- 7
Heat a non-stick frying pan or skillet over medium-low heat. Lightly grease with coconut oil spray or a tiny amount of neutral oil wiped across the surface with a folded piece of kitchen paper. Once the pan is hot, drop a heaped tablespoon of batter (approximately 2.5 to 3 tablespoons total per pancake) into the pan to form a round shape about 8 cm in diameter. Cook for 2 to 3 minutes until bubbles form across the surface and the edges look set.
Pour the batter from about 15 to 20 cm above the pan in a single steady stream — this helps it spread into a natural round shape without needing to be guided. Do not spread the batter with a spoon. The first pancake is always a test batch for calibrating your heat.
- 8
Flip the pancake carefully and cook for a further 1 minute until the underside is lightly golden. Transfer to a plate and cover loosely with a clean kitchen towel to keep soft while you cook the remaining batter. You should make approximately 16 pancakes in total.
Cover cooked pancakes with a clean kitchen towel rather than cling film — the towel allows steam to escape while keeping the pancakes soft, whereas cling film traps condensation and makes them sticky.
- 9
To assemble, place one pancake flat-side up. Spoon approximately 2 tablespoons of chilled anko onto the centre. Place a second pancake flat-side down on top and gently press to sandwich together, leaving a small rim of anko visible at the edges. Repeat with remaining pancakes and filling.
After assembling, wrap each dorayaki loosely in cling film and rest at room temperature for 15 to 20 minutes before serving. This resting time allows the pancakes to absorb moisture from the anko and become softer and more cohesive — the texture improves noticeably compared to eating them immediately.
Nutrition per serving
198kcal
Calories
8g
Protein
34g
Carbs
4g
Fat
7g
Fibre
10g
Sugar
115mg
Sodium
Pro Tips
- ✓
Use a kitchen scale for accuracy, especially when portioning batter for evenly-sized pancakes. Consistent size means consistent cooking time and a more polished finished result.
- ✓
Do not rush the anko, low and slow cooking over the final 8 to 10 minutes is what gives it its deeply flavourful, jammy consistency. Stir frequently to prevent scorching on the bottom of the pan.
- ✓
Rest the batter for at least 10 minutes before cooking. This allows the oat flour to fully hydrate and the baking powder to activate, producing noticeably fluffier, more even pancakes, a tip used by professional Japanese wagashi makers.
- ✓
Allow the assembled dorayaki to rest for 15 to 20 minutes before eating. During this time the pancakes absorb a little moisture from the anko filling and become softer and more cohesive, just like the ones you find in Japanese convenience stores.
- ✓
A slightly lower heat setting than you might expect produces the even, warm golden colour characteristic of authentic dorayaki. If your pancakes are browning in under 90 seconds, your heat is too high, reduce it and wipe the pan clean between batches.
- ✓
Leftover anko freezes beautifully, portion into tablespoon-sized dollops on a lined tray, freeze until solid, then transfer to a zip-lock bag for up to 3 months. Defrost overnight in the refrigerator whenever a dorayaki craving strikes.
Frequently Asked Questions
Variations
- •
Matcha Pancakes with Red Bean Filling
Add 1.5 teaspoons of ceremonial-grade matcha powder to the dry pancake ingredients. The earthy, slightly bitter matcha complements the sweet anko filling beautifully and adds a striking green hue.
- •
Black Sesame Anko
Stir 2 tablespoons of black sesame paste (tahini made from black sesame seeds) into the finished anko filling. This adds a nutty, slightly smoky depth of flavour and a boost of calcium and healthy fats.
- •
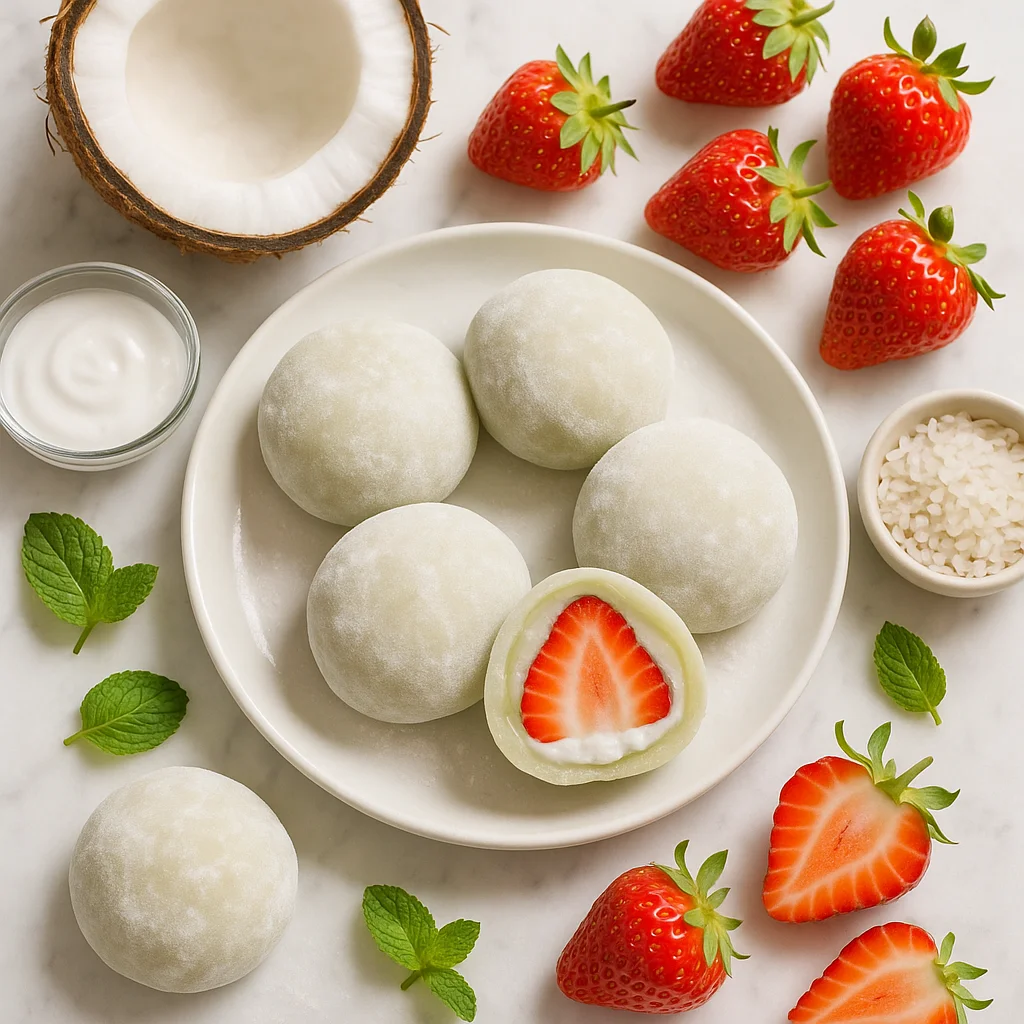
Whipped Cream and Strawberry Dorayaki
Fill the dorayaki with a combination of anko and a small dollop of lightly sweetened whipped coconut cream, plus a thin slice of fresh strawberry. This creates a namagashi-inspired version popular in modern Japanese patisseries.
- •
Banana Oat Dorayaki
Replace the anko with mashed ripe banana mixed with a spoonful of natural almond butter and a pinch of cinnamon. This is a quicker, no-cook filling option and is naturally very low in added sugar.
Substitutions
- •Wholemeal spelt flour → White spelt flour or gluten-free plain flour blend (White spelt flour will produce a lighter, softer pancake but with slightly less fibre. A 1:1 gluten-free flour blend works well for a gluten-free version.)
- •Oat flour → Buckwheat flour or additional spelt flour (Buckwheat flour adds a nuttier flavour and is naturally gluten-free. Using all spelt flour gives a slightly denser result.)
- •Raw honey → Pure maple syrup (A direct 1:1 swap. Maple syrup makes the recipe vegan-friendly. The pancake flavour will be slightly less floral but equally delicious.)
- •Mirin → 1 tsp rice wine vinegar plus 1 tsp water (This mimics the slight acidity and sweetness of mirin. Alternatively, omit entirely, the pancakes will still taste great.)
- •Eggs → Flax eggs (1 tbsp ground flaxseed + 3 tbsp water per egg) (Rest flax eggs for 5 minutes before using. The texture will be slightly denser and less springy but the recipe will be fully vegan.)
- •Dried azuki beans → Canned cooked azuki beans (400g drained weight) (Skip the soaking and boiling steps. Drain, rinse, and proceed directly to the mashing and sweetening stage. Total prep time reduces significantly.)
🧊 Storage
Store assembled dorayaki in an airtight container at room temperature for up to 1 day, or refrigerate for up to 3 days. Bring to room temperature before eating for the best texture. Pancakes and anko can also be stored separately and assembled fresh, this keeps the pancakes from absorbing too much moisture from the filling.
📅 Make Ahead
The anko filling can be prepared up to 3 days in advance and refrigerated, or frozen for up to 3 months. The pancake batter can be made and refrigerated for up to 24 hours before cooking, give it a gentle stir before using. For best results, assemble the dorayaki no more than a few hours before serving.
More Japanese Desserts Recipes
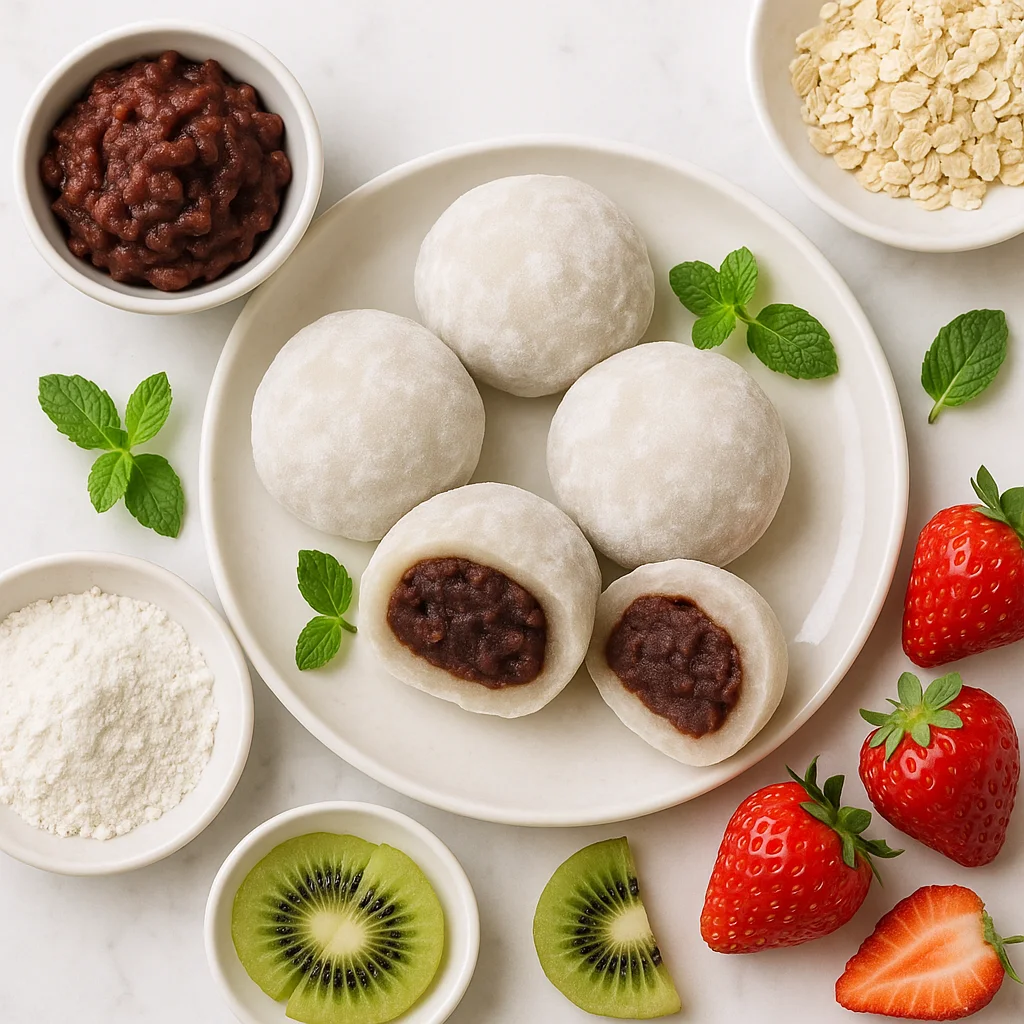
Healthy Daifuku Mochi Recipe with Red Bean Paste (Lower Sugar)
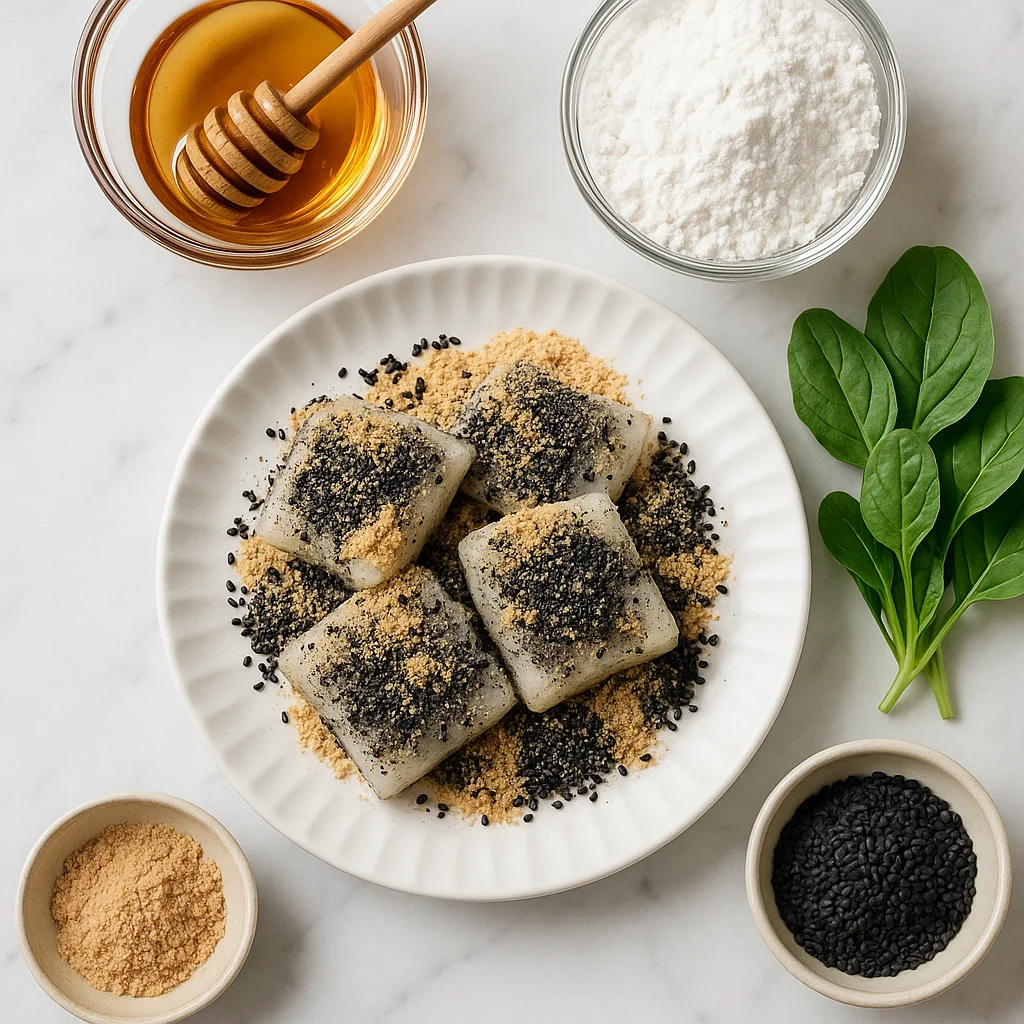
5-Minute Microwave Mochi Recipe with Honey and Black Sesame
Raindrop Cake Mizu Shingen Mochi Agar Agar Recipe with Coconut Water and Matcha Drizzle