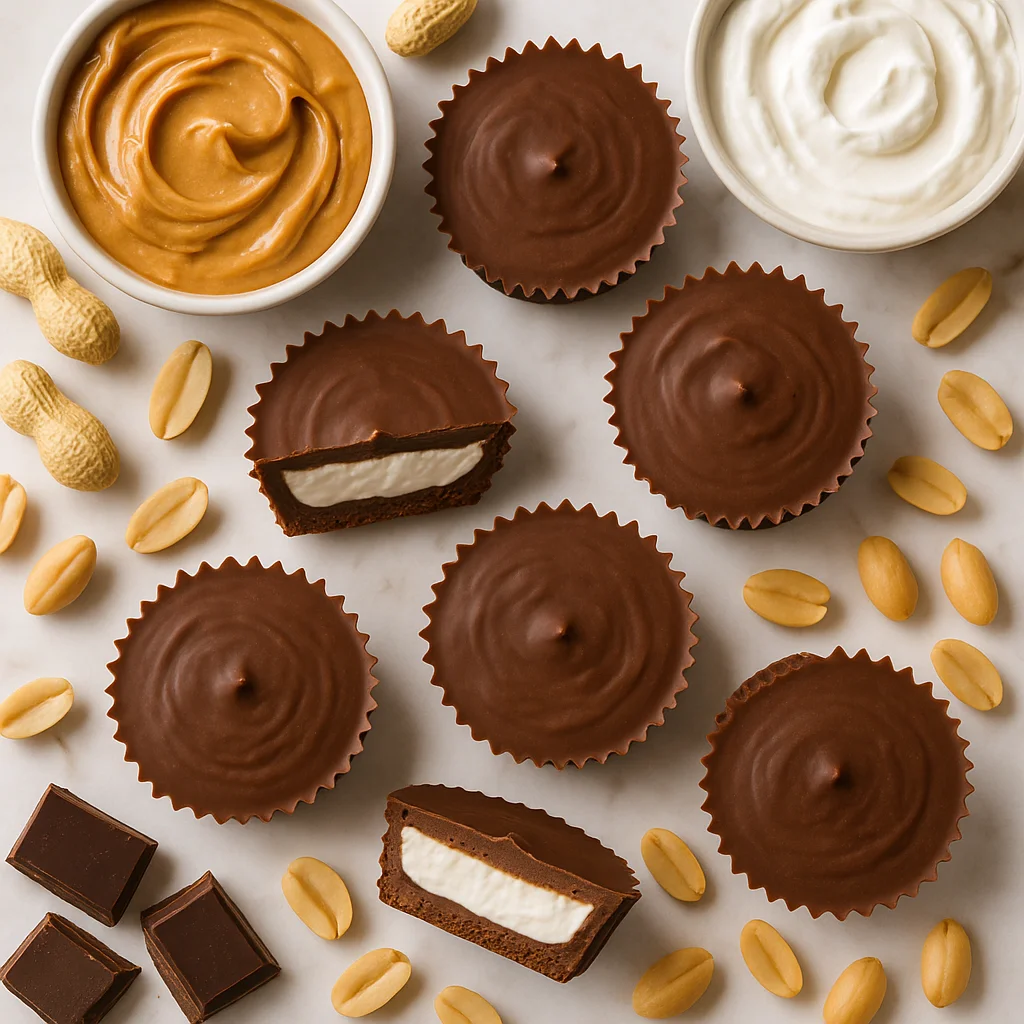
High Protein Peanut Butter Chocolate Cups with Greek Yogurt Filling
If you have ever stood in the candy aisle wishing Reese's cups came with a decent protein count and half the sugar, this recipe was made for you. These high protein peanut butter chocolate cups are everything you love about the classic treat, but built with ingredients that actually support your goals. Each cup delivers around 12 grams of protein, uses no refined sugar, and comes together in under 20 minutes of active prep time. They are brilliant for post-workout snacking, afternoon energy slumps, or simply satisfying that chocolate craving without the crash that follows a bag of store-bought candy.
The filling is where this recipe really shines. Instead of relying purely on peanut butter and sugar like traditional cups do, this version blends natural peanut butter with thick Greek yogurt and a scoop of vanilla protein powder. The Greek yogurt adds creaminess while quietly boosting the protein content and bringing a subtle tang that balances the richness of the chocolate shell beautifully. A small drizzle of pure maple syrup sweetens the filling just enough without tipping into sugar overload territory. For the chocolate layer, this recipe calls for dark chocolate with at least 70 percent cocoa solids, which is naturally lower in sugar than milk chocolate and brings a depth of flavour that feels genuinely indulgent. Melting it with a tiny touch of coconut oil gives you that silky, glossy shell that snaps satisfyingly when you bite in.
The texture inside these cups is thick, creamy and almost fudge-like, which is a lovely contrast against the firm dark chocolate shell. They hold their shape straight from the freezer, and after sitting at room temperature for five minutes they soften to that perfect melt-in-your-mouth consistency. Serve them straight from the fridge on warm days, or allow them to sit briefly on the counter when the weather is cooler. They look impressive enough to bring to a gathering and nobody will guess they are protein-packed and lower in sugar. A light sprinkle of flaky sea salt on top before they set makes the flavours pop in the most satisfying way, and it takes them from everyday snack to something genuinely special.
From a nutritional standpoint, these cups are built to do more than most desserts. Natural peanut butter brings heart-healthy monounsaturated fats along with magnesium, potassium and a good hit of natural protein. Greek yogurt adds calcium, live cultures for gut health, and a significant protein boost that most dessert recipes completely ignore. Dark chocolate, particularly at 70 percent cocoa or higher, is rich in flavonoids that support cardiovascular health and has a far lower glycaemic impact than standard milk chocolate. The maple syrup used here is minimal, just enough to round out sweetness, and it contains trace minerals like zinc and manganese that refined sugar simply does not offer. This recipe is naturally gluten free, egg free and can easily be made dairy free with a suitable yogurt alternative. Whether you are tracking macros, eating mindfully or just trying to make smarter choices without giving up dessert, these cups fit into a balanced approach to eating beautifully.
Ingredients
- 200 g dark chocolate (70 percent cocoa or higher, broken into pieces)
- 1 tsp coconut oil (refined, for a neutral flavour)
- 120 g natural peanut butter (smooth, no added sugar or palm oil)
- 80 g full-fat Greek yogurt (or thick coconut yogurt for dairy free)
- 30 g vanilla protein powder (whey or plant-based both work well)
- 1.5 tbsp pure maple syrup (adjust to taste)
- 0.3 tsp vanilla extract
- 1 pinch fine sea salt (for the filling)
- 0.5 tsp flaky sea salt (for topping, optional but recommended)
Instructions
- 1
Line a standard 12-hole muffin tin with 10 paper cupcake liners and set it aside on a flat surface.
Silicone liners give you cleaner edges and make releasing the cups much easier once set.
- 2
Combine the dark chocolate pieces and coconut oil in a heatproof bowl. Melt together over a pan of gently simmering water, stirring regularly, until completely smooth and glossy. Remove from the heat.
Keep the heat low and do not let water touch the chocolate bowl. Even a drop of water can cause the chocolate to seize and turn grainy.
- 3
Spoon roughly one teaspoon of melted chocolate into each liner, using the back of the spoon to spread it up the sides slightly to form a shallow shell. Transfer the tin to the freezer for 10 minutes to set the base layer.
Bringing the chocolate up the sides a little helps hold the filling in place and creates a better cup shape.
- 4
While the base sets, make the filling. Add the peanut butter, Greek yogurt, protein powder, maple syrup, vanilla extract and fine sea salt to a medium bowl. Stir firmly until a thick, smooth paste forms with no streaks of yogurt remaining.
If your protein powder is very thick or clumpy, sift it in to avoid lumps in the filling.
- 5
Remove the muffin tin from the freezer. Divide the peanut butter filling evenly between the 10 chocolate bases, pressing it down gently and smoothing the tops with a small spoon or your fingertip.
Slightly wet fingertips make smoothing the surface much easier without the mixture sticking.
- 6
Spoon the remaining melted chocolate over each cup, covering the filling completely and letting it settle into a flat top. If the chocolate has thickened while sitting, return the bowl to the warm water bath for 30 seconds and stir again.
- 7
Sprinkle a small pinch of flaky sea salt over the top of each cup immediately before the chocolate sets.
Do this quickly as the chocolate can start to set within a couple of minutes, especially in a cold kitchen.
- 8
Transfer the tin to the fridge and chill for a minimum of 60 minutes, or until the chocolate is completely firm. Once set, remove the cups from the liners and serve.
For best results, keep them in the fridge and allow them to sit at room temperature for 3 to 5 minutes before eating.
Nutrition per serving
158kcal
Calories
12g
Protein
10g
Carbs
9g
Fat
2g
Fibre
5g
Sugar
95mg
Sodium
Pro Tips
- ✓
Use a protein powder you genuinely enjoy the flavour of, as it does come through in the filling.
- ✓
Natural peanut butter that has separated is fine to use. Stir it well before measuring so you get the right ratio of oil to solids.
- ✓
If your filling feels too soft to scoop neatly, pop it in the fridge for 10 minutes before filling the cups.
- ✓
Chilling the cups overnight gives an even firmer set and lets the flavours develop more fully.
- ✓
Mini muffin tins work brilliantly here if you want smaller, bite-sized cups with fewer calories each.
Frequently Asked Questions
Variations
- •
Dark Chocolate Almond Butter Cups
Replace the peanut butter with smooth almond butter for a slightly lighter, nuttier flavour. Almond butter has a marginally lower calorie count per tablespoon and pairs beautifully with dark chocolate.
- •
Mocha Peanut Butter Cups
Add one teaspoon of instant espresso powder to the melted chocolate before layering. The coffee deepens the chocolate flavour significantly and makes these feel very grown-up.
- •
Chocolate Drizzle and Crushed Nut Topping
Before the top chocolate layer sets fully, scatter a small amount of finely crushed roasted peanuts or almonds over the surface. This adds crunch, a little extra protein and a gorgeous visual finish.
- •
Mini Snack Cups
Use a mini muffin tin with mini cupcake liners to make 20 smaller cups from the same batch. Each mini cup will be roughly half the calories and macros, making them ideal for portion-controlled snacking.
Substitutions
- •Greek yogurt → Thick coconut yogurt (Use a full-fat, unsweetened coconut yogurt for the closest texture. The protein count will be lower but the cups will be fully dairy free and vegan.)
- •Vanilla protein powder → Oat flour (Use the same weight of oat flour to maintain thickness in the filling. The protein content drops but the cups remain delicious and are more suitable for those avoiding protein supplements.)
- •Maple syrup → Honey or agave nectar (Both work as a one-for-one swap. Honey adds a floral note, agave is more neutral. Use agave to keep the recipe fully vegan.)
- •Dark chocolate → Sugar-free dark chocolate chips (Using a stevia-sweetened or monk-fruit-sweetened dark chocolate reduces the sugar content further and can make this recipe more suitable for low-carb or keto diets.)
- •Natural peanut butter → Sunflower seed butter (A great nut-free option with a similar creamy consistency. The flavour is milder than peanut butter but works well with the dark chocolate and vanilla.)
🧊 Storage
Store finished cups in an airtight container in the fridge for up to 7 days. Keep them separated with small squares of baking paper to prevent sticking. They can also be frozen in a zip-lock bag or airtight freezer container for up to 2 months. Thaw overnight in the fridge before serving.
📅 Make Ahead
These cups are a great make-ahead treat. Prepare a full batch on a Sunday and store in the fridge for grab-and-go snacking throughout the week. The filling can also be made up to 24 hours in advance and kept covered in the fridge until you are ready to assemble.
More High-Protein Desserts Recipes
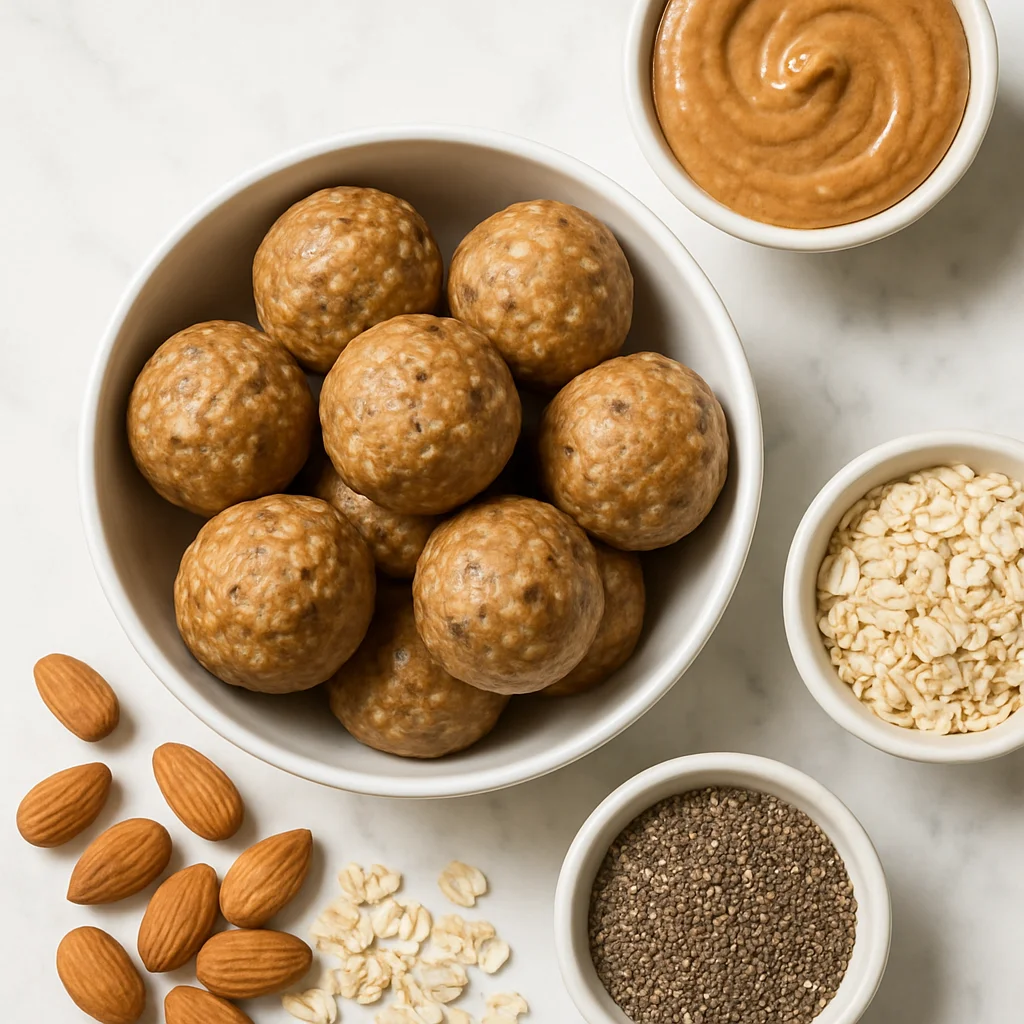
High Protein Almond Butter Protein Balls with Oats and Chia Seeds
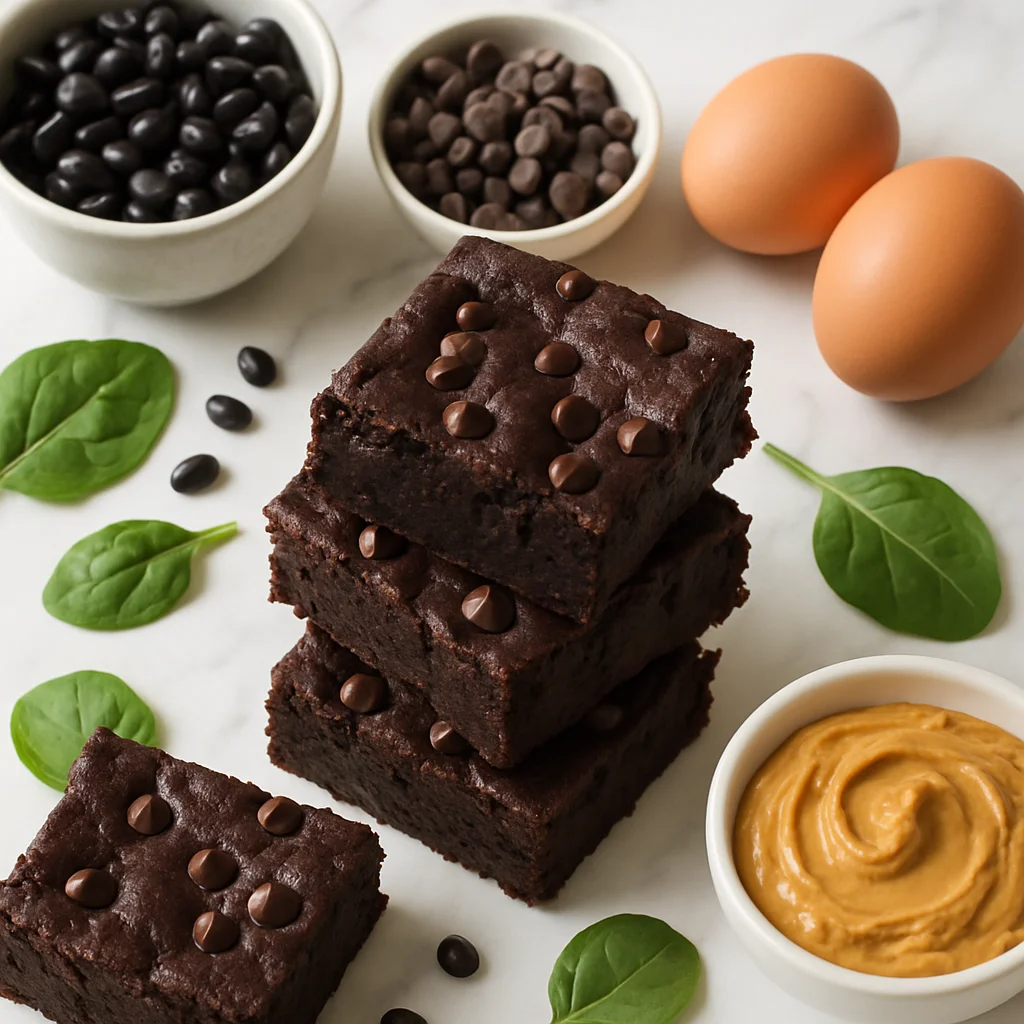
High Protein Black Bean Brownies (Fudgy, Flourless & Guilt-Free)
High Protein Greek Yogurt Bark Frozen with Berries and Dark Chocolate