High Protein Greek Yogurt Cheesecake with Almond Oat Crust
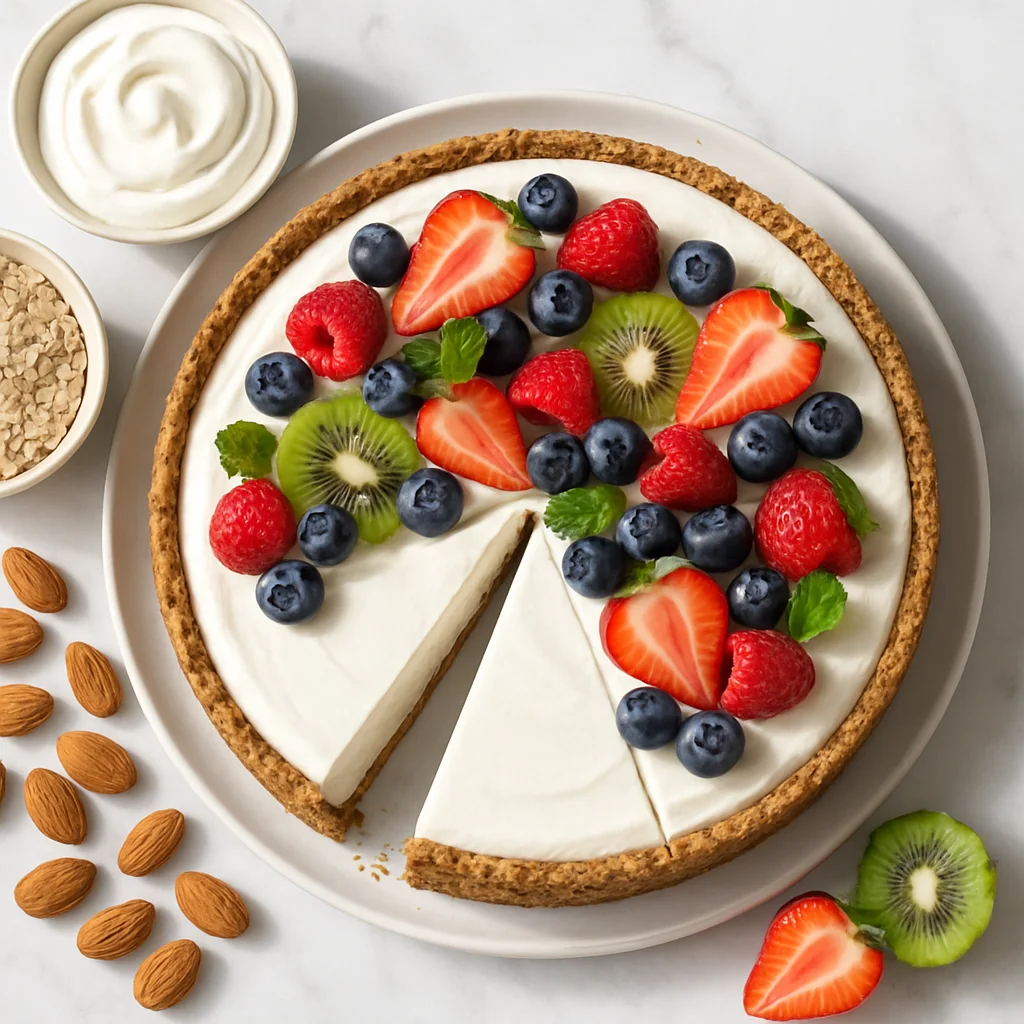
If you have ever wished you could eat cheesecake for breakfast without an ounce of guilt, this high protein greek yogurt cheesecake is about to become your new favourite thing to bake. It is everything you love about classic cheesecake, velvety smooth, tangy, rich and deeply satisfying, but rebuilt from the ground up to support your health goals rather than sabotage them. With 22 grams of protein per slice, a fraction of the sugar found in traditional recipes and a fibre-boosting almond oat crust, this is genuinely one of the smartest desserts you can make at home.
The secret weapon here is full-fat Greek yogurt. Unlike conventional cheesecake recipes that rely almost entirely on cream cheese for their signature texture, this recipe replaces a significant portion of the cream cheese with thick, strained Greek yogurt. The result is a filling that is just as luxuriously creamy but packed with natural protein, probiotics and calcium. Greek yogurt also contributes that beautiful tanginess that makes cheesecake taste so distinctly like cheesecake, so you lose nothing in the flavour department.
To push the protein even further, we fold in a scoop of unflavoured or vanilla whey protein powder. This is a trick that experienced healthy bakers swear by because it blends seamlessly into the cheesecake batter, adding impressive macros without any chalky aftertaste or gummy texture, provided you use the right technique, which we will walk you through step by step.
The crust is where this recipe really sets itself apart from everything else you will find online. Instead of a butter-and-sugar-loaded graham cracker base, we use a combination of rolled oats blended into a rough flour, raw almond meal and just a small amount of coconut oil and pure maple syrup to bind everything together. The oats add soluble fibre, the almonds contribute healthy monounsaturated fats and a gentle nuttiness, and the whole thing comes together in under five minutes in a food processor. It bakes to a satisfyingly crisp, golden base that holds up beautifully under the creamy filling.
Sweetening is done exclusively with pure maple syrup. There is no refined white sugar anywhere in this recipe. Maple syrup provides a subtle caramel warmth that pairs beautifully with the tangy yogurt filling, and because it is sweeter by volume than granulated sugar, you need far less of it to achieve the same level of sweetness. The total sugar content per serving lands well below what you would find in a standard cheesecake, making this recipe suitable for those monitoring their sugar intake without completely eliminating the joy of a sweet treat.
Calorie-wise, each slice comes in at around 195 calories, which is remarkable for a dessert that genuinely tastes indulgent. Traditional cheesecake can easily clock in at 400 to 500 calories per slice, so you are cutting that nearly in half without resorting to artificial sweeteners, fat-free products or any of the other shortcuts that tend to ruin the texture and flavour of lighter baked goods.
This cheesecake is baked low and slow, a technique borrowed from professional patisseries, which prevents cracking and ensures the filling sets gently into a smooth, silky consistency. No water bath is required, which removes one of the most intimidating steps from traditional cheesecake baking. The filling is mixed by hand rather than with a stand mixer, which reduces the risk of incorporating too much air and causing the dreaded sunken centre.
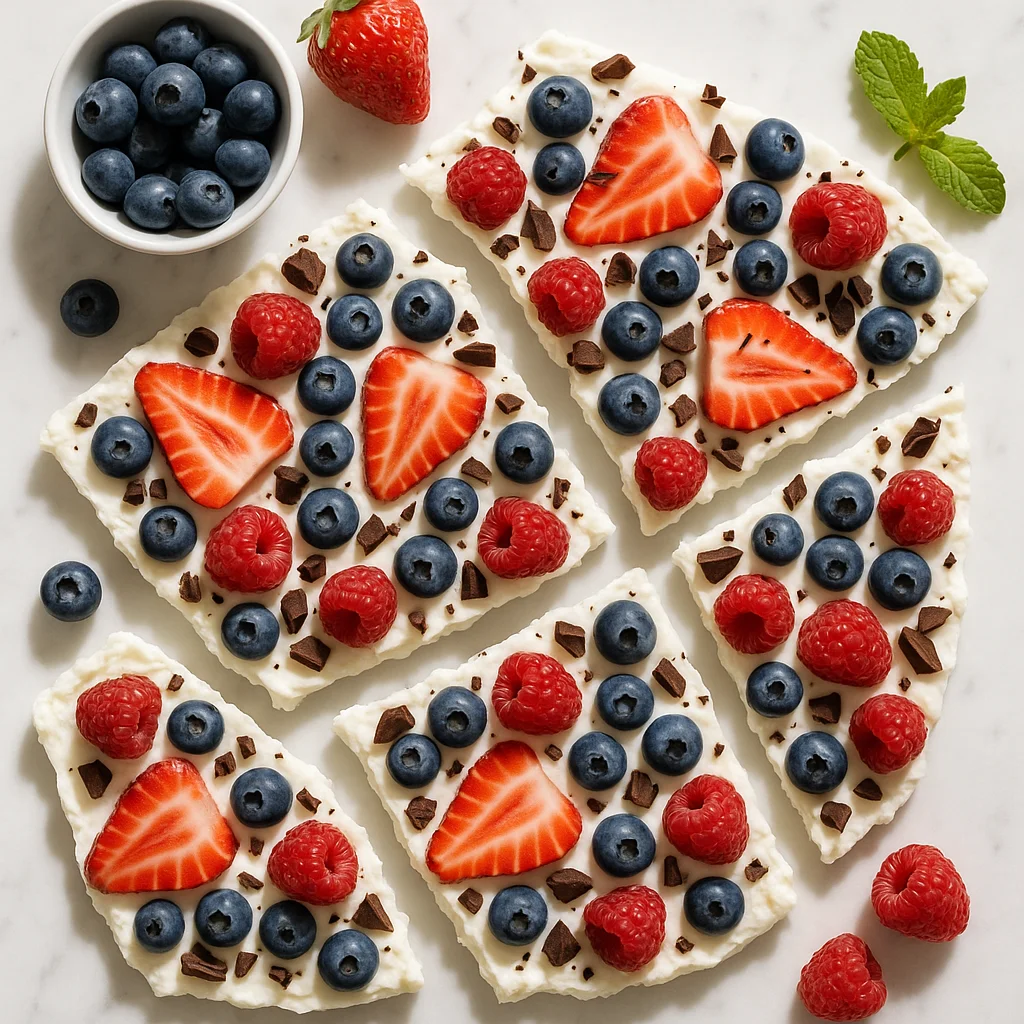
Once chilled overnight, the texture is firm enough to slice cleanly but still has that characteristic creamy wobble at the centre that signals a perfectly set cheesecake. Top it with a handful of fresh berries, a drizzle of honey or a spoonful of sugar-free jam, and you have a dessert that genuinely looks like it came from a specialty bakery.
One technique worth highlighting is toasting your oats before processing them into the crust mixture. Spread the rolled oats on a dry baking tray and toast them at 180°C for 8 to 10 minutes until fragrant and lightly golden before processing. This extra step deepens the nutty flavour of the crust dramatically and adds a layer of complexity that elevates the whole dessert. It takes almost no extra effort but makes a noticeable difference in the final result.
This recipe is also incredibly versatile. Swap in flavoured protein powder for different taste profiles, fold in lemon zest for a bright citrus version, or swirl in a tablespoon of natural peanut butter for a nutty twist. The base recipe is your canvas and it handles variations beautifully.
For those who want to make this entirely no-bake, the filling can be spooned over the pressed crust in individual mason jars or silicone muffin cups and refrigerated for 6 hours or overnight until set, simply omit the eggs and add an extra tablespoon of well-strained Greek yogurt to maintain the right consistency.
Whether you are meal prepping healthy desserts for the week, looking for a post-workout treat that actually supports muscle recovery, or simply trying to eat a little more mindfully without giving up the foods you love, this high protein greek yogurt cheesecake delivers on every level. Make it once and you will understand why protein-packed baking has become one of the most exciting spaces in healthy home cooking.
Ingredients
- 1 cup rolled oats (blended into a coarse flour; toast at 180°C for 8–10 minutes before processing for a deeper, nuttier flavour)
- 0.8 cup raw almond meal (or finely ground blanched almonds; almond flour works equally well for a finer crust texture)
- 2 tbsp pure maple syrup (divided — 1 tbsp for crust, 1 tbsp for filling; Grade A dark maple syrup gives a richer caramel flavour)
- 2 tbsp coconut oil (melted and cooled to room temperature; refined coconut oil has no coconut flavour if you prefer a neutral taste)
- 0.3 tsp fine sea salt (divided; a pinch in the crust and a pinch in the filling — salt sharpens the sweetness and enhances all other flavours)
- 500 g full-fat plain Greek yogurt (strained overnight in a cheesecloth-lined sieve for the thickest, creamiest result; full-fat provides the best texture and highest protein per serving)
- 250 g reduced-fat cream cheese (softened to room temperature — this is critical; avoid fat-free cream cheese as it produces a watery, rubbery filling with double the carbs)
- 1 scoop unflavoured or vanilla whey protein powder (approximately 28–30g by weight; measure by scale for accuracy as scoop sizes vary widely between brands; whey isolate blends most smoothly)
- 3 large eggs (room temperature; cold eggs can cause the batter to curdle and bake unevenly — take them out 45 minutes before starting)
- 1 tbsp pure maple syrup (for filling — see above)
- 2 tsp pure vanilla extract (use real vanilla extract rather than imitation for the cleanest, most rounded flavour)
- 1 tbsp fresh lemon juice (freshly squeezed gives the brightest flavour; bottled lemon juice can work in a pinch but may taste flat)
- 1 tsp lemon zest (optional but strongly recommended; contains the essential oils that give a far more intense lemon flavour than juice alone)
- 1 tbsp arrowroot powder (helps the yogurt-protein filling set smoothly without becoming rubbery; cornstarch is a direct 1:1 substitute)
Instructions
- 1
Preheat your oven to 160°C (320°F) fan-forced or 175°C (350°F) conventional. Line the base of an 8-inch springform pan with baking paper and lightly grease the sides with coconut oil.
Using a springform pan is essential — it allows you to release the cheesecake cleanly without damaging the crust. If you want to elevate the crust flavour, toast the rolled oats on a dry tray at 180°C for 8 to 10 minutes before processing, then allow them to cool completely first.
- 2
Make the crust: place rolled oats in a food processor and pulse until they resemble coarse flour. Add the almond meal, 1 tablespoon of maple syrup, melted coconut oil and a pinch of sea salt. Pulse until the mixture clumps together when pressed between your fingers.
Do not over-process — you want some texture remaining for a satisfying, slightly crumbly crust. If the mixture seems dry and will not clump, add coconut oil half a teaspoon at a time until it just holds together.
- 3
Press the crust mixture firmly and evenly across the base of the prepared pan. Use the flat bottom of a measuring cup to compact it well. Bake for 10 to 12 minutes until lightly golden. Remove and set aside to cool while you prepare the filling.
Pre-baking the crust prevents it from becoming soggy once the filling is added. The crust should look dry and feel just firm to the touch — it will continue to crisp as it cools.
- 4
In a large mixing bowl, beat the softened cream cheese with a hand whisk or wooden spoon until completely smooth with no lumps remaining. This step is critical — lumps at this stage will not disappear during baking.
If your cream cheese is still cold, microwave it in 10-second bursts until it yields easily to a spoon. You should be able to drag a spoon through it smoothly with no resistance before adding any other ingredients.
- 5
Add the strained Greek yogurt, 1 tablespoon of maple syrup, vanilla extract, lemon juice and lemon zest to the cream cheese. Stir gently until combined. Sift in the protein powder and arrowroot powder and fold through until smooth.
Sifting the protein powder directly over the bowl prevents dry clumps forming. Fold rather than whisk at this stage to avoid incorporating excess air into the batter, which is the leading cause of a sunken, cracked surface.
- 6
Add the eggs one at a time, gently stirring each one in until just incorporated before adding the next. Do not over-mix once the eggs are added — this is the most common cause of cracks and dense texture in baked cheesecake.
Stop stirring as soon as each egg disappears into the batter — literally three or four gentle strokes is enough. The batter should look smooth and pourable but not foamy or aerated.
- 7
Pour the filling over the cooled crust and smooth the top with a spatula. Tap the pan gently on the counter two or three times to release any trapped air bubbles.
If you see any remaining air bubbles on the surface after tapping, pop them with a toothpick. A smooth surface before baking gives you a much cleaner result after baking.
- 8
Place the cheesecake on the middle rack of the oven. Bake at 160°C fan-forced for 38 to 45 minutes. The edges should be just set and the centre should still have a gentle wobble when nudged — it will continue to firm as it cools.
Avoid opening the oven door during the first 30 minutes of baking as temperature fluctuations cause cracking. The wobble at the centre should look like set jelly — it moves as one piece, not like liquid sloshing around.
- 9
Turn the oven off and leave the cheesecake inside with the door slightly ajar for 30 minutes. This gradual cooling step dramatically reduces the chance of the surface cracking.
Prop the oven door open with a wooden spoon handle to allow slow, even cooling. This 30-minute rest inside the oven is just as important as any step in the baking process — do not be tempted to skip it.
- 10
Remove from the oven and allow to cool completely at room temperature, then refrigerate for a minimum of 4 hours, ideally overnight. Once fully chilled, carefully release the springform collar, slice and serve with fresh berries or your favourite topping.
Run a thin knife around the inside edge of the pan before releasing the springform clasp to ensure a clean release. For the sharpest slices, dip your knife in hot water and wipe it dry between every cut.
Nutrition per serving
195kcal
Calories
22g
Protein
14g
Carbs
8g
Fat
2g
Fibre
6g
Sugar
180mg
Sodium
Pro Tips
- ✓
Strain your Greek yogurt overnight in a cheesecloth-lined sieve over a bowl in the refrigerator. This removes excess whey and produces a much thicker, creamier filling that sets better during baking. If you are short on time, even 2 hours of straining will make a noticeable difference compared to using yogurt straight from the container.
- ✓
Toast the rolled oats before processing them into the crust. Spread them on a dry baking tray and bake at 180°C for 8 to 10 minutes until golden and fragrant, then allow to cool completely before blitzing. This single step adds a deep, nutty complexity to the crust that transforms the finished cheesecake.
- ✓
Bring all filling ingredients to room temperature before mixing, this is non-negotiable. Cold cream cheese causes lumps that will not bake out, and cold eggs can cause the batter to curdle and bake unevenly. Take everything out of the fridge at least 45 minutes before you begin.
- ✓
When measuring protein powder, use a kitchen scale rather than a scoop for accuracy. Different brands have wildly different scoop sizes and too much protein powder will make the filling dry and slightly grainy. Stick to 28 to 30 grams by weight regardless of what the scoop on your tub suggests.
- ✓
Do not skip the arrowroot powder. It acts as a gentle thickener that helps the protein-and-yogurt filling set without becoming rubbery. If you are out of arrowroot, cornstarch works identically, use the same quantity. Both are completely flavourless and invisible in the finished cheesecake.
- ✓
For the cleanest slices, dip your knife in hot water and wipe it dry between every single cut. This is the professional baker trick that makes cheesecake look perfectly sharp in photographs and prevents the creamy filling from smearing. If the top does crack despite your best efforts, cover it generously with fresh berries, a drizzle of honey or a layer of Greek yogurt, nobody will ever know.
Frequently Asked Questions
Variations
- •
Lemon Blueberry
Double the lemon zest to 2 teaspoons and swirl 3 tablespoons of blueberry compote through the top of the batter just before baking using a skewer or toothpick. Serve with fresh blueberries and a dusting of freeze-dried blueberry powder.
- •
Chocolate Peanut Butter
Replace the vanilla protein powder with chocolate flavour and fold in 2 tablespoons of natural smooth peanut butter into the cream cheese before adding the yogurt. Top with a drizzle of melted dark chocolate and a sprinkle of crushed peanuts.
- •
Strawberry Vanilla No-Bake Cups
Skip the baking step entirely by pressing the crust into individual mason jars or silicone muffin cups, then spoon the uncooked filling over the top. Refrigerate for 6 hours or overnight until fully set. The eggs must be omitted for the no-bake version, add an extra tablespoon of arrowroot and ensure your Greek yogurt is very well strained.
- •
Cinnamon Apple
Add 1 teaspoon of ground cinnamon and a quarter teaspoon of ground nutmeg to the filling. Layer thinly sliced cooked apple (softened in a pan with a teaspoon of maple syrup) over the crust before pouring in the filling. Finish with a sprinkle of cinnamon on top before baking.
Substitutions
- •Whey protein powder → Casein protein powder (Casein produces an even denser, creamier texture and works particularly well in baked cheesecakes. Use the same quantity by weight.)
- •Maple syrup → Raw honey (Use the same quantity. Honey adds a floral sweetness that pairs beautifully with lemon. Avoid heating honey above 40°C to preserve its beneficial enzymes, add it to cooled ingredients.)
- •Reduced-fat cream cheese → Full-fat cream cheese (Full-fat cream cheese produces a richer, more decadent result. Calories and fat per slice will increase by approximately 30 to 40 calories. Avoid fat-free cream cheese as it produces a rubbery, watery filling.)
- •Arrowroot powder → Cornstarch (Use the same quantity. Cornstarch works identically as a thickener and stabiliser in baked cheesecakes. Both options are flavourless and invisible in the finished product.)
- •Coconut oil (in crust) → Unsalted butter (Use the same quantity melted. Butter produces a slightly richer, more traditional flavour in the crust. The nutritional difference is minimal.)
- •Rolled oats (in crust) → Certified gluten-free oats (For those with gluten sensitivity, simply substitute with certified gluten-free rolled oats. The recipe is otherwise gluten-free.)
🧊 Storage
Store the cheesecake covered in the refrigerator for up to 4 days. For best results, keep it in the springform pan base with plastic wrap pressed over the surface until ready to serve. Individual slices can be wrapped in baking paper and stored in an airtight container. This cheesecake also freezes well, wrap individual slices tightly in plastic wrap then in foil and freeze for up to 2 months. Thaw overnight in the refrigerator before serving.
📅 Make Ahead
This cheesecake is an excellent make-ahead dessert. Prepare and bake it up to 2 days before serving and refrigerate overnight for the ideal texture. The flavour actually deepens and improves after 24 hours of chilling as the lemon, vanilla and yogurt notes meld together. The crust also firms up nicely after a full overnight rest, making slicing much cleaner and neater.
More High-Protein Desserts Recipes
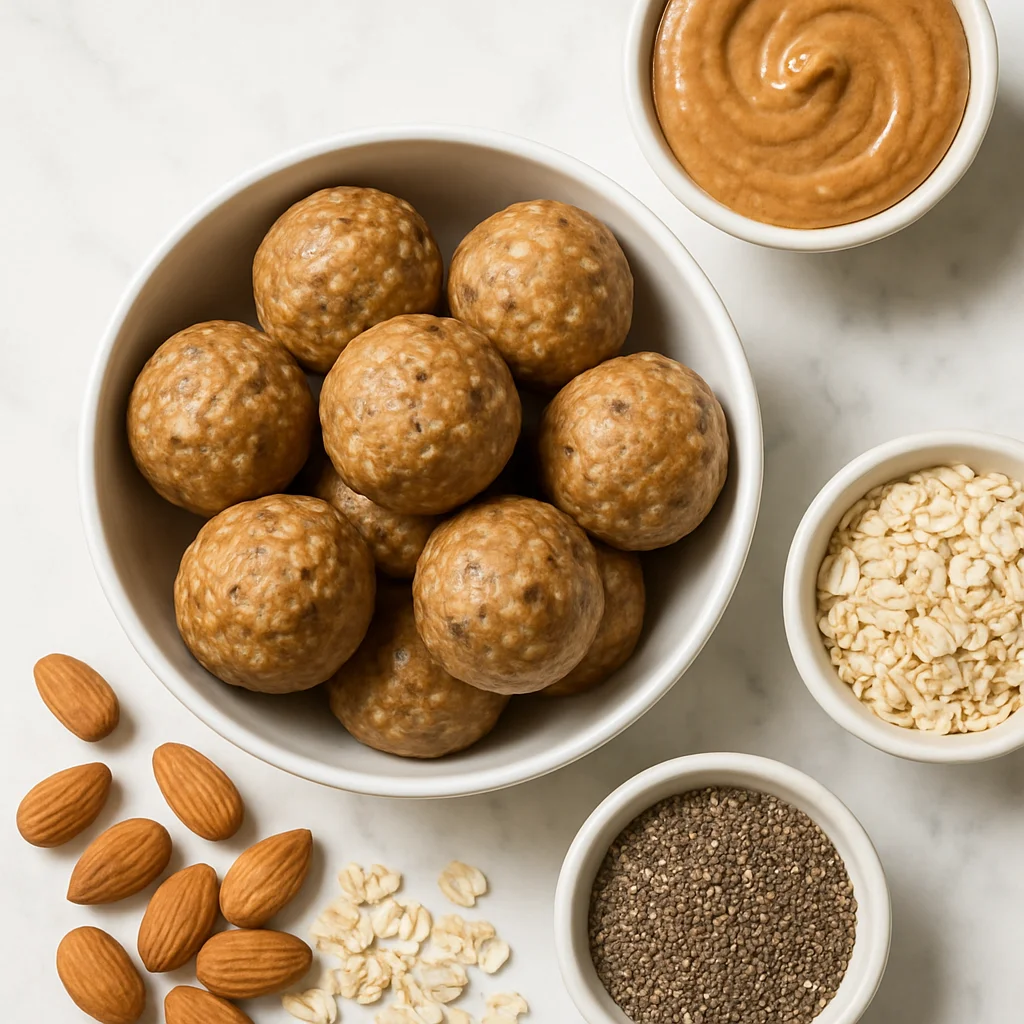
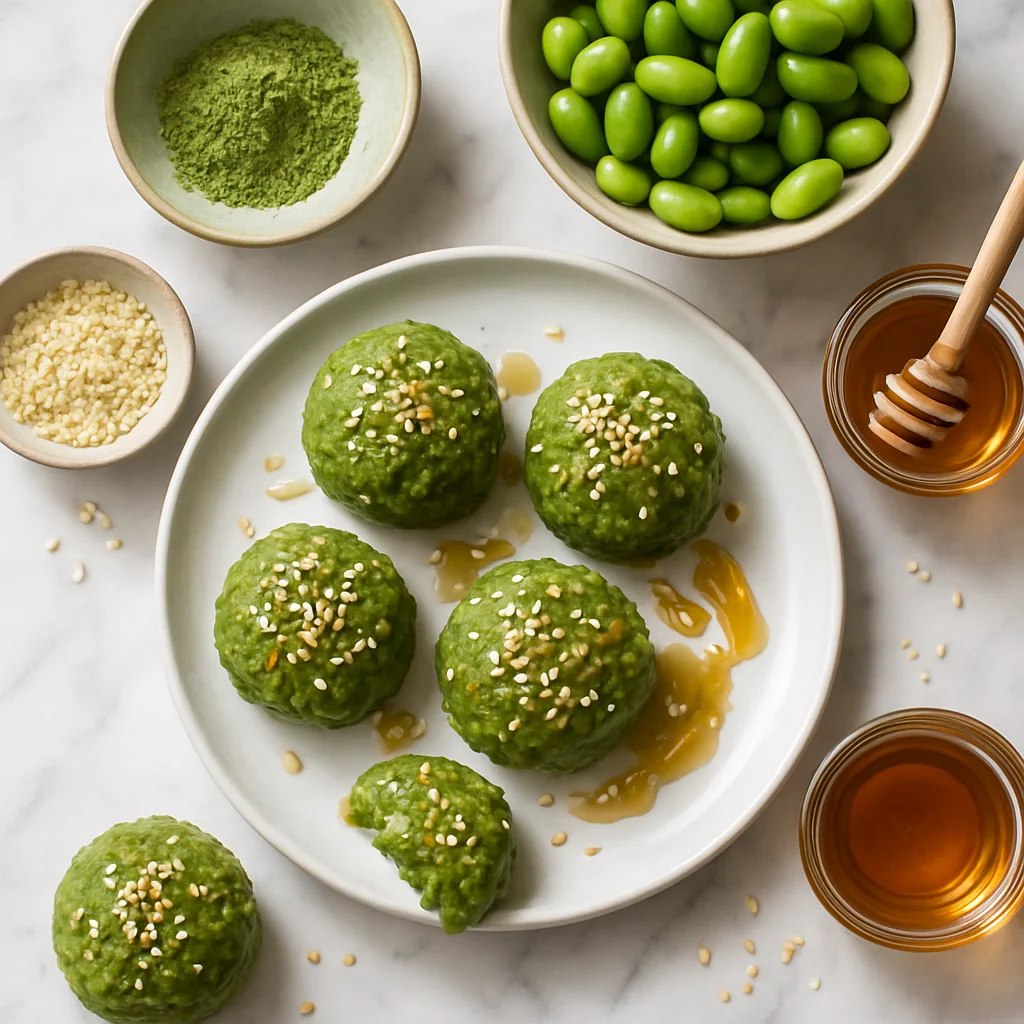
High Protein Almond Butter Protein Balls with Oats and Chia Seeds
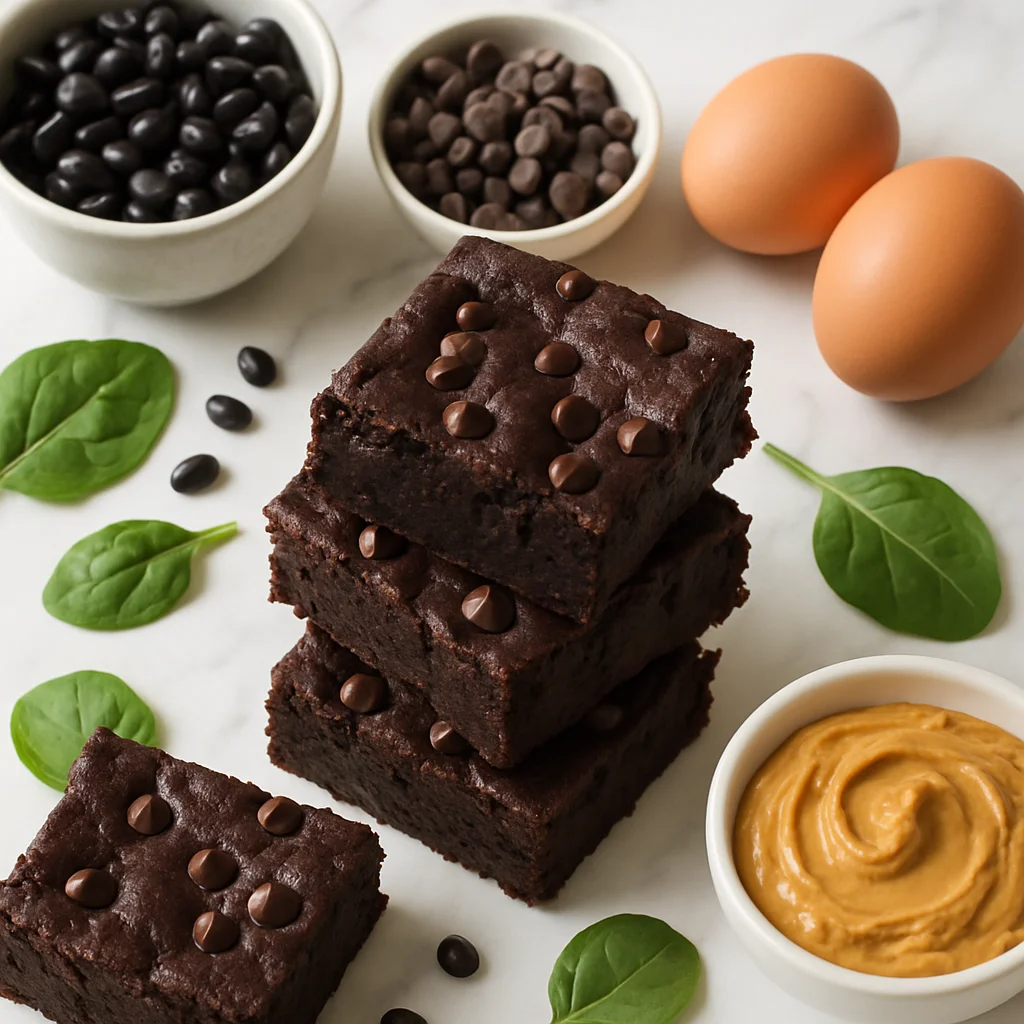
High Protein Black Bean Brownies (Fudgy, Flourless & Guilt-Free)
High Protein Greek Yogurt Bark Frozen with Berries and Dark Chocolate