High Protein Cottage Cheese Cheesecake with an Almond Oat Crust
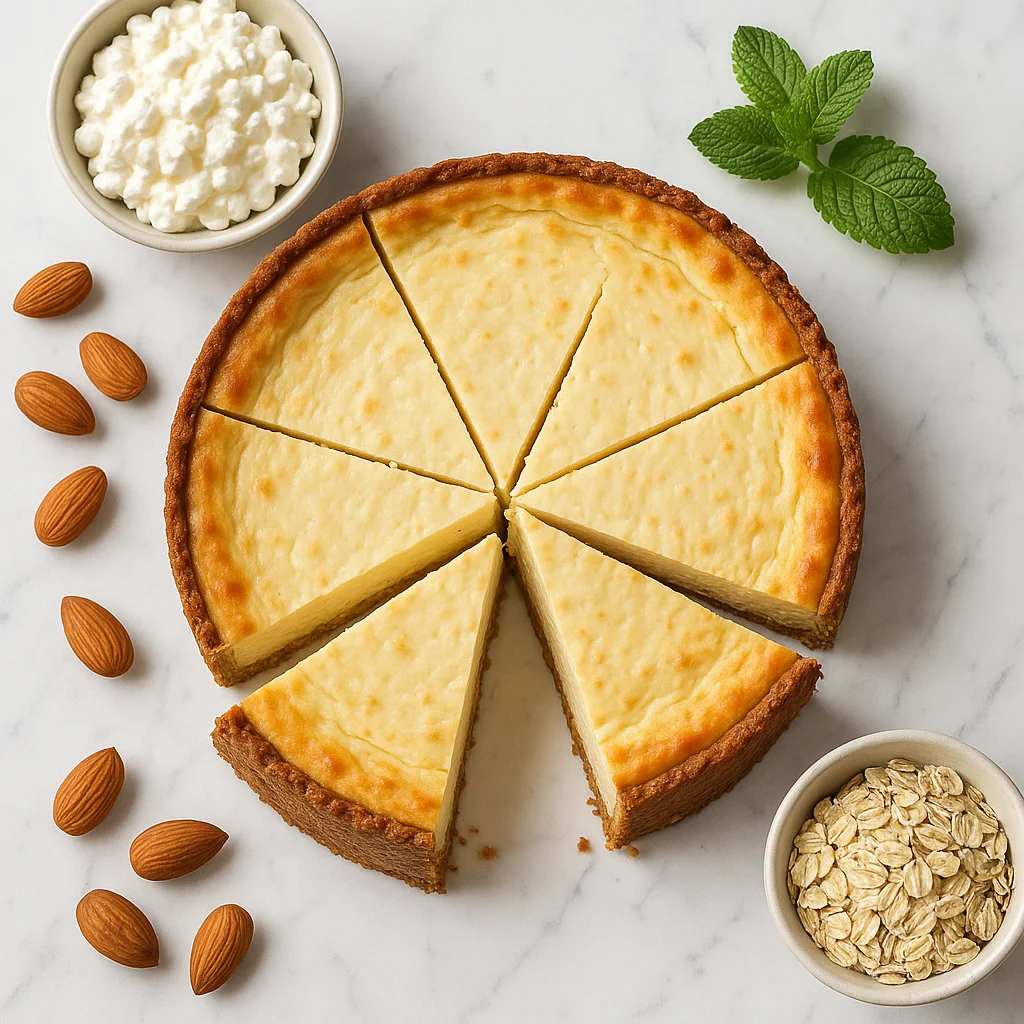
Cottage cheese is having a moment, and this recipe is part of the reason why. Blended smooth, it produces a thick, creamy base that behaves almost identically to cream cheese in a cheesecake filling but with roughly double the protein per serving and significantly less saturated fat. The texture when blended is the revelation: no curds, no graininess, just a smooth, neutral dairy cream that takes flavour beautifully. Combined with an almond and oat crust that contributes fibre and a satisfying crunch, this cheesecake produces a macronutrient profile that makes it genuinely appropriate as a high-protein dessert or even a post-workout snack, while tasting completely convincing as a cheesecake.
Why this recipe works
Full-fat cottage cheese blended until completely smooth provides a filling that is creamy enough to pass as cream cheese in both texture and flavour, but with considerably more protein per gram. Greek yogurt mixed through the filling adds further protein and a tang that makes the cheesecake taste brighter. Eggs bind and set the filling during baking, producing a texture that slices cleanly. Vanilla extract and lemon zest provide the classic cheesecake flavour profile. The almond and oat crust, pressed rather than rolled, gives a buttery, crumbly base that holds together well after baking.
Getting it right
Blend the cottage cheese thoroughly before adding any other ingredients. Any remaining curds in the mixture will be visible as lumps in the finished filling. A high-powered blender or food processor run for at least a full minute produces the correct smooth consistency.
Bake in a water bath to prevent the top from cracking. A deep roasting tin filled with two centimetres of boiling water surrounding the springform tin creates a humid oven environment that prevents the surface from drying out and cracking.
Common mistakes
Using low-fat cottage cheese produces a thinner, less creamy filling that does not set as firmly. Full-fat is significantly better for this application.
Not baking for long enough produces a filling that is undercooked in the centre and collapses when the tin is removed. The cheesecake is done when the outer third is set and the centre has a slight wobble but is not liquid.
Substitutions
Greek yogurt can replace some of the cottage cheese for a slightly tangier, lighter filling. Ricotta can replace the cottage cheese for a more traditional Italian cheesecake texture. Blueberry compote or lemon curd on top adds a classic finishing touch.
Serving suggestion
Serve chilled, after refrigerating overnight for the best set. Top with fresh berries and a light dusting of icing sugar for a presentation that looks considerably more elegant than the straightforward process of making it.
Ingredients
- 1 cup rolled oats (use certified gluten-free oats if needed; quick oats can work but rolled oats give the best crust texture)
- 3 cup almond flour (blanched almond flour preferred — it is finer and produces a smoother, less gritty crust than almond meal)
- 2 tbsp pure maple syrup (for the crust; adds natural sweetness and helps bind the crust without refined sugar)
- 3 tbsp coconut oil (melted and slightly cooled; acts as the binding fat in the crust — unsalted butter works equally well)
- 1 tsp sea salt (for the crust; enhances the nutty flavour of the oats and almond flour)
- 2 cups full-fat cottage cheese (4% milkfat is strongly recommended for the creamiest result; blend until completely smooth before using — this step is non-negotiable)
- 3 cup plain Greek yogurt (full-fat or 2%, at room temperature; adds protein and helps create a thick, velvety filling texture)
- 3 large eggs (at room temperature — cold eggs can cause the batter to curdle slightly; take them out of the fridge 30 minutes before baking)
- 3 tbsp pure maple syrup (for the filling; use a good quality pure maple syrup for the best flavour — avoid pancake syrup)
- 2 tbsp raw honey (adds a floral depth of sweetness; substitute with an equal amount of maple syrup to keep it fully vegan-friendly)
- 2 tbsp cornstarch (helps the filling set firmly and slice cleanly; arrowroot powder can be used as a direct substitute for a paleo-friendly version)
- 1 tsp pure vanilla extract (use pure extract rather than imitation for the best flavour)
- 2 tbsp fresh lemon juice (approximately 1 large lemon; fresh is essential here — bottled lemon juice will not give the same bright, clean flavour)
- 1 tsp lemon zest (finely grated using a microplane; adds aromatic citrus oils that bottled juice cannot replicate)
- 1 tsp sea salt (for the filling; balances the sweetness and enhances the overall flavour of the cheesecake)
Instructions
- 1
Preheat your oven to 325°F (160°C). Lightly grease an 8-inch springform pan with coconut oil and line the bottom with a circle of parchment paper.
A springform pan is essential here — it makes removing the finished cheesecake clean and easy. Lining the base with parchment also ensures the crust does not stick.
- 2
Make the crust: Add the rolled oats to a food processor and pulse 8 to 10 times until they resemble a coarse flour with some larger pieces remaining. Add the almond flour, sea salt, maple syrup, and melted coconut oil. Pulse again until the mixture clumps together when pressed between your fingers.
Do not over-process the crust mixture — you want a coarse, crumbly texture with some larger oat pieces remaining, not a fine paste. Those pieces add texture and bite to the finished crust.
- 3
Press the crust mixture firmly and evenly into the bottom of the prepared springform pan. Use the flat bottom of a measuring cup to compact it well. Bake for 12 minutes until lightly golden around the edges. Remove from the oven and allow to cool while you prepare the filling.
Pre-baking the crust is essential — it sets the structure and prevents the crust from becoming soggy once the wet filling is added. Do not skip this step.
- 4
Prepare the filling: Place the cottage cheese in a high-powered blender and blend on high for a full 60 to 90 seconds until completely smooth and creamy with no lumps. Scrape down the sides and blend again if needed. Transfer to a large mixing bowl.
This step is the most critical in the entire recipe. Blend on high for a full 60 to 90 seconds, scrape down the sides, and blend again. Any remaining lumps will result in a grainy, unpleasant texture in the finished cheesecake — there is no fixing it after baking.
- 5
Add the Greek yogurt, eggs, maple syrup, honey, cornstarch, vanilla extract, lemon juice, lemon zest, and sea salt to the blended cottage cheese. Whisk everything together until smooth and well combined. Do not over-whisk or you will incorporate too much air, which can cause cracking.
Whisk gently and steadily rather than vigorously — you want a smooth, uniform batter with as little air incorporated as possible. Excess air in the batter is a leading cause of cracks during baking.
- 6
Pour the filling over the pre-baked crust. Set up a water bath by placing a large oven-safe tray filled with about 1 inch of hot water on the lower rack of the oven. Place the cheesecake on the middle rack directly above it.
Use boiling or very hot water in the tray for maximum steam effect. The humid oven environment is what keeps the surface of the cheesecake smooth and crack-free and ensures the filling bakes evenly from edge to centre.
- 7
Bake at 325°F (160°C) for 50 to 55 minutes. The cheesecake is done when the edges are set and the centre has just a slight wobble — it should look like set jelly, not liquid. Do not overbake.
The cheesecake will continue to firm up significantly as it cools and chills, so removing it while the centre still wobbles is correct and intentional. If it looks completely set in the oven, it is already overbaked.
- 8
Turn off the oven and leave the cheesecake inside with the door cracked open by about 2 inches for 30 minutes. This gradual cooling step helps prevent the surface from cracking due to a sudden temperature change.
Use the handle of a wooden spoon to prop the oven door open by about 2 inches. This gradual cooling step is just as important as the baking itself — a sudden drop in temperature is a primary cause of surface cracking.
- 9
Remove the cheesecake from the oven and allow it to cool completely on a wire rack at room temperature, approximately 1 hour. Then transfer to the refrigerator and chill for a minimum of 4 hours, or overnight for best results.
Chilling overnight gives the cleanest slices and the best flavour — the lemon, vanilla, and honey bloom beautifully after a full night in the fridge. If you are short on time, 4 hours is the minimum, but overnight is genuinely worth it.
- 10
When ready to serve, run a thin knife or offset spatula around the inner edge of the springform pan before releasing the sides. Slice with a sharp knife, wiping the blade clean between cuts. Serve as is or topped with fresh berries.
For the cleanest, most professional-looking slices, dip your knife in a tall glass of hot water and dry it completely with a cloth between every single cut. This prevents the filling from sticking to the blade and dragging.
Nutrition per serving
262kcal
Calories
18g
Protein
22g
Carbs
11g
Fat
2g
Fibre
10g
Sugar
280mg
Sodium
Pro Tips
- ✓
Blending the cottage cheese until completely smooth is the single most important step in this recipe, use a high-powered blender and run it for a full 60 to 90 seconds, scraping down the sides at least once. Any remaining lumps will result in a grainy, unpleasant texture in the finished cheesecake.
- ✓
All filling ingredients must be at room temperature before you begin mixing. Cold eggs or cold yogurt can cause the batter to seize slightly and lead to uneven baking. Take everything out of the fridge at least 30 minutes before you start.
- ✓
Do not overbake. The cheesecake is ready when the outer 2 inches are set and the centre still has a visible, gentle wobble, like set jelly rather than liquid. It will continue to firm up as it cools and chills. Overbaking is the number one cause of cracking and a rubbery texture.
- ✓
A water bath is strongly recommended and takes less than 2 minutes to set up. Simply place a large oven-safe roasting pan filled with about 1 inch of boiling water on the lower oven rack. The steam creates a humid baking environment that keeps the surface smooth and the texture silky throughout.
- ✓
Chilling overnight before serving produces noticeably better results than a 4-hour chill. The filling firms up to the ideal sliceable consistency, and the lemon and vanilla flavours deepen and bloom after a full night in the refrigerator. If you can, make this the day before you plan to serve it.
- ✓
For the cleanest, most professional-looking slices, dip a sharp knife in hot water and dry it completely between every single cut. This prevents the filling from dragging and gives you picture-perfect slices every time.
Frequently Asked Questions
Variations
- •
Mixed Berry Swirl
Warm 1/2 cup of mixed frozen berries with 1 teaspoon of maple syrup until they break down into a thick compote. Cool completely, then dollop spoonfuls over the cheesecake filling before baking and swirl with a toothpick for a beautiful marbled effect.
- •
Chocolate Cacao
Add 3 tablespoons of raw cacao powder and an extra tablespoon of maple syrup to the filling before blending. This creates a rich chocolate cheesecake with the same high protein macros and an even more indulgent flavour profile.
- •
Pumpkin Spice
Add 1/2 cup of pure pumpkin puree, 1 teaspoon of cinnamon, 1/4 teaspoon of ground ginger, and a pinch of nutmeg to the filling. Reduce the lemon juice to 1 teaspoon. Perfect for autumn and incredibly creamy.
- •
Key Lime
Replace the lemon juice and zest with fresh lime juice and lime zest in equal quantities. Add an extra tablespoon of lime juice for a more pronounced citrus flavour. Serve topped with a thin layer of coconut yogurt.
Substitutions
- •Honey → Pure maple syrup (Use an equal amount of maple syrup in place of honey for a fully vegan-friendly sweetener option.)
- •Almond flour → Ground sunflower seeds (Use an equal quantity of finely ground sunflower seeds for a nut-free crust. The flavour is slightly more earthy but works beautifully.)
- •Cornstarch → Arrowroot powder (Use the same quantity of arrowroot powder as a direct substitution for a paleo-friendly or grain-free option.)
- •Greek yogurt → Sour cream (Use full-fat sour cream in the same quantity for a slightly richer, more traditional cheesecake flavour profile.)
- •Eggs → Flax eggs (3 tbsp ground flax + 9 tbsp water, rested 10 minutes) (For an egg-free version, use flax eggs. Note the texture will be slightly softer and less firm, chill for longer before slicing.)
- •Coconut oil (crust) → Unsalted butter (Use melted unsalted butter in the same quantity for a more buttery crust flavour.)
🧊 Storage
Store the cheesecake covered in the refrigerator for up to 5 days. Keep it in the springform pan or transfer slices to an airtight container. Do not leave at room temperature for more than 2 hours. For longer storage, freeze individual slices wrapped tightly in cling film and placed in a freezer bag for up to 2 months.
📅 Make Ahead
This cheesecake is an ideal make-ahead dessert. Prepare and bake it the day before serving, the texture and flavour actually improve after an overnight chill in the refrigerator. The crust can also be made up to 2 days ahead, baked, and stored at room temperature covered loosely with foil.
More High-Protein Desserts Recipes
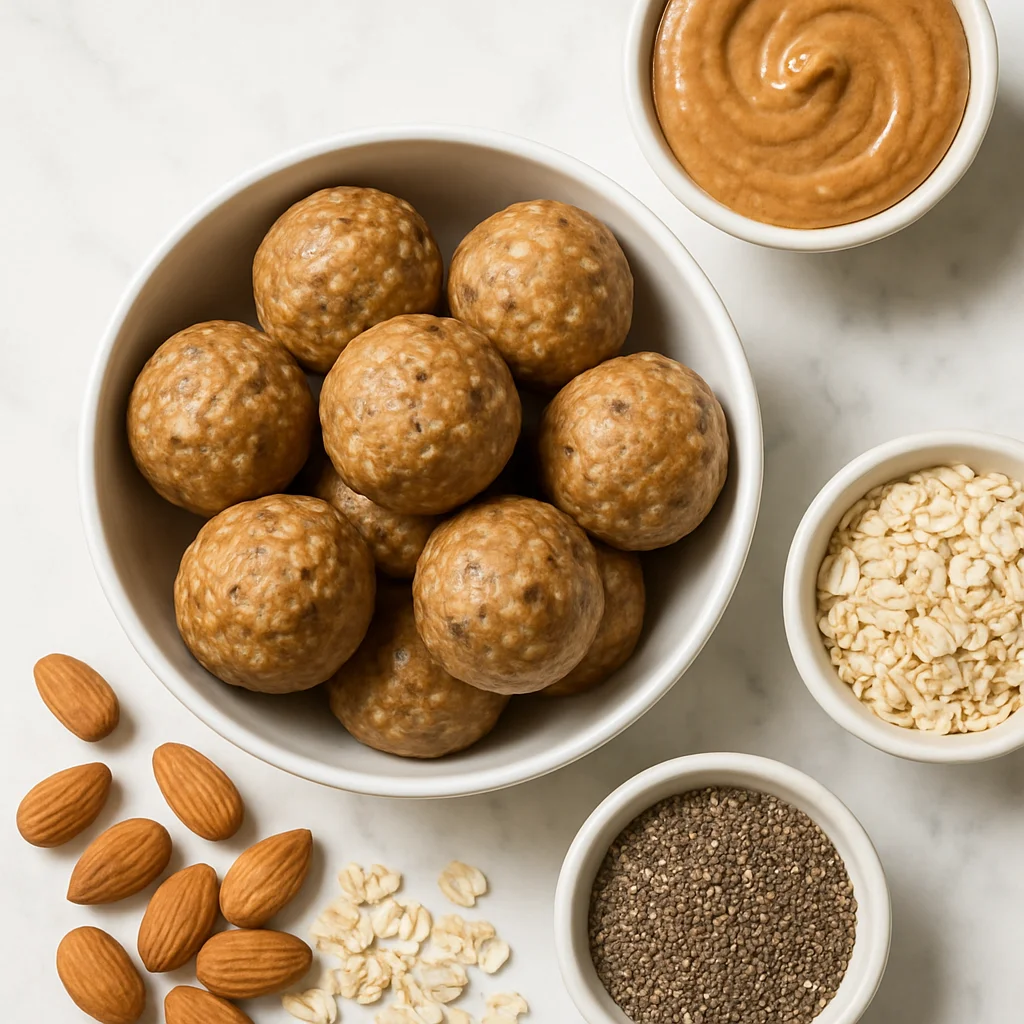
High Protein Almond Butter Protein Balls with Oats and Chia Seeds
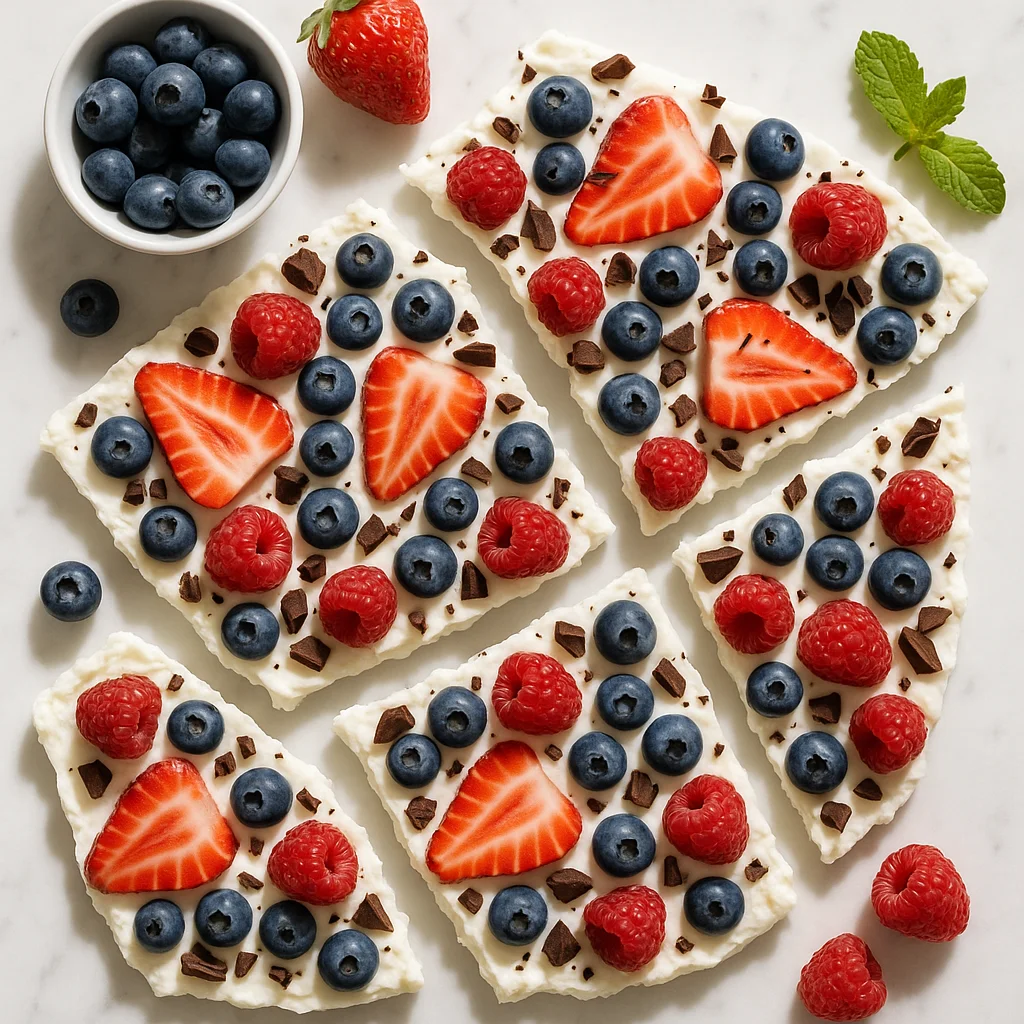
High Protein Greek Yogurt Bark Frozen with Berries and Dark Chocolate
High Protein Black Bean Brownies (Fudgy, Flourless & Guilt-Free)