High Protein Chocolate Peanut Butter Cups (Healthy & No-Bake)
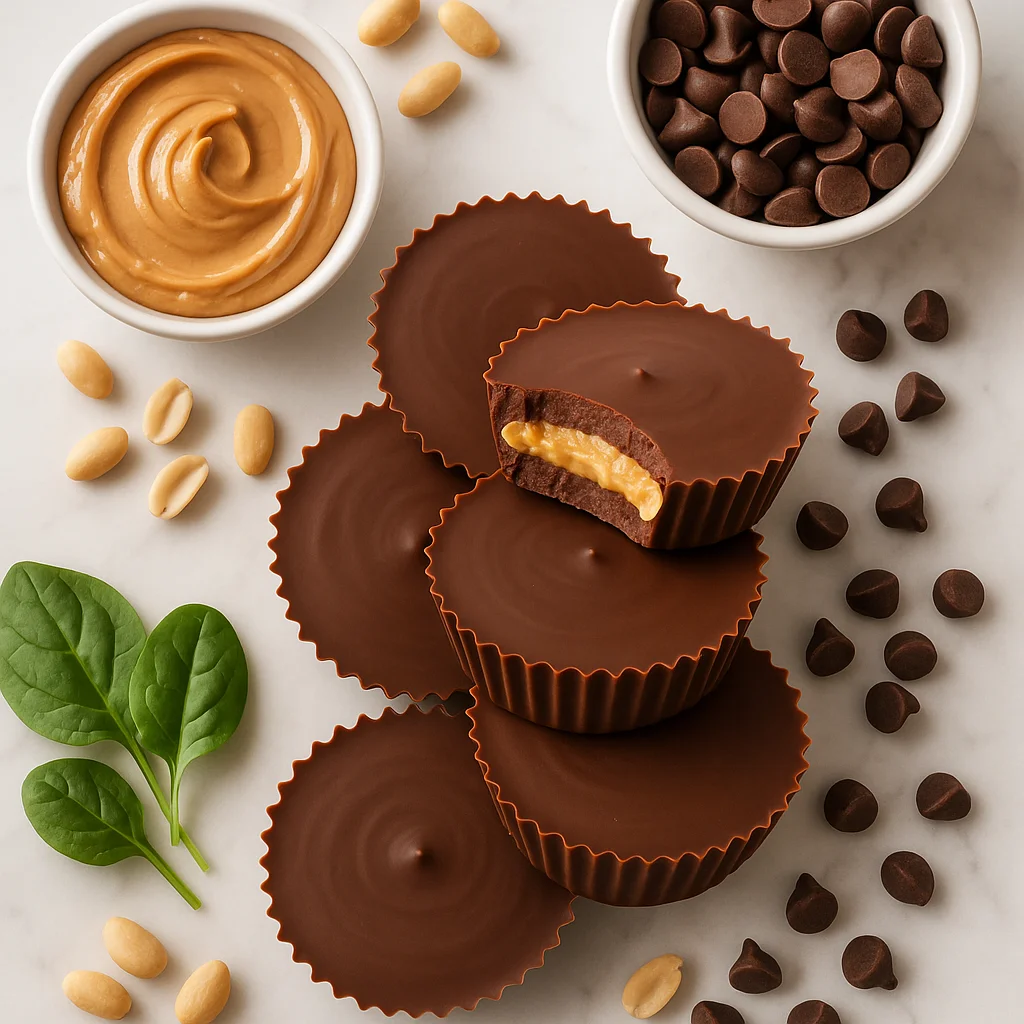
If you have ever wished you could eat a peanut butter cup without the sugar crash, the empty calories, or the guilt that follows, these high protein chocolate peanut butter cups are exactly what you have been waiting for. Inspired by the classic candy-aisle favourite but completely reimagined for health-conscious home bakers, this recipe delivers everything you love, rich dark chocolate, creamy peanut butter, and that perfect snap when you bite in, while sneaking in a serious protein boost and cutting out the refined sugar entirely.
Each cup contains approximately 8 grams of protein, making these a genuinely functional snack rather than just a healthier dessert. Whether you are refuelling after a workout, managing mid-afternoon cravings, or simply trying to make smarter choices without sacrificing flavour, these cups tick every box. They are no-bake, gluten-free, and can easily be made dairy-free and vegan with one simple swap.
The secret to the protein punch in this recipe is a combination of natural peanut butter and unflavoured or vanilla protein powder blended into the filling. This creates a thick, fudgy centre that holds its shape beautifully once chilled, without any of the powdery or chalky texture that can sometimes plague protein-enriched desserts. The key is using a whey or plant-based protein powder that you enjoy eating on its own, if it tastes good in a shake, it will taste even better in here.
For the chocolate shell, we use high-quality dark chocolate with at least 70 percent cacao content. Dark chocolate at this level is genuinely lower in sugar than milk chocolate, rich in antioxidants called flavanols, and provides a pleasantly bitter contrast to the sweet, nutty filling. We melt it with just a touch of coconut oil to keep it glossy and help it set with that satisfying snap. If you prefer your chocolate a little sweeter, a small drizzle of pure maple syrup can be stirred in without tipping the sugar content too far.
The filling itself is beautifully simple. Natural peanut butter, the kind with nothing added beyond peanuts and perhaps a little salt, is combined with protein powder, a tiny amount of maple syrup or honey for balance, and a splash of vanilla extract. The result is a dense, creamy filling that tastes indulgent but is working hard for your body at the same time. For those watching their carbohydrate intake, monk fruit sweetener or a few drops of liquid stevia can replace the maple syrup entirely.
One of the best things about this recipe is how forgiving and flexible it is. You can make it in a standard 12-cup muffin tin with paper liners for larger cups, or use a mini muffin tin for bite-sized versions that are perfect for portion control, you will get around 24 mini cups from exactly the same amount of batter. The cups set in the freezer in around 20 to 25 minutes, which means you can go from craving to eating in well under an hour.
In terms of nutrition, these cups compare very favourably to their store-bought counterparts. A standard well-known peanut butter cup contains around 210 calories, 21 grams of sugar, and fewer than 4 grams of protein per serving. Our high protein version comes in at around 158 calories, under 5 grams of sugar, and more than double the protein. That is a meaningful improvement that adds up significantly if you are eating these regularly as part of a balanced diet.
From a practical standpoint, these cups are one of the best meal-prep desserts you can make. They keep beautifully in the freezer for up to three months, so a batch made on Sunday will see you through weeks of post-workout snacks, packed lunches, and late-night cravings without any additional effort. Simply pull one out and let it sit at room temperature for two or three minutes, the filling softens just enough to go from dense and firm to creamy and indulgent.
They are also surprisingly easy to customise. Swap peanut butter for almond or cashew butter, add a half teaspoon of peppermint extract for a mint chocolate version, stir a teaspoon of instant espresso into the chocolate for a mocha twist, or drizzle the finished cups with melted dairy-free white chocolate for a visually stunning finish. Once you have made the base recipe, the variations are almost endless.
These high protein chocolate peanut butter cups have become a staple in our test kitchen for good reason. They prove that healthy eating does not require compromise, just a little creativity and the right ingredients. Make a batch this weekend and discover just how good clean eating can taste.
Ingredients
- 200 g dark chocolate (70% cacao or higher) (roughly chopped or use chips; choose a dairy-free brand if making vegan)
- 1 tsp coconut oil (refined for a completely neutral flavour; unrefined adds a light coconut note that pairs well with the chocolate)
- 120 g natural peanut butter (smooth, no added sugar or palm oil; stir the jar thoroughly before measuring if the oil has separated)
- 40 g vanilla or unflavoured protein powder (whey isolate or a pea/brown rice protein blend both work well; avoid collagen powder as it makes the filling too sticky)
- 2 tbsp pure maple syrup (or honey for a non-vegan version; replace with liquid monk fruit sweetener or stevia drops for keto)
- 1 tsp pure vanilla extract (increase to 1½ tsp if using an unflavoured protein powder for a more rounded flavour)
- 1 pinch fine sea salt (plus flaky sea salt (such as Maldon) for topping — highly recommended for a sweet-salty finish)
- 1 tbsp unsweetened almond milk (or any milk; add one teaspoon at a time only if the filling is too stiff to shape — some protein powders absorb more liquid than others)
Instructions
- 1
Line a standard 12-cup muffin tin with paper liners and set aside. If using a silicone muffin tray, no liners are needed.
Chilling the tin in the freezer for 5 minutes before you start helps the first chocolate layer set almost instantly, giving you a more even base shell.
- 2
Melt the dark chocolate and coconut oil together. You can do this in a heatproof bowl set over a pan of barely simmering water (bain-marie), stirring constantly, or in the microwave in 30-second bursts, stirring between each interval. Stir until completely smooth and glossy.
Do not let any water touch the chocolate or it may seize. Keep the bowl and all utensils completely dry before you begin.
- 3
Spoon roughly one teaspoon of melted chocolate into the base of each muffin liner. Use the back of the spoon or a small pastry brush to spread it slightly up the sides, creating a shallow shell. Place the tin in the freezer for 5 minutes to set the base layer.
Getting the chocolate a few millimetres up the sides creates a proper shell that fully encases the filling once you add the top layer — this prevents any peanut butter from peeking through.
- 4
While the base sets, make the peanut butter filling. In a medium mixing bowl, combine the natural peanut butter, protein powder, maple syrup, vanilla extract, and a pinch of sea salt. Mix thoroughly with a spatula or spoon until a thick, uniform dough forms. If the mixture feels too stiff to work with, add almond milk one teaspoon at a time until it reaches a soft, scoopable consistency.
The filling should be firm enough to hold its shape when rolled into a ball but soft enough to flatten easily with your palm. If it is crumbling, add almond milk one teaspoon at a time. If it is too sticky to handle, refrigerate for 10 minutes before shaping.
- 5
Divide the peanut butter filling into 12 equal portions (roughly 1.5 teaspoons each). Roll each portion into a ball, then flatten it between your palms into a disc slightly smaller than the diameter of your muffin cups. Remove the tin from the freezer and press one disc of filling gently into each chocolate base.
Leave a visible border of chocolate around the edge of each disc — roughly 3 to 4 mm — so the top chocolate layer can seal the filling completely.
- 6
Spoon the remaining melted chocolate over each cup, covering the peanut butter filling completely. Gently tap the tin on the counter a few times to settle the chocolate and eliminate air bubbles. If using flaky salt, sprinkle a tiny pinch on top of each cup now.
If your chocolate has cooled and thickened while you were making the filling, return it to the bain-marie for 20 to 30 seconds and stir gently until fluid again. Use a small offset spatula to smooth the top layer for a professional finish.
- 7
Transfer the tin to the freezer and chill for 20 to 25 minutes, or until the chocolate is completely set and firm to the touch.
For a softer, slightly fudgier texture, chill in the refrigerator for 45 to 60 minutes instead of the freezer. Freezer-set cups will have a firmer snap.
- 8
Once fully set, remove the cups from the tin and peel away the paper liners if used. Allow to sit at room temperature for 2 to 3 minutes before eating for the best texture. Store any remaining cups as directed below.
Allowing the cups to rest briefly at room temperature is important — straight from the freezer the filling can be quite dense. Two to three minutes is all it takes for the texture to become creamy and indulgent.
Nutrition per serving
158kcal
Calories
8g
Protein
10g
Carbs
10g
Fat
2g
Fibre
4g
Sugar
72mg
Sodium
Pro Tips
- ✓
Use a protein powder you genuinely enjoy the flavour of on its own, it will come through clearly in the filling. Vanilla whey isolate or a smooth pea protein blend tend to work best, while unflavoured collagen powder is best avoided as it makes the filling too sticky.
- ✓
If your natural peanut butter has separated in the jar, stir it thoroughly before measuring. Oil-heavy or under-stirred peanut butter will make the filling greasy and difficult to shape into discs.
- ✓
Chill your muffin tin in the freezer for 5 minutes before adding the first chocolate layer, this helps the base set almost instantly when the melted chocolate hits the cold tin, giving you a more even shell.
- ✓
For the neatest finish, use a small offset spatula or the back of a teaspoon to smooth the top chocolate layer before it sets. Tap the tin firmly on the counter two or three times to pop any air bubbles and level the surface.
- ✓
Mini muffin tins are ideal for portion-controlled snacking and batch prepping, you will get approximately 24 bite-sized cups from the same quantity of ingredients. Reduce the filling disc size accordingly and cut the freezing time to around 12 to 15 minutes.
- ✓
If your melted chocolate thickens and becomes difficult to pour while you are assembling the top layer, set the bowl back over the bain-marie for 20 to 30 seconds and stir gently to restore a smooth, pourable consistency. Avoid overheating or the chocolate may bloom when it sets.
Frequently Asked Questions
Variations
- •
Dark Chocolate Almond Butter Cups
Replace the peanut butter with smooth almond butter for a milder, slightly sweeter filling with a different nutritional profile. Add a few drops of almond extract to the filling for an enhanced marzipan-like flavour.
- •
Chocolate Mint Protein Cups
Add half a teaspoon of peppermint extract to the peanut butter filling and use chocolate protein powder for a refreshing mint chocolate combination that tastes like a healthy peppermint patty.
- •
Espresso Crunch Cups
Stir one teaspoon of instant espresso powder into the melted chocolate and add two tablespoons of finely crushed dark chocolate rice cakes to the filling for a coffee-flavoured cup with satisfying crunch.
- •
White Chocolate Drizzle
Once the cups are set, melt a small amount of dairy-free white chocolate and drizzle it over the top for a decorative finish that also adds a sweet contrast to the dark chocolate shell.
Substitutions
- •Dark chocolate → Sugar-free dark chocolate chips (Reduces sugar content further; particularly useful for keto or diabetic-friendly versions.)
- •Natural peanut butter → Sunflower seed butter (Makes the recipe nut-free with a similar creamy texture. Note that sunflower seed butter can turn the filling slightly green due to a reaction with baking soda, this is harmless but may be unexpected.)
- •Maple syrup → Liquid monk fruit sweetener or stevia drops (Zero-calorie option that keeps the recipe keto and low-sugar. Start with a small amount and taste as monk fruit sweeteners vary in intensity.)
- •Whey protein powder → Pea protein or brown rice protein powder (Makes the recipe vegan and dairy-free. Plant-based powders can be slightly grainier, so blend the filling well and add a splash of milk if needed to smooth it out.)
- •Coconut oil → Neutral-flavoured avocado oil (Works equally well for tempering the chocolate and does not add any flavour. Use in the same quantity.)
- •Almond milk → Oat milk or water (Any liquid works to loosen the filling if needed. Water is the most neutral option if you want to avoid adding any additional flavour.)
🧊 Storage
Store in an airtight container in the refrigerator for up to 7 days, or in the freezer for up to 3 months. Place parchment paper between layers to prevent sticking. Allow frozen cups to rest at room temperature for 2 to 3 minutes before eating.
📅 Make Ahead
These cups are excellent for meal prep. Make a full batch on the weekend and store in the freezer. Pull out individual cups as needed throughout the week for a quick post-workout snack or afternoon treat. They thaw quickly at room temperature and can also be defrosted overnight in the fridge.
More High-Protein Desserts Recipes
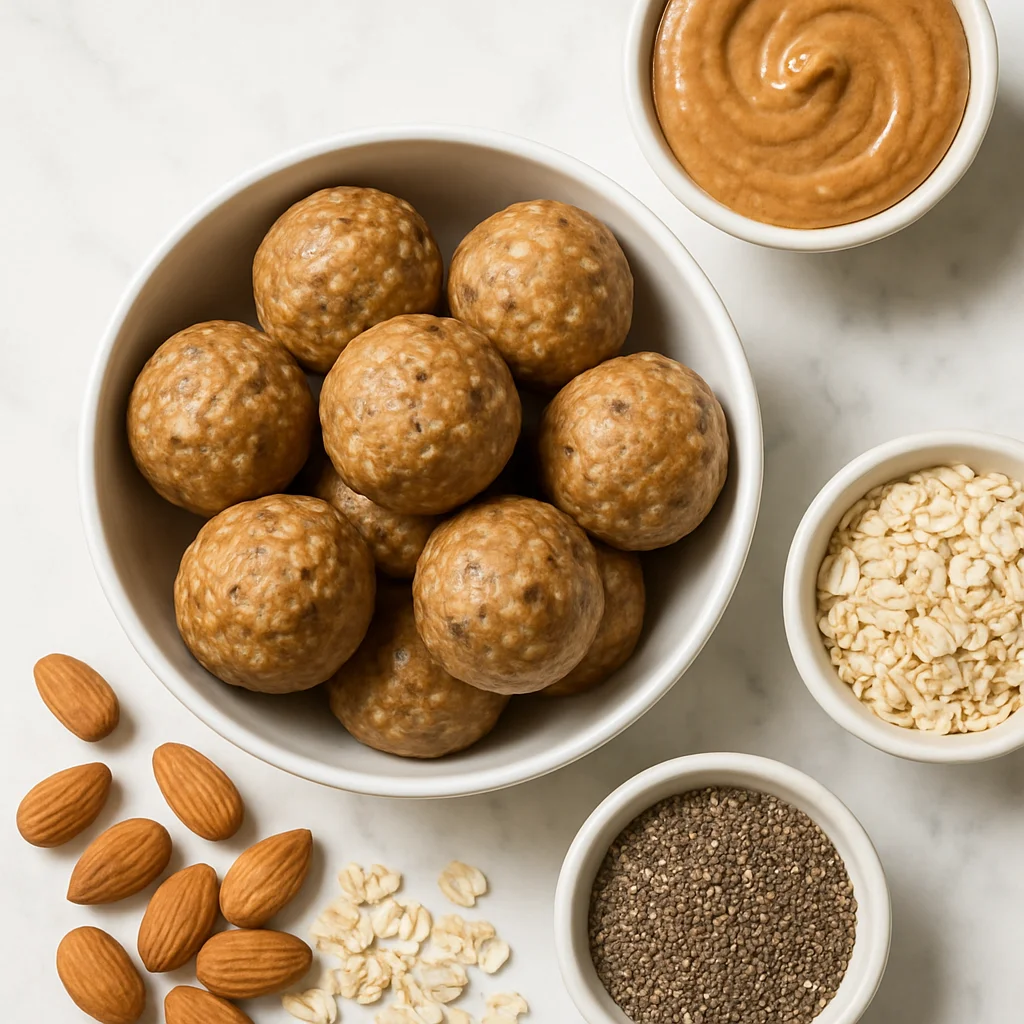
High Protein Almond Butter Protein Balls with Oats and Chia Seeds
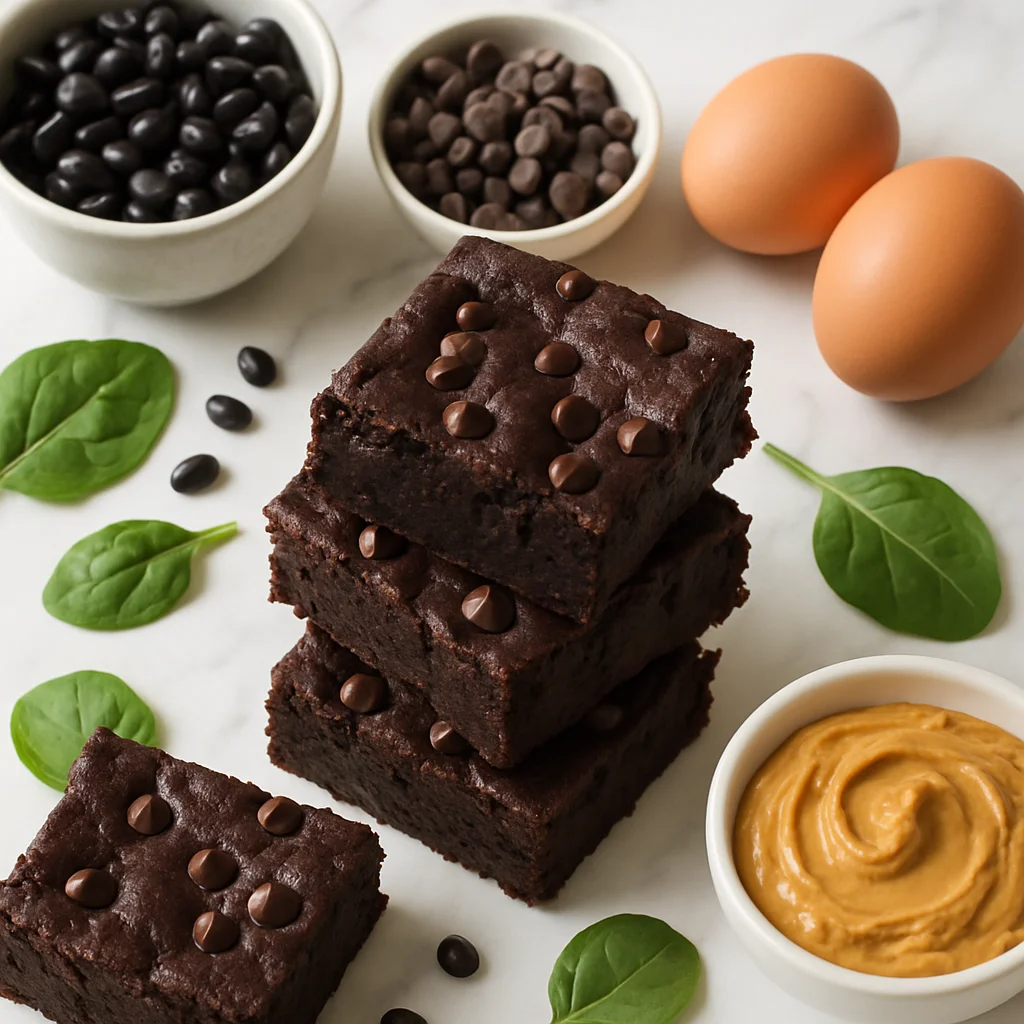
High Protein Black Bean Brownies (Fudgy, Flourless & Guilt-Free)
High Protein Greek Yogurt Bark Frozen with Berries and Dark Chocolate