Healthy Pumpkin Pie Bars Gluten Free with an Almond Oat Crust
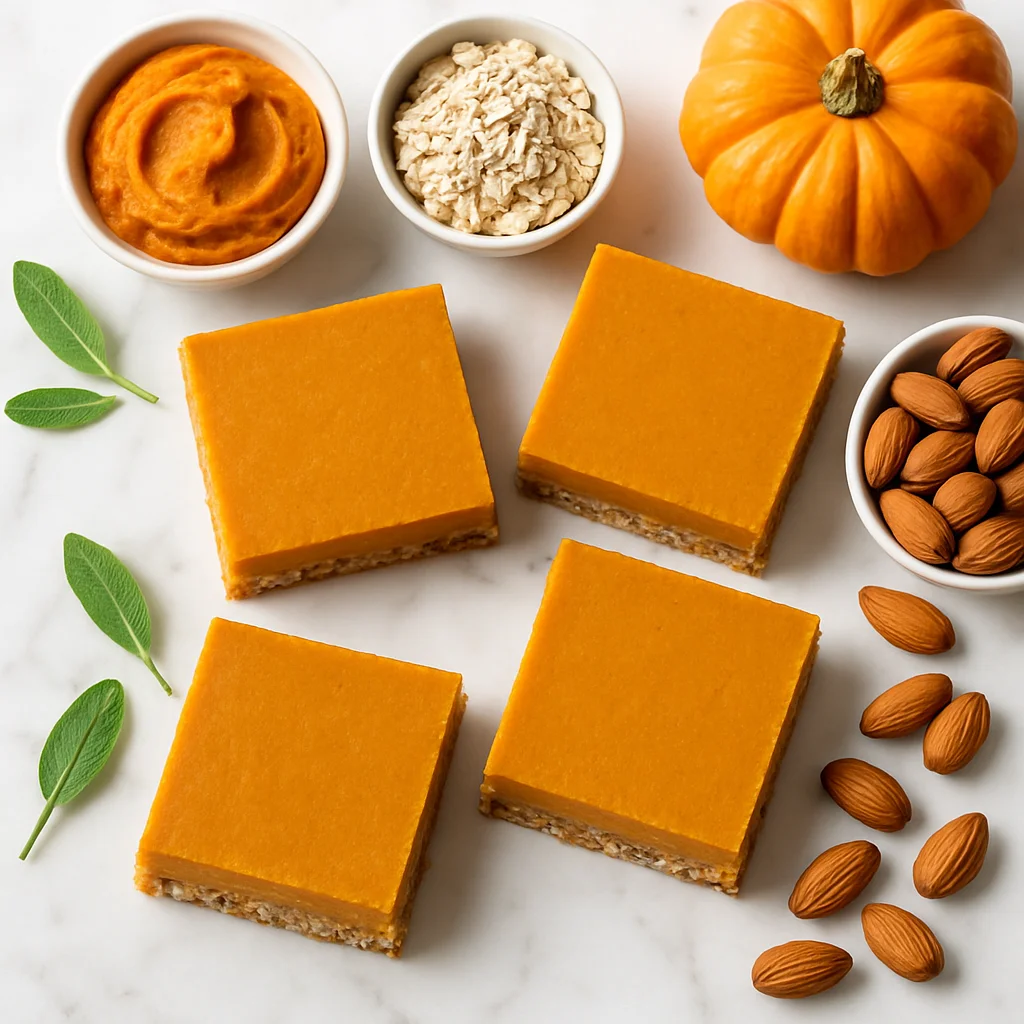
If you have ever wished you could eat pumpkin pie straight from your hand without a fork, a plate or any guilt whatsoever, this recipe is about to become your new autumn obsession. These healthy pumpkin pie bars gluten free are everything you love about classic pumpkin pie, streamlined into a neat, sliceable bar that actually nourishes your body. The crust is made from ground almonds and certified gluten free rolled oats, giving you a hearty, nutty base that holds together beautifully without a single gram of refined flour. The filling is thick, custardy and deeply spiced, but uses a fraction of the sugar you would find in a traditional recipe. This is the kind of dessert you can genuinely feel good about serving to family and friends, or sneaking from the fridge at eleven in the morning with a cup of tea.
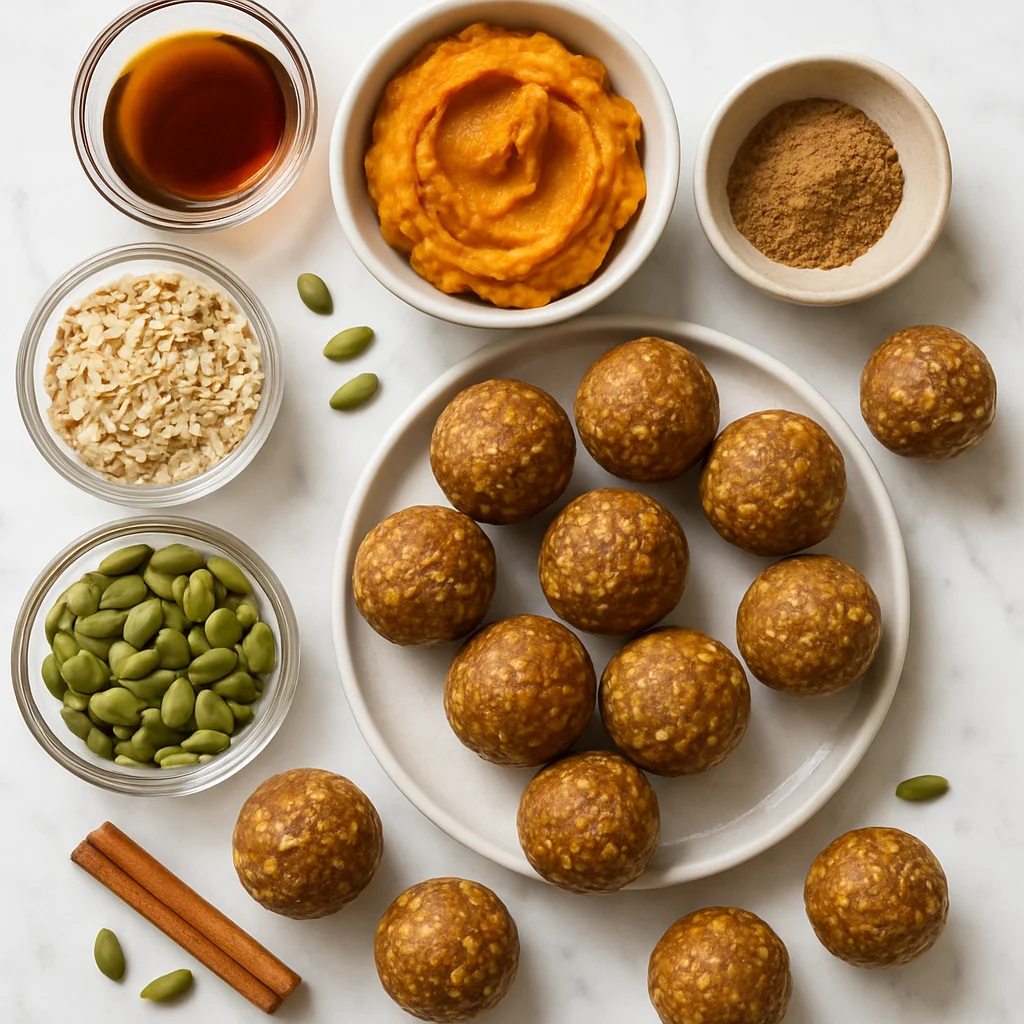
The ingredient list here does a lot of smart work. Pumpkin puree is the obvious hero, bringing natural sweetness, a gorgeous orange colour and a surprisingly impressive amount of fibre and vitamin A. Pure maple syrup acts as the only sweetener in the filling, and because pumpkin already has a gentle natural sweetness, you need far less than you might expect. Two whole eggs help set the custard filling firm enough to slice cleanly while keeping the texture silky rather than rubbery. Full fat coconut milk stands in for heavy cream, adding richness and a subtle tropical warmth that plays beautifully against the cinnamon, ginger, nutmeg and cloves. For the crust, coconut oil binds the almond and oat mixture together, and a touch of maple syrup keeps it lightly sweet without tipping into dessert territory before you even reach the filling. Every single ingredient earns its place here.
In terms of texture, you get a satisfying contrast between the slightly chewy, crumbly crust and the smooth, almost mousse-like filling. Once chilled properly, the bars slice cleanly and hold their shape on a plate. The spice level is warm and rounded rather than sharp, so even people who are not devoted pumpkin fans tend to enjoy these. A small dollop of coconut whipped cream on top makes them feel genuinely celebratory, and a light dusting of cinnamon or a few toasted pumpkin seeds scattered over the top adds a lovely visual finish. These bars work just as well served straight from the fridge on a hot day as they do at room temperature alongside a warming drink in cooler weather. Cut them into 12 generous bars or 16 smaller squares depending on how you are serving them.
From a nutritional standpoint, each bar delivers a solid hit of fibre from both the pumpkin and the oat and almond crust, which helps keep blood sugar stable and appetite satisfied for longer. Almonds contribute healthy monounsaturated fats, vitamin E and a little plant protein, making this far more nourishing than a standard pastry crust. The total sugar per bar is significantly lower than a traditional pumpkin pie slice, and there is no refined sugar anywhere in the recipe. The bars are naturally gluten free, dairy free and refined sugar free, making them accessible for a wide range of dietary needs. If you are also catering for vegans, there is an easy egg-free adaptation in the variations section below. These healthy pumpkin pie bars gluten free prove, quite convincingly, that eating well and eating deliciously are not mutually exclusive goals.
Ingredients
- 1.5 cups certified gluten free rolled oats (blended into a rough flour)
- 1 cup ground almonds (also called almond flour or almond meal)
- 3 tbsp coconut oil (melted and slightly cooled)
- 2 tbsp pure maple syrup (for the crust)
- 0.3 tsp fine sea salt (for the crust)
- 1 can pumpkin puree (425g, not pumpkin pie filling)
- 2 large eggs (at room temperature)
- 0.5 cup full fat coconut milk (from a well-stirred can)
- 3 tbsp pure maple syrup (for the filling)
- 1.5 tsp ground cinnamon
- 0.5 tsp ground ginger
- 0.3 tsp ground nutmeg (freshly grated if possible)
- 0.1 tsp ground cloves
- 1 tsp pure vanilla extract
- 1 tbsp tapioca starch (helps the filling set cleanly)
Instructions
- 1
Preheat your oven to 175C (350F). Line a 9x9 inch square baking pan with parchment paper, leaving enough overhang on two sides to act as handles for lifting the bars out later.
Greasing the pan sides lightly before adding the parchment helps it stay in place while you press in the crust.
- 2
Add the gluten free rolled oats to a food processor and blitz for about 30 seconds until you have a coarse, flour-like texture. Some small oat flakes remaining is totally fine and actually adds a pleasant bite to the finished crust.
- 3
Add the ground almonds, melted coconut oil, maple syrup and sea salt to the processor with the blitzed oats. Pulse until the mixture comes together into a damp, crumbly dough that holds its shape when you press a small amount between your fingers.
If the mixture seems too dry, add one teaspoon of cold water at a time until it just comes together.
- 4
Tip the crust mixture into the prepared pan and press it firmly and evenly across the base using the back of a measuring cup or your fingers. The crust should be compact and uniform, roughly half a centimetre thick throughout.
- 5
Bake the crust on its own for 12 minutes until it smells nutty and the edges are just beginning to turn golden. Remove from the oven and allow it to cool for five minutes while you make the filling.
Do not skip the blind bake. It stops the crust from going soggy under the filling.
- 6
In a large mixing bowl, whisk together the pumpkin puree, eggs, coconut milk, maple syrup, cinnamon, ginger, nutmeg, cloves, vanilla extract and tapioca starch. Whisk until completely smooth with no streaks of egg visible.
Taste the raw filling before pouring, and adjust spices to your preference. Some people love an extra pinch of ginger for more warmth.
- 7
Pour the pumpkin filling evenly over the partially baked crust. Use a spatula to gently spread it right to the edges if needed.
- 8
Return the pan to the oven and bake for 28 to 30 minutes. The filling should be set around the edges but have the faintest wobble in the very centre, similar to a baked cheesecake. It will firm up completely as it cools.
Avoid overbaking. An overbaked filling becomes grainy rather than silky smooth.
- 9
Remove the pan from the oven and leave it to cool at room temperature for 30 minutes. Then transfer to the refrigerator and chill for at least 2 hours, or overnight for the cleanest slices.
- 10
Once fully chilled, lift the bars out of the pan using the parchment handles. Place on a cutting board and slice into 12 bars using a sharp knife. Wipe the blade clean between cuts for neat, bakery-style edges.
Top with coconut whipped cream and a pinch of cinnamon just before serving for an extra special finish.
Nutrition per serving
195kcal
Calories
5g
Protein
19g
Carbs
11g
Fat
3g
Fibre
8g
Sugar
75mg
Sodium
Pro Tips
- ✓
Always use pure pumpkin puree, not pumpkin pie filling, which already contains sugar and spices.
- ✓
Bring your eggs to room temperature before mixing to help the filling come together smoothly and bake more evenly.
- ✓
Chilling overnight genuinely makes a difference to both the texture and the flavour depth of these bars.
- ✓
For very clean slices, run your knife under hot water and dry it before each cut.
- ✓
The tapioca starch is a small but important addition. It binds the filling and prevents any wateriness as the bars chill.
Frequently Asked Questions
Variations
- •
Vegan Pumpkin Pie Bars
Replace the 2 eggs with 2 flax eggs (2 tbsp ground flaxseed mixed with 6 tbsp water, rested for 10 minutes) and increase the tapioca starch to 2 tbsp. The texture will be slightly denser but still delicious, and the bars will need an extra 5 minutes in the oven.
- •
Chocolate Swirl Pumpkin Bars
Melt 30g of dark chocolate (70 percent or higher) and drizzle it over the pumpkin filling before baking. Use a skewer or toothpick to swirl it gently through the surface for a marbled effect and a subtle chocolate bitterness that works beautifully with the spices.
- •
Pecan Topped Pumpkin Bars
Scatter a small handful of roughly chopped raw pecans over the filling before the final bake. They toast lightly in the oven and add a wonderful crunch and richness. Note that this variation is no longer nut-free given the pecan topping in addition to the almond crust.
- •
Spiced Coconut Cream Frosted Bars
Whip one can of refrigerated coconut cream with one teaspoon of maple syrup and a pinch of cinnamon until light and fluffy. Spread it over the fully chilled bars before slicing for a creamy, frostinglike topping that makes these feel extra indulgent.
Substitutions
- •Full fat coconut milk → Unsweetened oat cream or cashew cream (Both work well as dairy free alternatives. Oat cream gives a slightly lighter texture while cashew cream is richer and closer to the original. Make sure any oat cream used is certified gluten free.)
- •Coconut oil in the crust → Melted unsalted butter or vegan butter (Butter gives a slightly richer, more traditional shortbread flavour in the crust. Use the same quantity. Note that using dairy butter means the recipe is no longer dairy free.)
- •Maple syrup → Raw honey or agave nectar (Honey works beautifully and adds a floral note. Agave has a more neutral sweetness. Use the same quantity as maple syrup. Note that honey makes the recipe non-vegan.)
- •Tapioca starch → Arrowroot powder or cornstarch (All three work as binding and thickening agents in the filling. Use the same one tablespoon quantity. Arrowroot is the most paleo-friendly option of the three.)
- •Ground almonds → Sunflower seed flour (For a completely nut-free version, sunflower seed flour (made by blending raw sunflower seeds) works as a one-to-one swap. The crust will be slightly darker in colour but equally tasty.)
🧊 Storage
Store the cut bars in an airtight container in the refrigerator for up to 5 days. Place a sheet of parchment between layers if stacking to keep the surfaces clean. These bars do not store well at room temperature for longer than 2 hours due to the egg-based filling.
📅 Make Ahead
The entire recipe can be made up to 2 days in advance and stored covered in the fridge. The crust actually becomes slightly more flavourful and firm after a day, making this an ideal make-ahead dessert for Thanksgiving, autumn gatherings or holiday meal prep.
More Fall Desserts Recipes
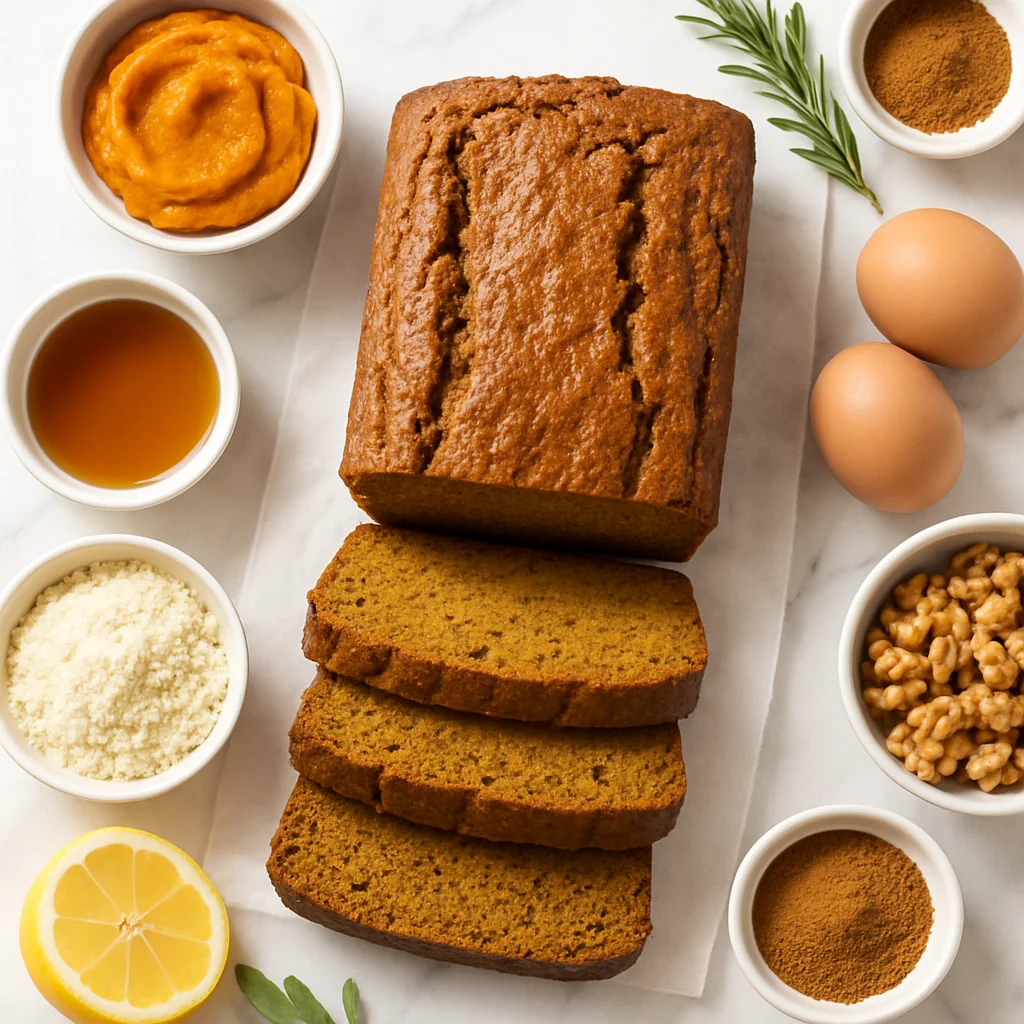
Paleo Pumpkin Bread (Dairy Free, Gluten Free, Naturally Sweetened)
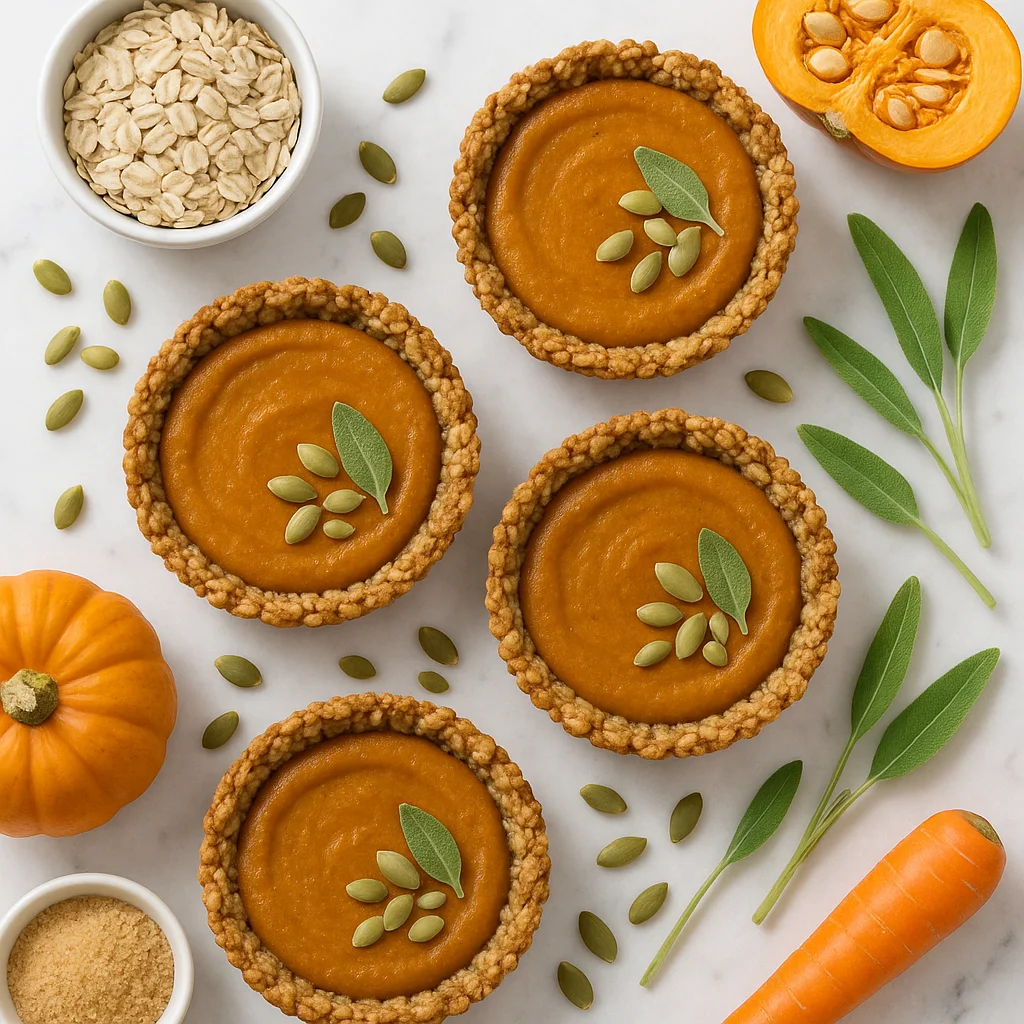
Healthy Mini Pumpkin Pies Low Sugar with Oat Crust
Pumpkin Spice Energy Balls No Bake (High Fibre, Naturally Sweetened)