No-Bake Healthy Peanut Butter Bars with Oat and Dark Chocolate

The fridge is the most underrated piece of kitchen equipment for healthy baking. These peanut butter bars belong in it. There is no oven involved, no baking time to monitor and no risk of anything burning while you are distracted. You mix, press, pour chocolate on top and wait. What comes out of the fridge an hour later is a bar with a genuinely impressive texture: dense and creamy from the peanut butter, with enough chew from the oats to feel substantial, and a thin layer of snapped dark chocolate on top that makes the whole thing feel far more indulgent than the ingredient list suggests.
Why this recipe works
Natural peanut butter, the kind with just peanuts and salt on the label, is the binding agent here. The natural oils hold the oat mixture together without needing any eggs or additional fat. Commercial peanut butter with added palm oil and sugar is stiffer and sweeter, which actually makes it less effective as a binder in this recipe. Rolled oats add fibre and give the base a pleasant grainy quality that stops it feeling like pure fudge. Pure maple syrup sweetens the whole thing with a caramel note that plays beautifully against the saltiness of the peanut butter. Ground flaxseed goes in almost invisibly but adds a meaningful omega-3 boost and helps hold the mixture together.
Getting it right
The peanut butter consistency matters. If yours has separated in the jar, stir it thoroughly before measuring. Trying to mix cold, stiff peanut butter into the oats results in an uneven mixture with dry patches. Peanut butter left out at room temperature for thirty minutes before using coats the oats much more evenly.
Press the base layer into the tin using the back of a wet spoon to prevent sticking. You want it flat, even and very firmly compacted. A loose base produces bars that crumble when you try to lift them.
Common mistakes
Adding the chocolate too soon is the classic error. If the base layer has not fully chilled, the chocolate melts into it rather than sitting as a distinct layer on top. Give the base at least thirty minutes in the freezer before pouring the melted chocolate over it.
Melting chocolate directly in a pan almost always scorches it. Use a heatproof bowl over a pan of barely simmering water, or microwave in twenty-second bursts, stirring between each one.
Substitutions
Almond butter or cashew butter works in place of peanut butter for a milder flavour. Sunflower seed butter makes these completely nut-free. White chocolate works for the topping if you want a sweeter bar, though it adds more sugar per serving. A sprinkle of flaky sea salt over the chocolate before it sets is not optional. Do it every time.
Serving suggestion
Serve straight from the fridge with a glass of cold oat milk. Cut into small squares for a party table or larger bars for a post-workout snack. These freeze brilliantly, wrapped individually, for up to two months.
Ingredients
- 1.5 cups rolled oats (use certified gluten-free oats if needed)
- 1 tbsp ground flaxseed
- 0.3 tsp fine sea salt
- 1 cup natural creamy peanut butter (no added sugar or oil, stir well before measuring)
- 3 tbsp pure maple syrup (grade A or B both work well)
- 1 tsp vanilla extract
- 2 tbsp unsweetened almond milk (or any plant milk, adds just enough moisture to bind)
- 0.8 cup dark chocolate chips (70% cacao or higher for lower sugar content)
- 1 tsp coconut oil (helps the chocolate melt smoothly and spread evenly)
- 1 pinch flaky sea salt (for topping, optional but highly recommended)
Instructions
- 1
Line an 8x8 inch square baking pan with parchment paper, leaving some overhang on the sides so you can lift the bars out easily after chilling.
Lightly pressing the parchment into the corners helps it sit flat while you spread the mixture.
- 2
In a large mixing bowl, combine the rolled oats, ground flaxseed and fine sea salt. Stir them together so the flaxseed is evenly distributed through the oats.
- 3
Add the peanut butter, maple syrup, vanilla extract and almond milk to the bowl. Stir everything together firmly until a thick, cohesive dough forms. It will look crumbly at first but keep stirring and it will come together.
If your peanut butter is cold and stiff, gently warm it for 20 seconds in the microwave first. This makes mixing much easier.
- 4
Transfer the peanut butter oat mixture into the prepared pan. Use the back of a spoon or the flat bottom of a glass to press it down into an even, compact layer about half an inch thick.
Pressing firmly here is important. A densely packed base holds together much better once cut into bars.
- 5
Place the pan in the freezer for 15 minutes while you prepare the chocolate topping. This helps the base firm up so the chocolate layer sits on top cleanly without sinking in.
- 6
Combine the dark chocolate chips and coconut oil in a small heatproof bowl. Microwave in 30-second bursts, stirring between each, until fully melted and glossy. This usually takes about 60 to 90 seconds total.
You can also melt the chocolate in a small saucepan over very low heat if you prefer to avoid the microwave.
- 7
Remove the pan from the freezer and pour the melted chocolate evenly over the peanut butter base. Use a spatula to spread it all the way to the edges in a thin, even layer.
- 8
Scatter a small pinch of flaky sea salt over the chocolate while it is still wet. Place the pan back in the fridge and chill for at least 45 minutes, or until the chocolate is fully set.
Resist cutting into the bars too early. A fully set chocolate layer makes slicing much neater.
- 9
Lift the slab out of the pan using the parchment overhang. Place it on a cutting board and use a sharp knife to cut it into 12 bars. Wipe the knife clean between cuts for tidy edges.
Cutting into 3 columns and 4 rows gives you 12 evenly sized bars.
Nutrition per serving
185kcal
Calories
7g
Protein
15g
Carbs
11g
Fat
3g
Fibre
6g
Sugar
95mg
Sodium
Pro Tips
- ✓
Use a peanut butter that lists only peanuts and salt in the ingredients. Brands with added palm oil or sugar will make the bars too sweet and the texture oilier.
- ✓
Pressing the base down very firmly is the single most important step for bars that hold together when you eat them.
- ✓
For extra protein, stir 2 tablespoons of unflavoured hemp seeds into the oat mixture before pressing it into the pan.
- ✓
The bars soften at room temperature over time, so store them in the fridge for the best texture and longest shelf life.
- ✓
A warm dry knife slices through the chocolate layer without cracking it across the whole bar.
- ✓
If the mixture feels too dry and crumbly when you are stirring, add one extra tablespoon of almond milk and mix again.
Frequently Asked Questions
Variations
- •
Crunchy Peanut Butter Bars
Swap creamy peanut butter for crunchy and stir 2 tablespoons of roughly chopped roasted peanuts directly into the oat base before pressing. This gives every bite a little extra texture and a more intense peanut flavour.
- •
Chocolate Swirl Bars
Reserve 2 tablespoons of melted chocolate and swirl it into the top of the peanut butter base before adding the main chocolate layer. You get a marbled look that makes the bars look bakery-worthy.
- •
Coconut Peanut Butter Bars
Add 3 tablespoons of desiccated unsweetened coconut to the oat mixture for a tropical twist. The coconut adds extra fibre and a subtle chewiness that pairs really well with the dark chocolate topping.
- •
Spiced Dark Chocolate Bars
Add half a teaspoon of cinnamon and a small pinch of cayenne pepper to the melted chocolate before spreading it over the base. The warmth from the spices makes the chocolate taste more complex and slightly grown-up.
Substitutions
- •Rolled oats → Blanched almond flour (Use 1.25 cups of almond flour in place of the oats for a grain-free and lower-carb version. The texture will be slightly denser and more fudge-like. Note this will no longer be nut-free.)
- •Maple syrup → Raw honey (Use the same quantity. Honey gives a slightly floral sweetness and makes the bars no longer vegan, but the texture stays nearly identical.)
- •Almond milk → Oat milk or water (Any plant-based milk works as a direct swap. Even a small splash of water does the job if you have nothing else on hand.)
- •Dark chocolate chips → Carob chips (For a caffeine-free option, carob chips work well. The flavour is milder and slightly sweeter, so you may want to use a version with no added sugar.)
- •Coconut oil → Refined avocado oil (Use the same quantity. Avocado oil has a very neutral flavour and keeps the chocolate smooth without adding any coconut taste, which suits people who dislike coconut.)
🧊 Storage
Store bars in a single layer or separated by parchment paper in an airtight container in the fridge for up to 7 days. For freezer storage, wrap individual bars in parchment and place in a zip-lock freezer bag for up to 2 months. Thaw in the fridge overnight or at room temperature for 10 minutes.
📅 Make Ahead
These bars are ideal for making ahead. Prepare the full batch on a Sunday and refrigerate for healthy snacks throughout the week. The flavour actually deepens slightly after 24 hours in the fridge as everything melds together.
More High-Protein Desserts Recipes
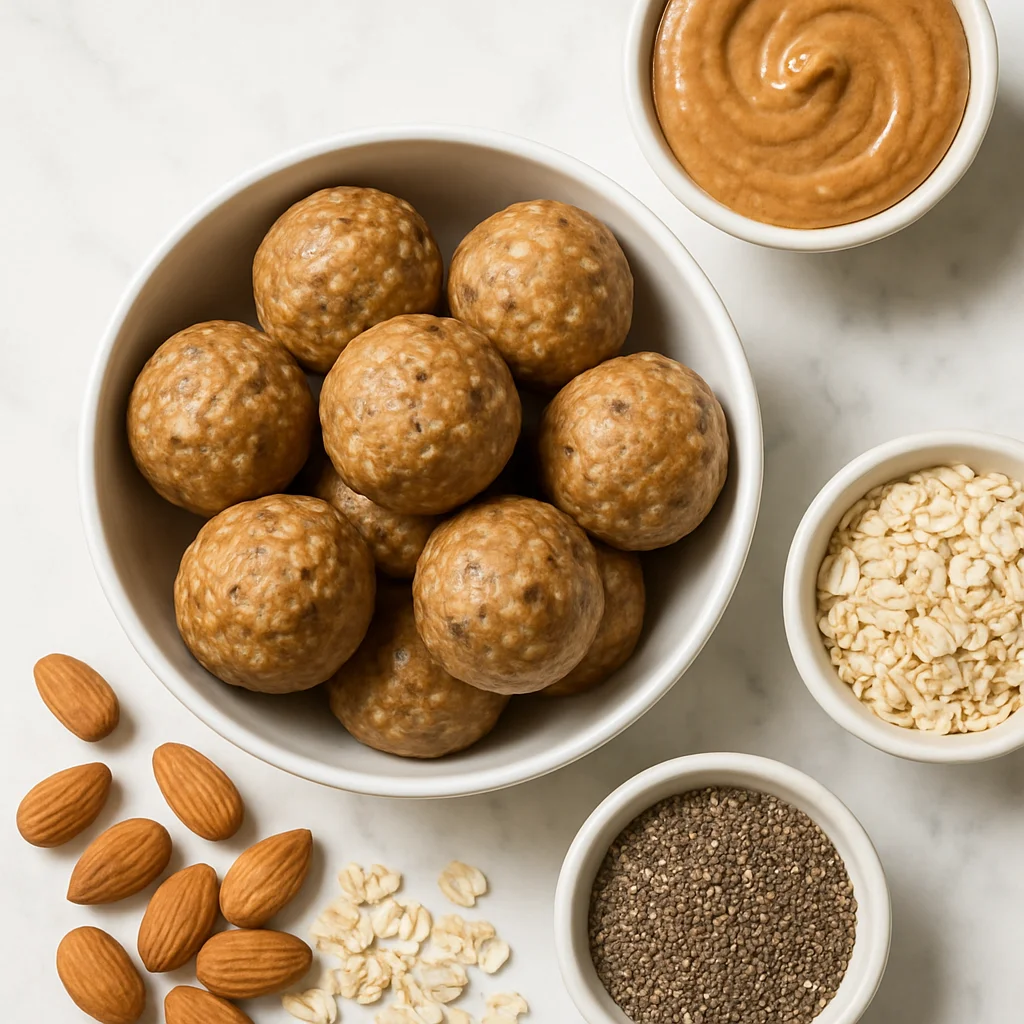
High Protein Almond Butter Protein Balls with Oats and Chia Seeds
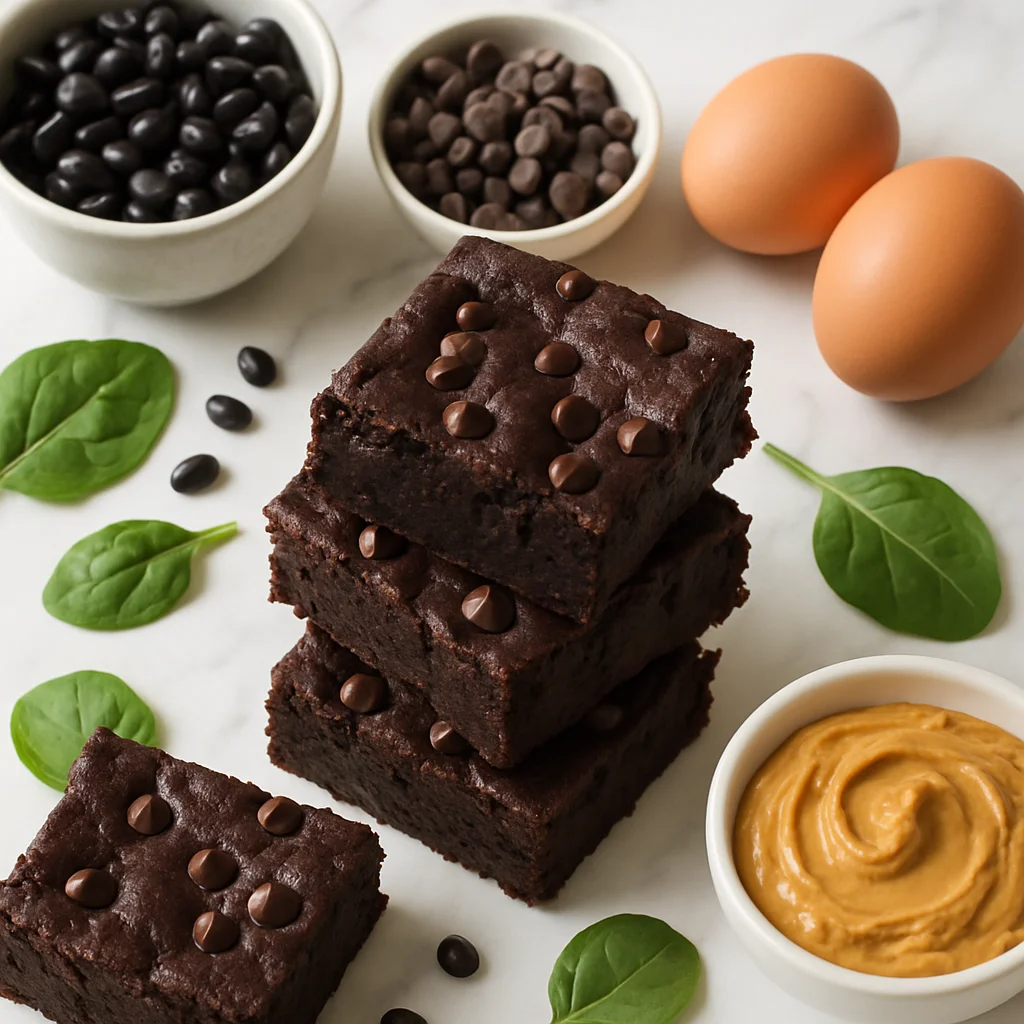
High Protein Black Bean Brownies (Fudgy, Flourless & Guilt-Free)
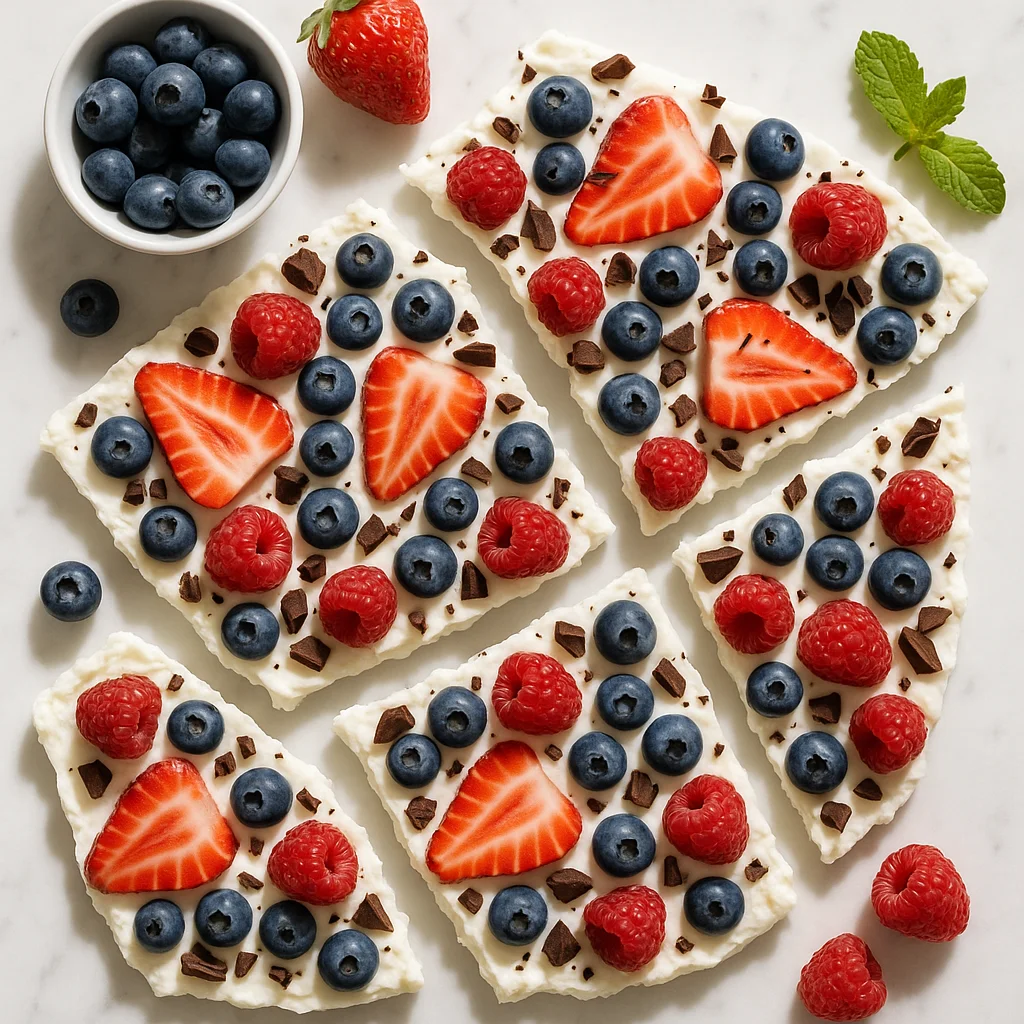
High Protein Greek Yogurt Bark Frozen with Berries and Dark Chocolate