Healthy Chocolate Chia Pudding No Sugar (Rich, Creamy and Guilt-Free)
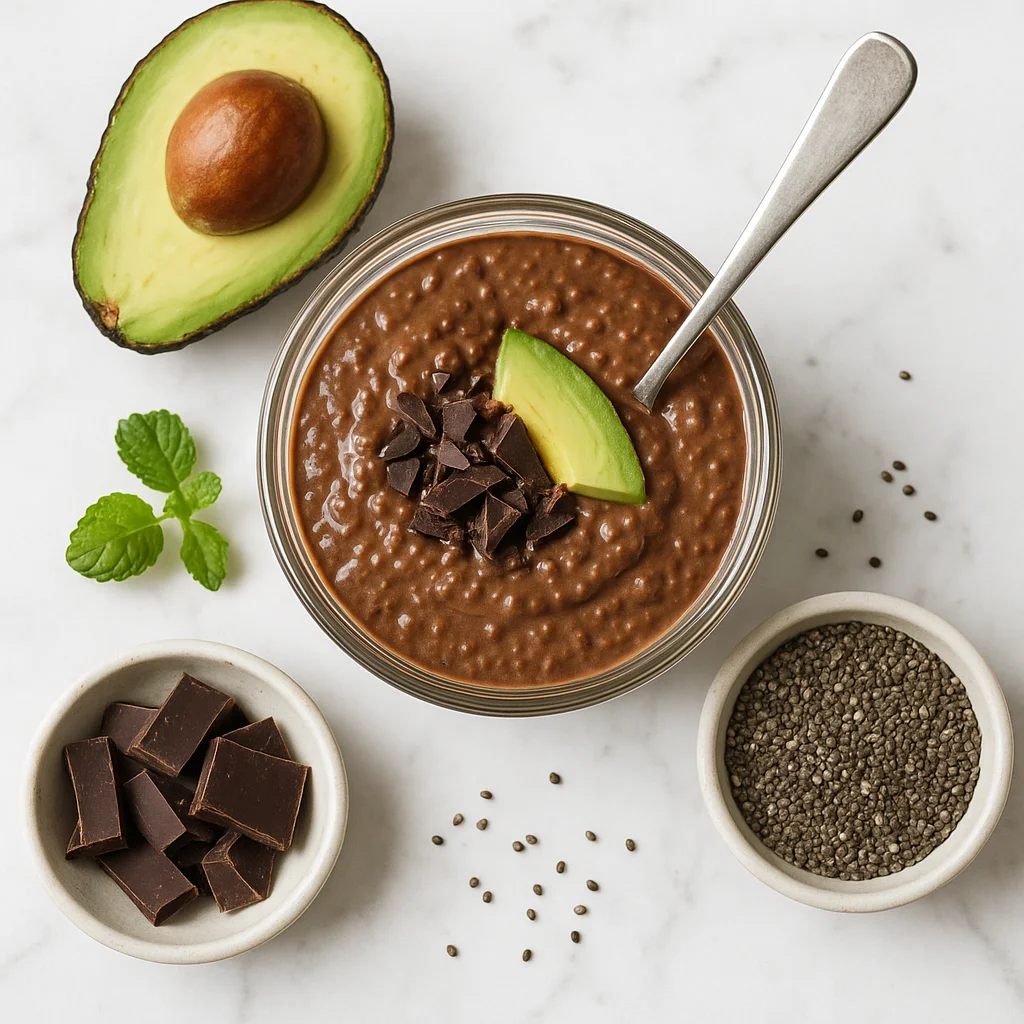
If you have been hunting for a chocolate fix that does not undo all your hard work, this healthy chocolate chia pudding with no sugar is about to become your new best friend. It tastes genuinely indulgent, with a thick, mousse-like texture and a deep, rich cocoa flavour that feels like a proper treat. No refined sugar, no artificial sweeteners, no complicated steps. Just a handful of wholesome ingredients that come together in around five minutes of active time. This recipe is aimed at anyone who wants to enjoy chocolate desserts without the blood sugar spike, the calorie guilt or the long ingredient list. It suits busy weekday mornings just as well as it suits a Friday night dessert craving.
The base of this pudding is whole chia seeds, and they really are the star of the show here. Chia seeds absorb liquid and swell into a gel, creating that satisfying pudding consistency without any cornstarch, gelatine or cream. They bring roughly ten grams of fibre per serving, along with omega-3 fatty acids and plant-based protein, making this far more nutritious than any shop-bought chocolate pudding cup. Unsweetened cocoa powder gives the chocolate depth without adding a single gram of sugar. Unsweetened almond milk keeps the calorie count low while letting the cocoa flavour shine through. A ripe banana, mashed directly into the mixture, acts as the only sweetener here. It adds natural fructose, a creamy body and a subtle fruity note that pairs beautifully with chocolate. Finally, a small amount of pure vanilla extract rounds everything out and lifts the overall flavour considerably.
The texture lands somewhere between a thick smoothie bowl and a classic chocolate mousse. It is dense enough to eat with a spoon, soft enough to feel luxurious, and satisfying enough to keep hunger at bay for hours. After chilling overnight, the pudding firms up beautifully and the flavours meld together even more. Serve it straight from the jar with a few fresh raspberries scattered on top for a pop of colour and tartness. A light dusting of extra cocoa powder looks beautiful and adds a slightly bitter contrast. Toasted coconut flakes, cacao nibs, or a small handful of chopped walnuts all work brilliantly as toppings if you want some crunch. You can also layer it into glasses with sliced strawberries for an easy, impressive dinner party dessert that takes almost no effort.
From a dietary standpoint, this recipe covers a lot of ground. It is entirely vegan, dairy-free and gluten-free, so it works for a wide range of eating styles and food sensitivities. There is no refined sugar anywhere in the recipe, making it suitable for those managing their sugar intake, following a whole-food plant-based diet, or simply trying to eat more mindfully. The fibre content from chia seeds supports digestive health and helps you feel full for longer, which is a real advantage over traditional desserts that leave you reaching for more twenty minutes later. Each serving delivers a solid hit of plant protein, healthy fats from the chia seeds, and antioxidants from the cocoa. This is the kind of recipe that proves eating well does not mean eating sadly.
Ingredients
- 6 tbsp whole chia seeds (white or black both work fine)
- 1.5 cups unsweetened almond milk (or any unsweetened plant-based milk)
- 3 tbsp unsweetened cocoa powder (use raw cacao for extra antioxidants)
- 1 medium ripe banana (the riper the better for natural sweetness)
- 1 tsp pure vanilla extract
- 1 pinch fine sea salt (enhances the chocolate flavour)
- 0.3 tsp ground cinnamon (optional but highly recommended)
Instructions
- 1
Peel the ripe banana and add it to a medium mixing bowl. Mash it thoroughly with a fork until you have a very smooth puree with no large lumps remaining.
The smoother your banana puree, the creamier the final pudding will be. A very ripe banana with brown spots mashes most easily.
- 2
Add the unsweetened cocoa powder, vanilla extract, sea salt and ground cinnamon to the mashed banana. Stir everything together until a thick, uniform chocolate paste forms.
Combining the cocoa with the banana first prevents it from clumping when you add the liquid.
- 3
Pour in roughly a quarter of the almond milk and whisk it into the chocolate banana paste until smooth. Add the remaining almond milk gradually, stirring as you go, until the mixture is fully combined and lump-free.
Adding the milk in stages gives you much better control and avoids cocoa powder floating on the surface.
- 4
Add the chia seeds to the chocolate mixture and stir well for about sixty seconds, making sure the seeds are evenly distributed throughout the liquid.
- 5
Let the mixture sit on the counter for ten minutes, then stir again vigorously. This second stir breaks up any clumps of chia seeds that may have begun to stick together.
Skipping this second stir is the most common reason chia puddings set with uneven clumps rather than a smooth texture.
- 6
Divide the mixture evenly between two jars or airtight containers. Seal them and transfer to the fridge.
- 7
Chill for a minimum of four hours, or overnight for the best thick, creamy texture. Stir once more before serving and add your chosen toppings.
If the pudding feels thicker than you like after chilling, simply stir in a small splash of extra almond milk to loosen it.
Nutrition per serving
198kcal
Calories
7g
Protein
26g
Carbs
9g
Fat
12g
Fibre
9g
Sugar
115mg
Sodium
Pro Tips
- ✓
Use the ripest banana you can find. Brown-spotted bananas are sweeter and mash more smoothly, giving the pudding a better texture and more natural sweetness.
- ✓
Stir the mixture twice before chilling: once when you first add the chia seeds and again after ten minutes. This prevents clumping.
- ✓
Raw cacao powder can replace regular cocoa powder for a slightly more bitter, complex flavour and a higher antioxidant content.
- ✓
Do not rush the chilling time. Four hours is the minimum, but overnight gives a noticeably thicker, creamier result.
- ✓
Taste the mixture before chilling. If your banana was not very ripe and it tastes too bitter, add a few drops of liquid stevia or a small drizzle of pure maple syrup without compromising the no-refined-sugar profile much.
- ✓
For a completely smooth, mousse-like pudding rather than a seeded texture, blend the fully set pudding in a high-speed blender before serving.
Frequently Asked Questions
Variations
- •
Mocha Chia Pudding
Add one teaspoon of instant espresso powder along with the cocoa in step two. The coffee deepens the chocolate flavour dramatically and adds a lovely grown-up edge to the pudding.
- •
Mint Chocolate Chia Pudding
Replace the vanilla extract with half a teaspoon of pure peppermint extract. Start with less and taste as you go, since mint extract is very strong. Top with a few cacao nibs for a mint-choc-chip vibe.
- •
Spiced Mexican Chocolate Chia Pudding
Increase the cinnamon to half a teaspoon and add a small pinch of cayenne pepper and a pinch of nutmeg along with the other spices. This version has a warm, complex heat that lingers pleasantly.
- •
Protein-Boosted Chocolate Chia Pudding
Whisk one scoop of unflavoured or chocolate plant-based protein powder into the liquid mixture before adding the chia seeds. This bumps the protein content significantly and makes it even more suitable as a post-workout snack.
Substitutions
- •Almond milk → Oat milk, coconut milk or cashew milk (Coconut milk gives the richest, creamiest result. Oat milk adds a subtle natural sweetness. All work at the same quantity.)
- •Banana → Unsweetened applesauce plus a few drops of liquid stevia (Use two tablespoons of applesauce per banana. This keeps the recipe sugar-free and adds moisture without the banana flavour.)
- •Cocoa powder → Raw cacao powder (Raw cacao is less processed and higher in antioxidants. It has a slightly more bitter, complex flavour. Use the same quantity.)
- •Vanilla extract → Half a teaspoon of vanilla bean paste (Vanilla paste has a more intense flavour and adds attractive specks to the pudding. Use slightly less than the extract.)
- •Chia seeds → Ground flaxseed (Ground flaxseed will create a smoother, less textured pudding. Use the same quantity, but note the nutritional profile will differ slightly.)
🧊 Storage
Store the pudding in sealed glass jars or airtight containers in the refrigerator for up to four days. Do not freeze, as the texture becomes grainy and watery once thawed. Always add toppings just before serving rather than storing them on top.
📅 Make Ahead
This recipe is ideal for making ahead. Prepare the full batch the night before and it will be perfectly set and ready to eat the next morning. You can also make a double batch and keep four jars in the fridge for grab-and-go breakfasts or quick desserts throughout the week.
More Chocolate Desserts Recipes
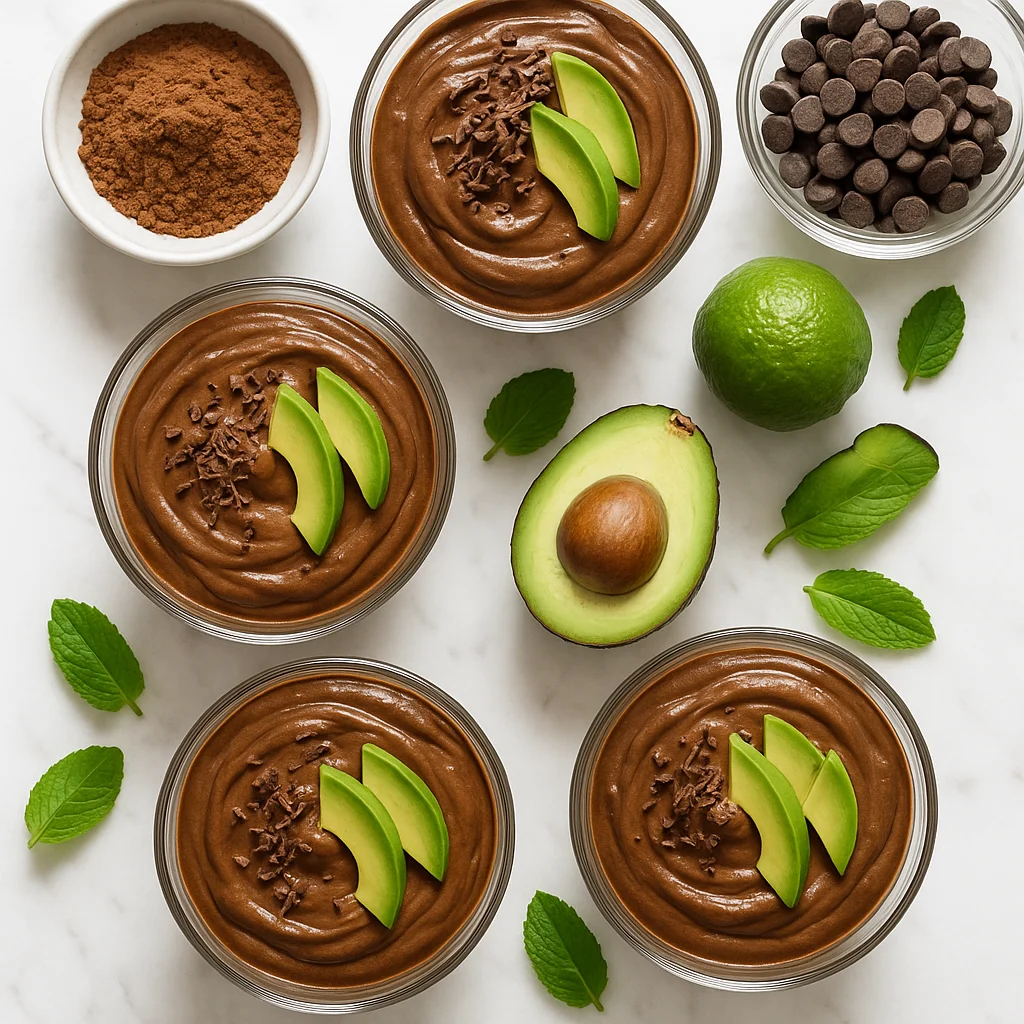
Healthy Chocolate Avocado Mousse (Dairy Free and Ready in 10 Minutes)
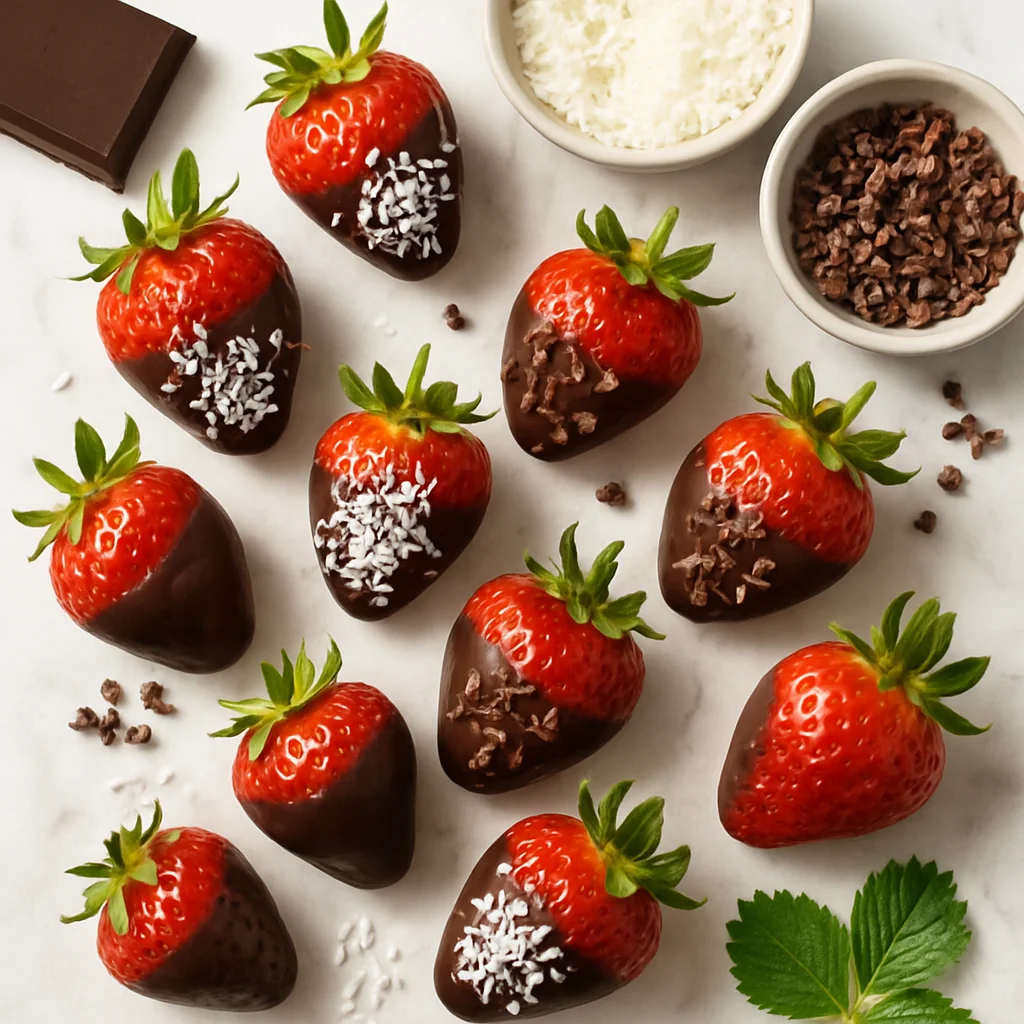
Healthy Dark Chocolate Dipped Strawberries with Coconut and Cacao
Healthy Chocolate Protein Balls No Bake (5 Ingredients, 10 Minutes)