Christmas No Bake Peppermint Cheesecake Bites (Healthy & Guilt-Free)
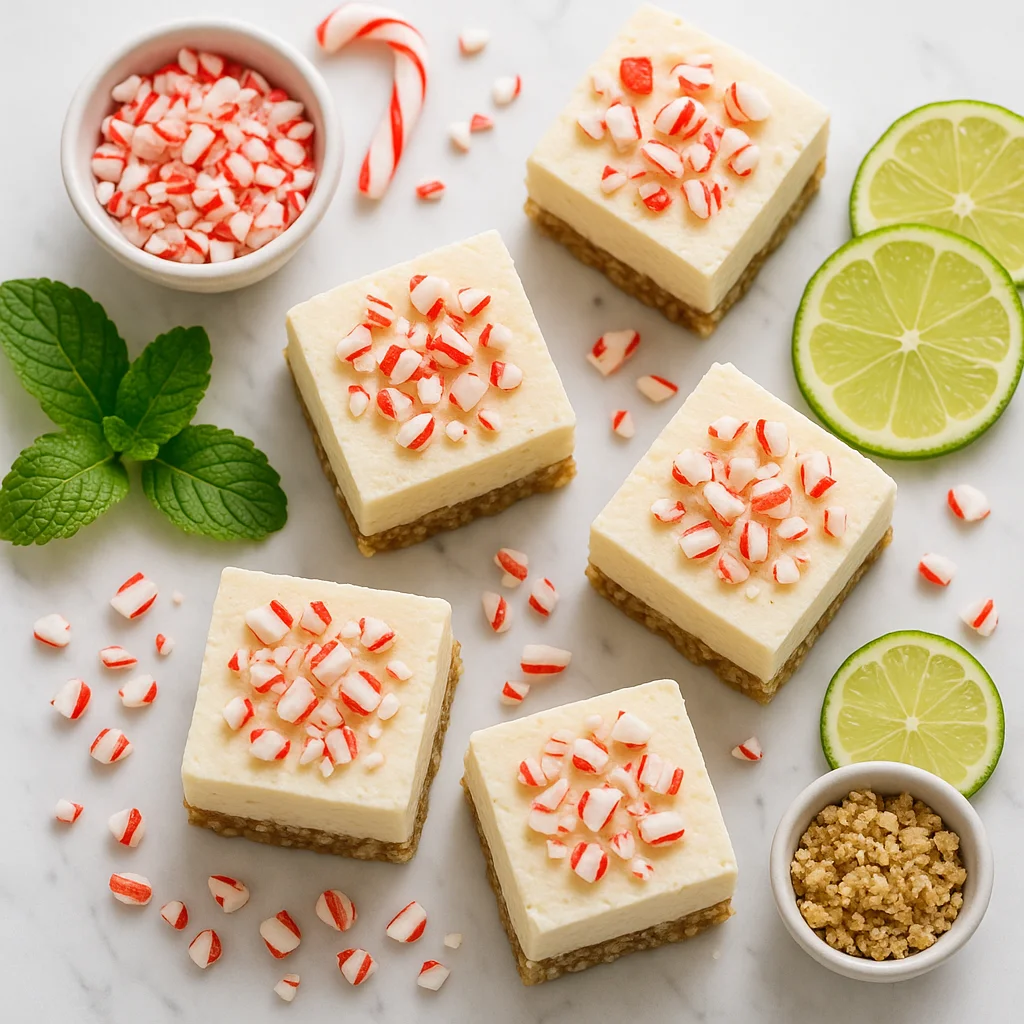
If you are looking for a festive treat that feels indulgent but is actually good for you, these Christmas no bake peppermint cheesecake bites are about to become your new holiday obsession. Cool peppermint, rich and creamy cheesecake filling, a wholesome date-and-oat crust, and a dark chocolate drizzle come together in perfectly portioned little bites that are as beautiful on a Christmas dessert table as they are satisfying to eat. Best of all, there is absolutely no baking required, which means less time in the kitchen and more time enjoying the season with the people you love.
Traditional peppermint cheesecake recipes are loaded with cream cheese, heavy cream, refined white sugar, and a butter-soaked biscuit base that can push a single slice well past 400 calories. This healthy version flips that script entirely. The base is made from rolled oats, Medjool dates, and a touch of coconut oil, ingredients that bring natural sweetness, fibre, and healthy fats to the table without a single gram of refined sugar. The creamy filling uses reduced-fat cream cheese blended with thick Greek yogurt, a small amount of pure maple syrup for gentle sweetness, and pure peppermint extract for that signature cool, festive flavour. Each bite clocks in at roughly 95 calories with over 3 grams of protein and nearly 2 grams of fibre, making them a genuinely healthier Christmas dessert option compared to their traditional counterparts.
Peppermint and cheesecake is one of those classic Christmas flavour combinations that never gets old. The cool, slightly sharp bite of peppermint cuts beautifully through the richness of the cream cheese, creating a balanced flavour profile that feels luxurious without being heavy. These bites are designed to be two or three bites each, making them ideal for holiday parties, cookie exchanges, dessert platters, or gifting in a festive box. They also make a wonderful homemade edible gift, nestle them in a small tin lined with parchment and tie with a ribbon for something genuinely thoughtful and personal.
One of the things that makes this recipe so accessible is how simple the process is. You do not need a stand mixer, an oven, or any specialist equipment. A food processor to blitz the base, a hand mixer or whisk for the filling, and a silicone mini muffin tray or lined baking pan are all you need. The bites chill in the freezer for about an hour until firm, then can be transferred to the refrigerator for serving. The texture lands somewhere between a frozen cheesecake bite and a chilled truffle, firm enough to hold their shape, but soft and creamy the moment they hit your tongue.
From a nutrition standpoint, these Christmas no bake peppermint cheesecake bites punch well above their weight. The oat and date base provides complex carbohydrates and soluble fibre that helps slow down sugar absorption and keep you feeling satisfied. Greek yogurt adds a meaningful protein boost alongside gut-friendly probiotics, which is a welcome addition during the Christmas season when digestive health can take a back seat. The dark chocolate drizzle on top is optional but highly recommended, choose a chocolate with at least 70 percent cacao for antioxidant benefits and a deeper, less sweet flavour that pairs wonderfully with the peppermint.
This recipe is also naturally gluten-free as long as you use certified gluten-free rolled oats, making it an inclusive option for guests with dietary restrictions. It is also egg-free and can easily be made dairy-free or fully vegan with simple swaps. For a vegan version, replace the cream cheese with soaked cashew cream cheese or your favourite plant-based alternative, and use thick coconut yogurt in place of Greek yogurt. Soaked raw cashews blended until silky smooth is a particularly brilliant dairy-free base, a technique widely used in raw vegan cheesecake recipes, because they deliver that characteristic creaminess without any animal products whatsoever.
Make-ahead convenience is another major win for this recipe. You can prepare these bites up to five days in advance and store them in the refrigerator, or freeze them for up to six weeks. This makes them a brilliant option for getting ahead of holiday baking without the stress. Simply pull them out of the freezer the morning of your event, let them thaw in the refrigerator for a couple of hours, and they are ready to serve looking fresh and delicious.
For the most visually stunning presentation, arrange the finished bites on a white marble or slate serving board scattered with fresh mint leaves, whole cranberries, and a light dusting of powdered freeze-dried raspberry. The contrast of the dark chocolate drizzle against the creamy white filling is already striking, but a few garnishes elevate the platter to something truly show-stopping. A tiny candy cane shard pressed gently into each bite before the chocolate sets is another festive touch that guests adore.
Whether you are a seasoned healthy baker or someone just starting to explore lighter versions of classic holiday treats, this recipe is forgiving, flexible, and full of festive joy. The combination of cool peppermint, creamy filling, chewy oat base, and dark chocolate makes every single bite feel like Christmas in the best possible way. Make a batch, share them with someone you love, and feel genuinely great about what you are putting on the table this holiday season.
Ingredients
- 1 cup rolled oats (use certified gluten-free oats if needed; old-fashioned rolled oats give the best texture — avoid instant oats)
- 8 pieces Medjool dates (pitted; Medjool dates work best for their caramel-like flavour and soft texture — soak in warm water for 5 minutes if dry, then pat completely dry)
- 1 tbsp coconut oil (melted and cooled slightly; refined coconut oil has a neutral flavour if you prefer no coconut taste)
- 1 pinch sea salt (enhances the sweetness of the dates and balances the overall flavour)
- 225 g reduced-fat cream cheese (must be softened fully to room temperature — cold cream cheese will result in a lumpy filling; leave out for at least 45 minutes before using)
- 150 g plain Greek yogurt (full-fat gives a richer result; low-fat works well for fewer calories; strain through a cheesecloth for 30 minutes if your yogurt is particularly watery)
- 3 tbsp pure maple syrup (adjust to taste; Grade A amber maple syrup has the mellowest flavour; for lower sugar, reduce to 2 tbsp and add a few drops of liquid stevia)
- 1 tsp pure peppermint extract (use pure peppermint extract only — not peppermint essence or flavouring, which can taste artificial; start with 3/4 tsp, taste, and increase gradually as peppermint is potent and the flavour intensifies after chilling)
- 1 tsp pure vanilla extract (rounds out the peppermint and adds warmth to the filling flavour)
- 1 tbsp arrowroot powder (or cornstarch or tapioca starch; acts as a light binder to help the filling set firmly without changing the flavour)
- 50 g dark chocolate (choose at least 70% cacao for antioxidant benefits and a less sweet, more complex flavour; use dairy-free chocolate for a vegan version)
- 2 tbsp crushed freeze-dried raspberries or crushed candy cane (optional but highly recommended for festive colour; freeze-dried raspberries add a gorgeous ruby red contrast while candy cane reinforces the peppermint theme — add immediately after drizzling chocolate before it sets)
Instructions
- 1
Line a standard 24-cup silicone mini muffin tray or a 18-cup tray with small squares of parchment paper if not using silicone. Set aside.
Silicone mini muffin trays are strongly recommended — the bites pop out easily without sticking or crumbling. If using a metal tin, line each cup with a small square of parchment paper with a little overhang to lift the bites out cleanly.
- 2
Add the rolled oats to a food processor and pulse 8 to 10 times until they resemble a coarse flour with some texture remaining. Add the pitted Medjool dates, melted coconut oil, and sea salt. Process for 45 to 60 seconds until the mixture clumps together when pressed between your fingers.
If your dates are very dry, soak them in warm water for 5 minutes and pat completely dry before using — excess moisture will prevent the base from binding properly. The mixture is ready when it clumps into a ball when squeezed in your palm.
- 3
Scoop approximately one heaped teaspoon of the base mixture into each muffin cup. Use the back of a small spoon or your fingertip to firmly press the mixture down into an even, compact layer. Place the tray in the freezer for 10 minutes while you prepare the filling.
Pressing the base firmly and evenly is the most important step for bites that hold their shape. Use the flat bottom of a small spice jar or a mini tart tamper if you have one — it makes the process much faster and more consistent.
- 4
In a medium bowl, beat the softened reduced-fat cream cheese with a hand mixer on medium speed for about 60 seconds until smooth and fluffy. Add the Greek yogurt, maple syrup, peppermint extract, vanilla extract, and arrowroot powder. Beat again on medium speed for another 60 to 90 seconds until the mixture is completely smooth, creamy, and well combined.
Room temperature cream cheese is non-negotiable for a smooth filling. If you forget to take it out ahead of time, cut it into small cubes and microwave for 10 to 12 seconds — it should be soft but not melted. Taste the filling before pouring and adjust peppermint extract to your preference.
- 5
Remove the tray from the freezer. Using a small piping bag, a zip-lock bag with a corner snipped off, or a teaspoon, fill each cup with the cheesecake filling, leaving just a small gap at the top. Gently tap the tray on the counter a couple of times to settle the filling and remove air bubbles.
For perfectly neat, bakery-style bites, transfer the filling to a piping bag fitted with a round tip, or simply use a zip-lock bag with one corner snipped off. This avoids messy drips on the sides of each cup and gives a professional finish.
- 6
Transfer the tray to the freezer and chill for a minimum of 60 minutes, or until the bites are firm and hold their shape when gently pressed.
Do not rush the chilling time — 60 minutes is the minimum, but 90 minutes produces a firmer, cleaner bite that is easier to remove from the tray and holds its shape better at room temperature.
- 7
When ready to finish, melt the dark chocolate in a small heatproof bowl set over a pan of barely simmering water, or in the microwave in 20-second bursts, stirring between each. Once melted and smooth, use a spoon to drizzle the chocolate lightly over the tops of the bites.
Work quickly once the chocolate is melted — it sets fast on the frozen bites, which actually creates a satisfying snap effect when you bite in. If the chocolate seizes or thickens, add half a teaspoon of coconut oil and stir gently to restore a smooth, pourable consistency.
- 8
Immediately sprinkle with crushed freeze-dried raspberries or a tiny pinch of crushed candy cane if using, before the chocolate sets. Return the tray to the freezer for 5 minutes to set the chocolate completely.
- 9
Pop the bites out of the silicone tray by gently pressing from underneath. Serve directly from the refrigerator for the best creamy texture, or enjoy slightly chilled from the freezer for a firmer, icier bite.
If the bites feel very firm straight from the freezer, let them sit at room temperature for 5 to 8 minutes before serving for the creamiest, most luscious texture. Serve on a chilled plate or board to extend the time before they soften.
Nutrition per serving
95kcal
Calories
3.2g
Protein
11.4g
Carbs
4.1g
Fat
1.7g
Fibre
7.2g
Sugar
68mg
Sodium
Pro Tips
- ✓
Always use pure peppermint extract rather than peppermint essence or flavouring, the flavour is significantly cleaner, more natural, and far less likely to taste artificial after chilling. Start with three-quarters of a teaspoon, taste the filling, and add more gradually.
- ✓
Press the oat-date base as firmly as possible into each cup using the flat bottom of a small spice jar or a mini tart tamper, a well-compacted base is the difference between bites that hold their shape beautifully and ones that crumble when removed from the tray.
- ✓
Your cream cheese must be fully at room temperature before beating, this single step is the most common reason cheesecake fillings turn out lumpy. Leave it out for at least 45 minutes, or cut into small cubes and microwave for 10 to 12 seconds if you are short on time.
- ✓
If your Greek yogurt is on the watery side, strain it through a cheesecloth or a fine mesh sieve lined with a paper towel for 20 to 30 minutes before using. This removes excess whey and gives the filling a thicker, more set texture that chills beautifully.
- ✓
For a natural green colour that looks stunning on the Christmas table, add a very small pinch of spirulina powder to the filling, start with an eighth of a teaspoon to avoid any taste. Natural green food colouring also works well. A drop of natural red food colouring in a small portion of the filling creates gorgeous pink swirled bites for a candy cane effect.
- ✓
If your melted chocolate thickens or seizes while drizzling, stir in half a teaspoon of melted coconut oil to bring it back to a smooth, pourable consistency. This also adds a subtle shine to the finished chocolate drizzle.
Frequently Asked Questions
Variations
- •
Dark Chocolate Peppermint Bites
Stir 2 tablespoons of high-quality raw cacao powder into the cheesecake filling for a chocolate-peppermint combination. Reduce the maple syrup by half a tablespoon to balance the bitterness of the cacao.
- •
White Chocolate Peppermint Bites
Melt 40g of good-quality white chocolate (or dairy-free white chocolate) and stir it into the warm filling before chilling. Drizzle additional melted white chocolate over the top instead of dark chocolate for a snowy Christmas aesthetic.
- •
Vegan Peppermint Cheesecake Bites
Replace cream cheese with soaked cashew cream cheese and use thick coconut yogurt in place of Greek yogurt. Use dairy-free dark chocolate for the drizzle. All other ingredients remain the same.
- •
Protein-Boosted Peppermint Bites
Add 2 tablespoons of unflavoured or vanilla plant-based protein powder to the filling mixture and increase the maple syrup by half a tablespoon to balance the flavour. This boosts the protein content to approximately 5 to 6 grams per bite.
Substitutions
- •Medjool dates → Soft dried figs or dried apricots (These will alter the flavour slightly but provide a similar binding sweetness. Soak in warm water for 10 minutes before using.)
- •Rolled oats → Desiccated coconut or almond flour (Using almond flour in place of oats creates a lower-carb, paleo-friendly base. Use 3/4 cup almond flour in place of 1 cup oats. The texture will be softer.)
- •Reduced-fat cream cheese → Full-fat cream cheese or vegan cream cheese (Full-fat cream cheese will increase the calories and fat content but creates a richer, creamier filling. Vegan cream cheese works well for a dairy-free version.)
- •Greek yogurt → Coconut yogurt or silken tofu (Coconut yogurt is ideal for a dairy-free version. Blended silken tofu also works and adds extra protein while keeping calories low.)
- •Pure maple syrup → Raw honey or monk fruit syrup (Raw honey adds a floral sweetness and works well. Monk fruit syrup is a great zero-calorie option for a lower-sugar or keto-adapted version.)
- •Arrowroot powder → Cornstarch or tapioca starch (Any of these work equally well as a thickener to help the filling set firmly.)
🧊 Storage
Store the finished bites in an airtight container in the refrigerator for up to 5 days. Place parchment paper between layers to prevent sticking. For longer storage, freeze in a single layer on a tray first, then transfer to a freezer-safe bag or container and freeze for up to 6 weeks. Thaw in the refrigerator for 1 to 2 hours before serving.
📅 Make Ahead
These bites are excellent for making ahead during the busy holiday season. Prepare the full recipe up to 5 days in advance and refrigerate, or freeze for up to 6 weeks. Add the chocolate drizzle and garnishes on the day of serving for the freshest appearance, or apply them before freezing for convenience.
More Christmas Desserts Recipes
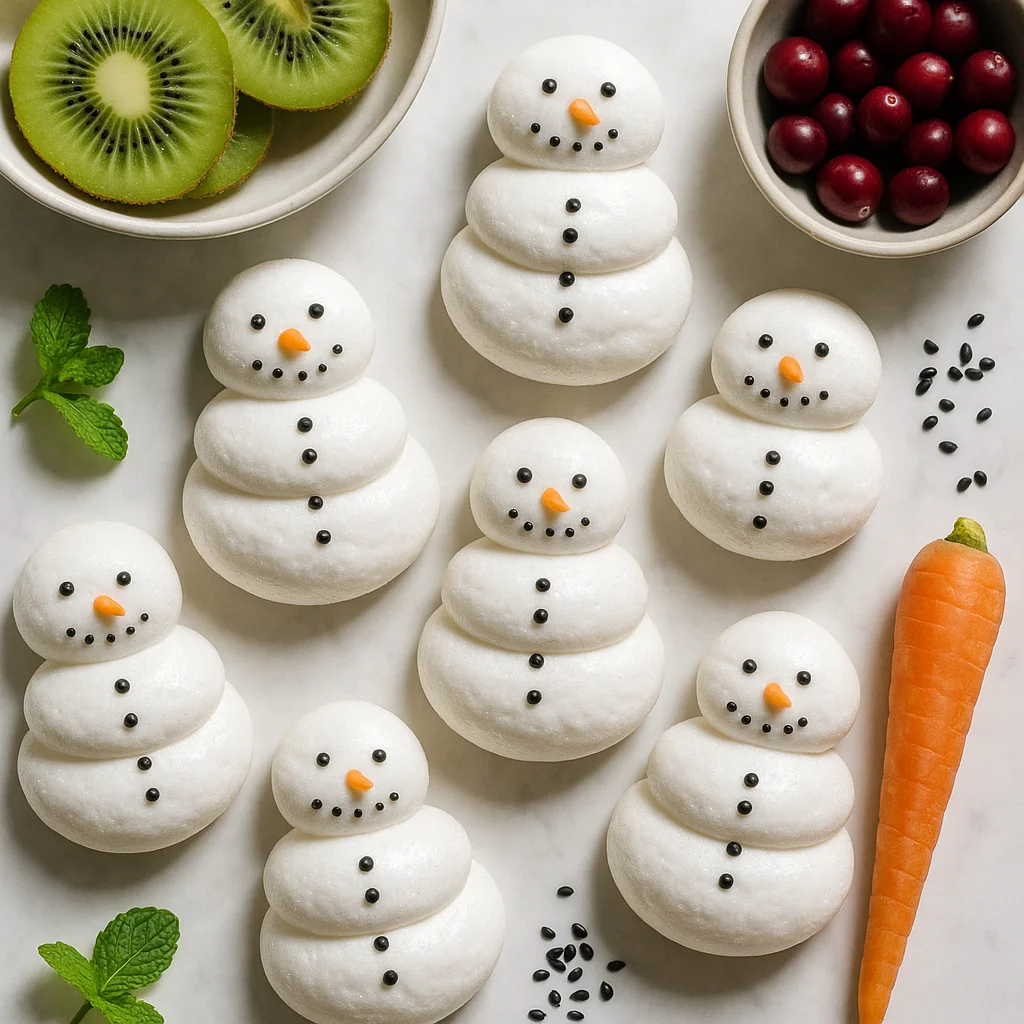
Sparkly Meringue Snowmen Low Sugar Holiday Treats
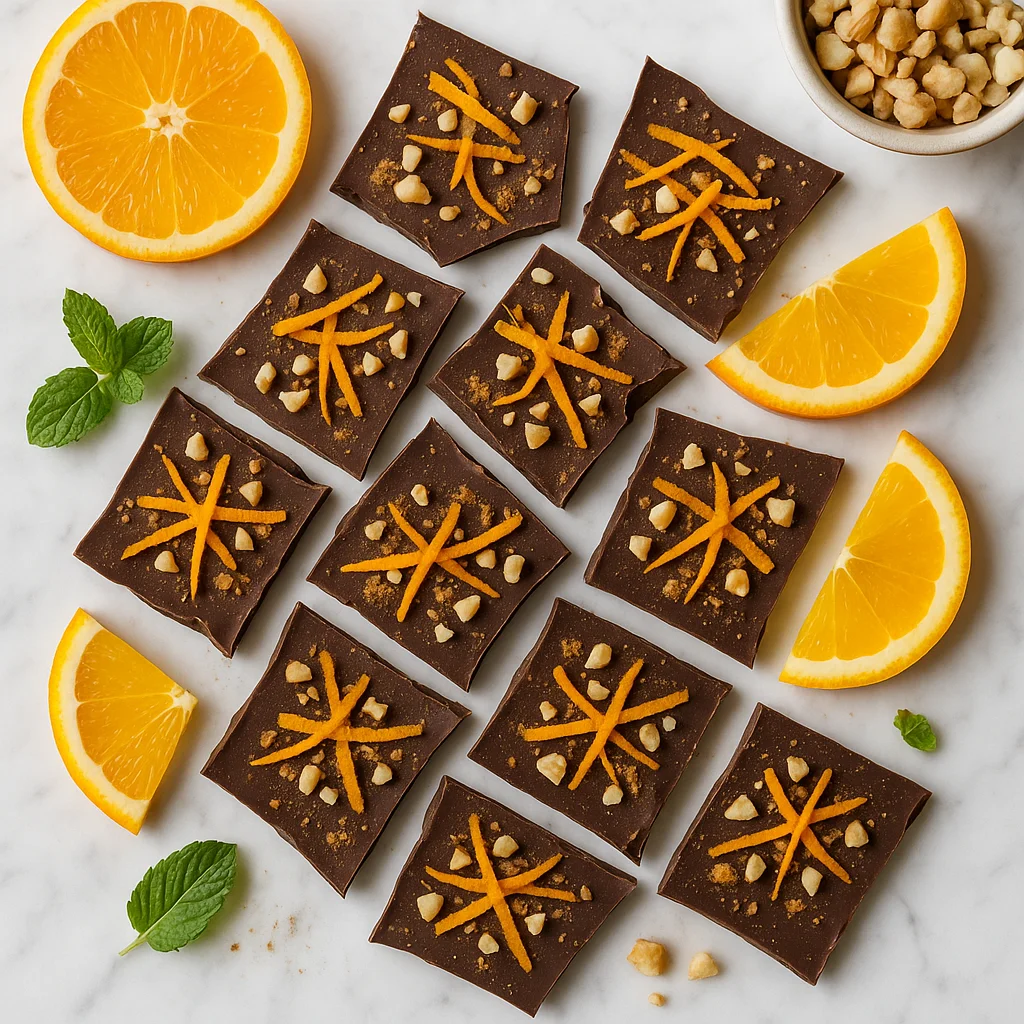
Lightened Up Christmas Desserts: Spiced Orange Chocolate Bark
Protein Powder Buckeyes (Healthy No-Bake Peanut Butter Balls)